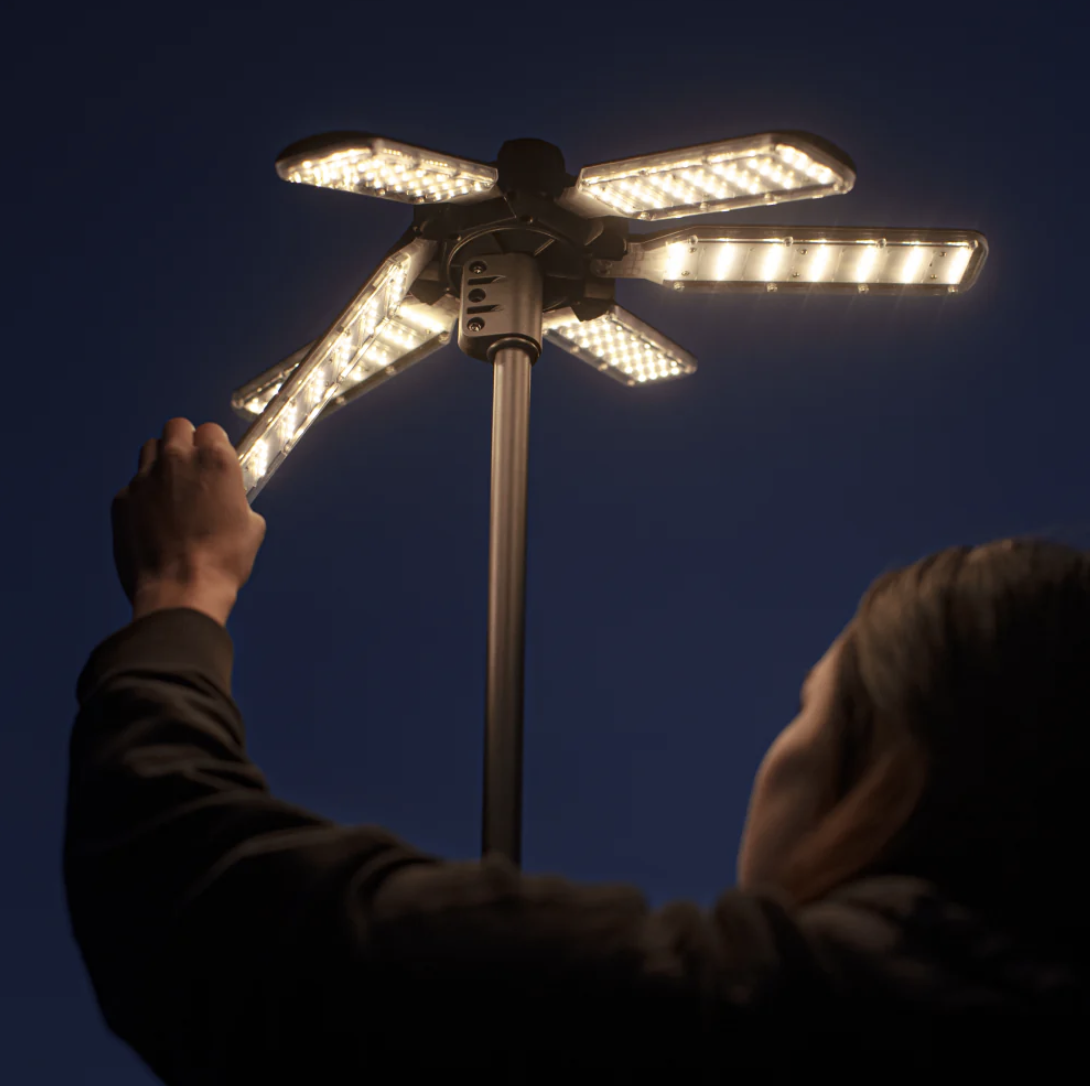
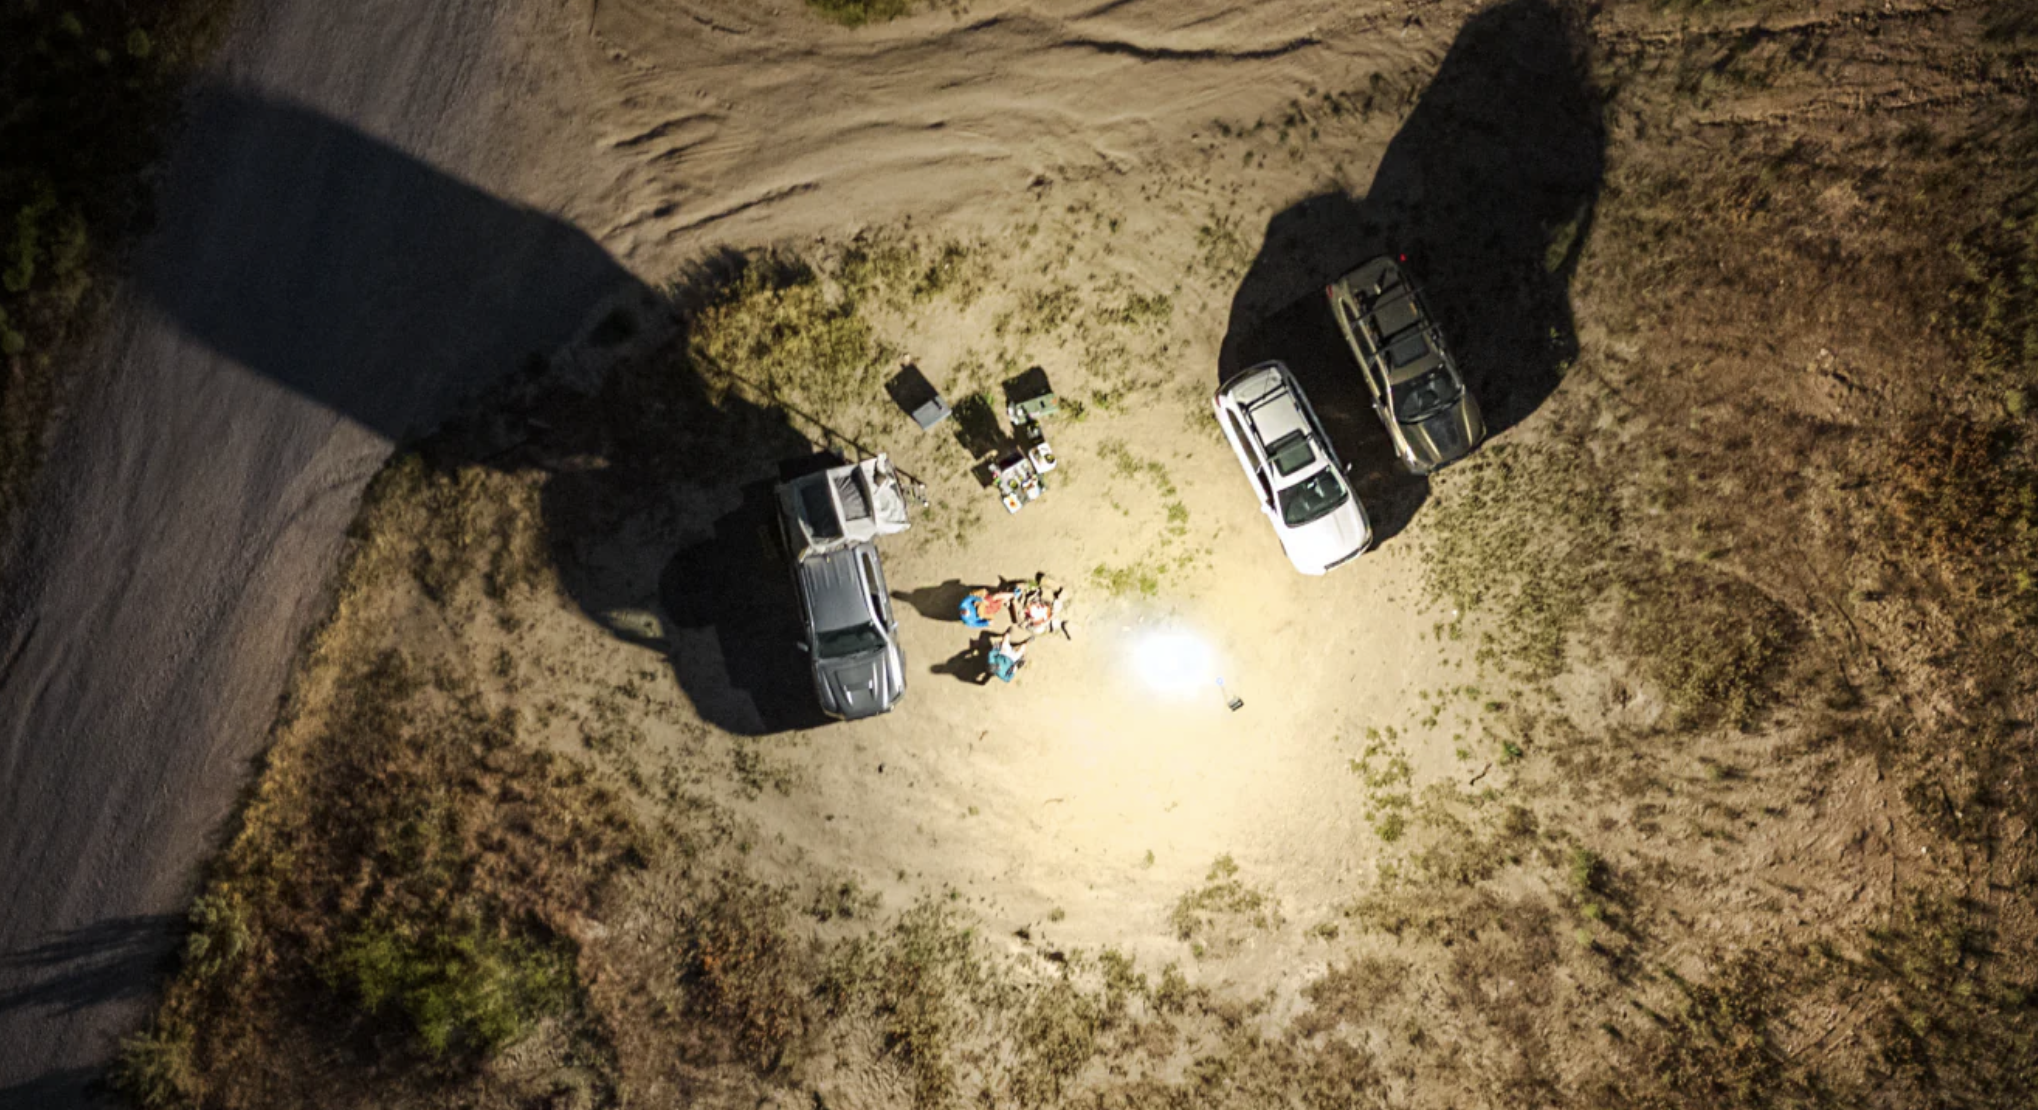
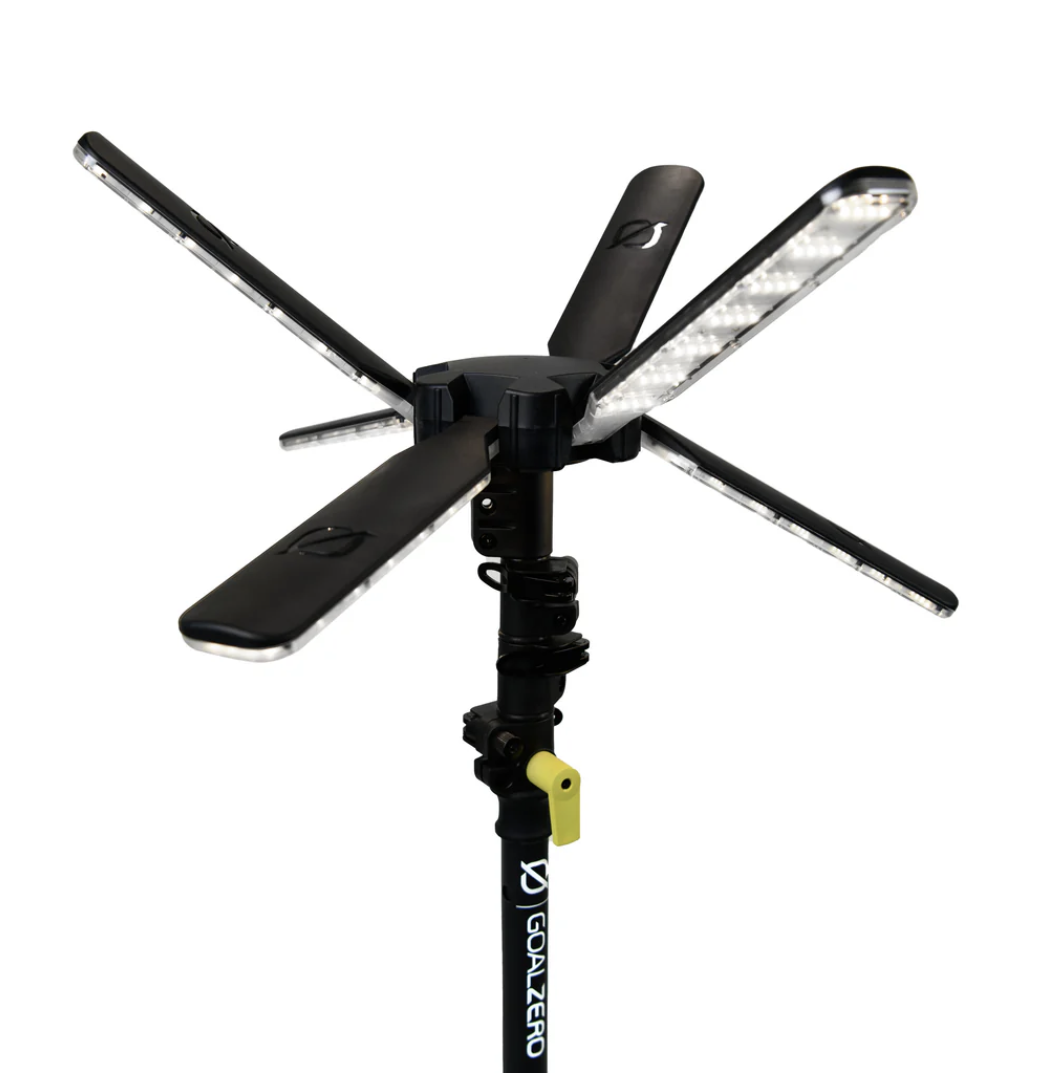
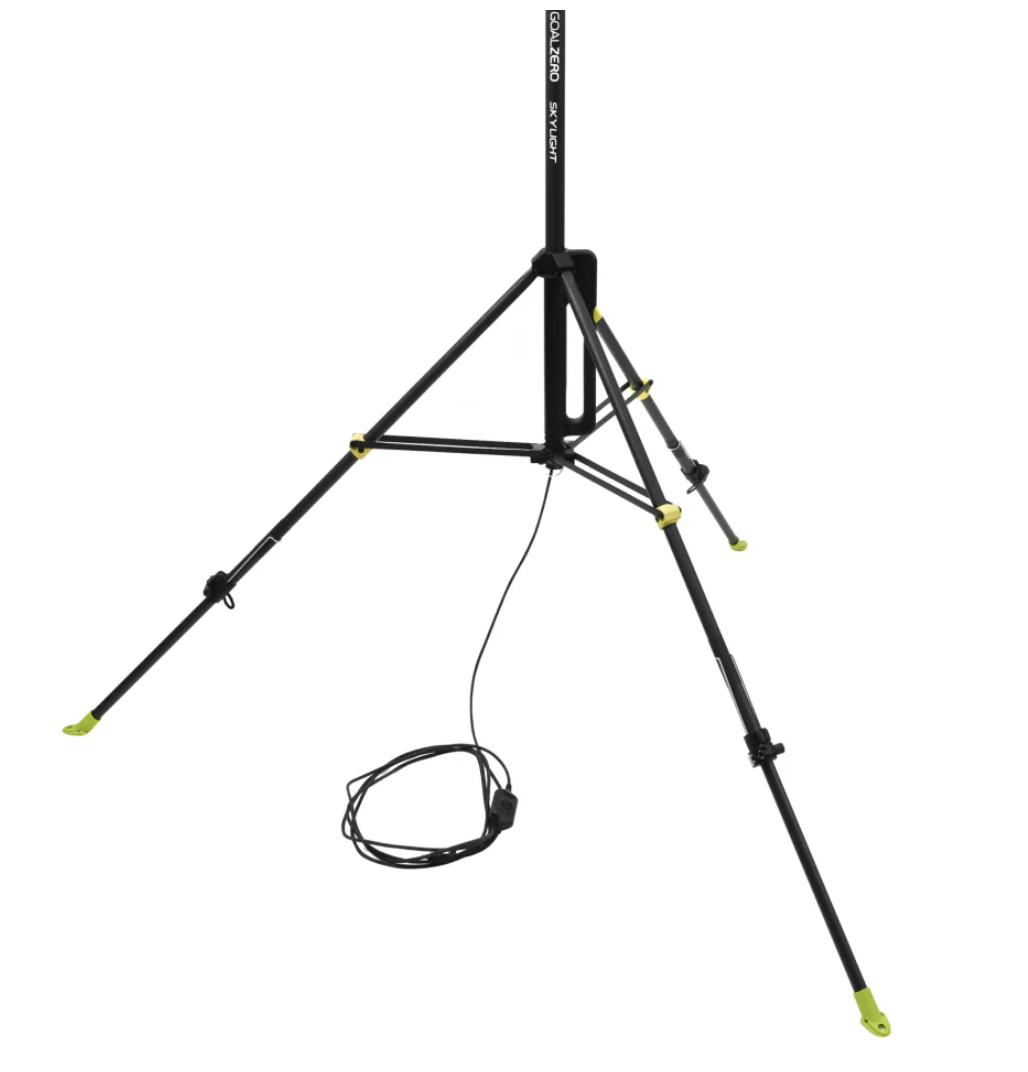
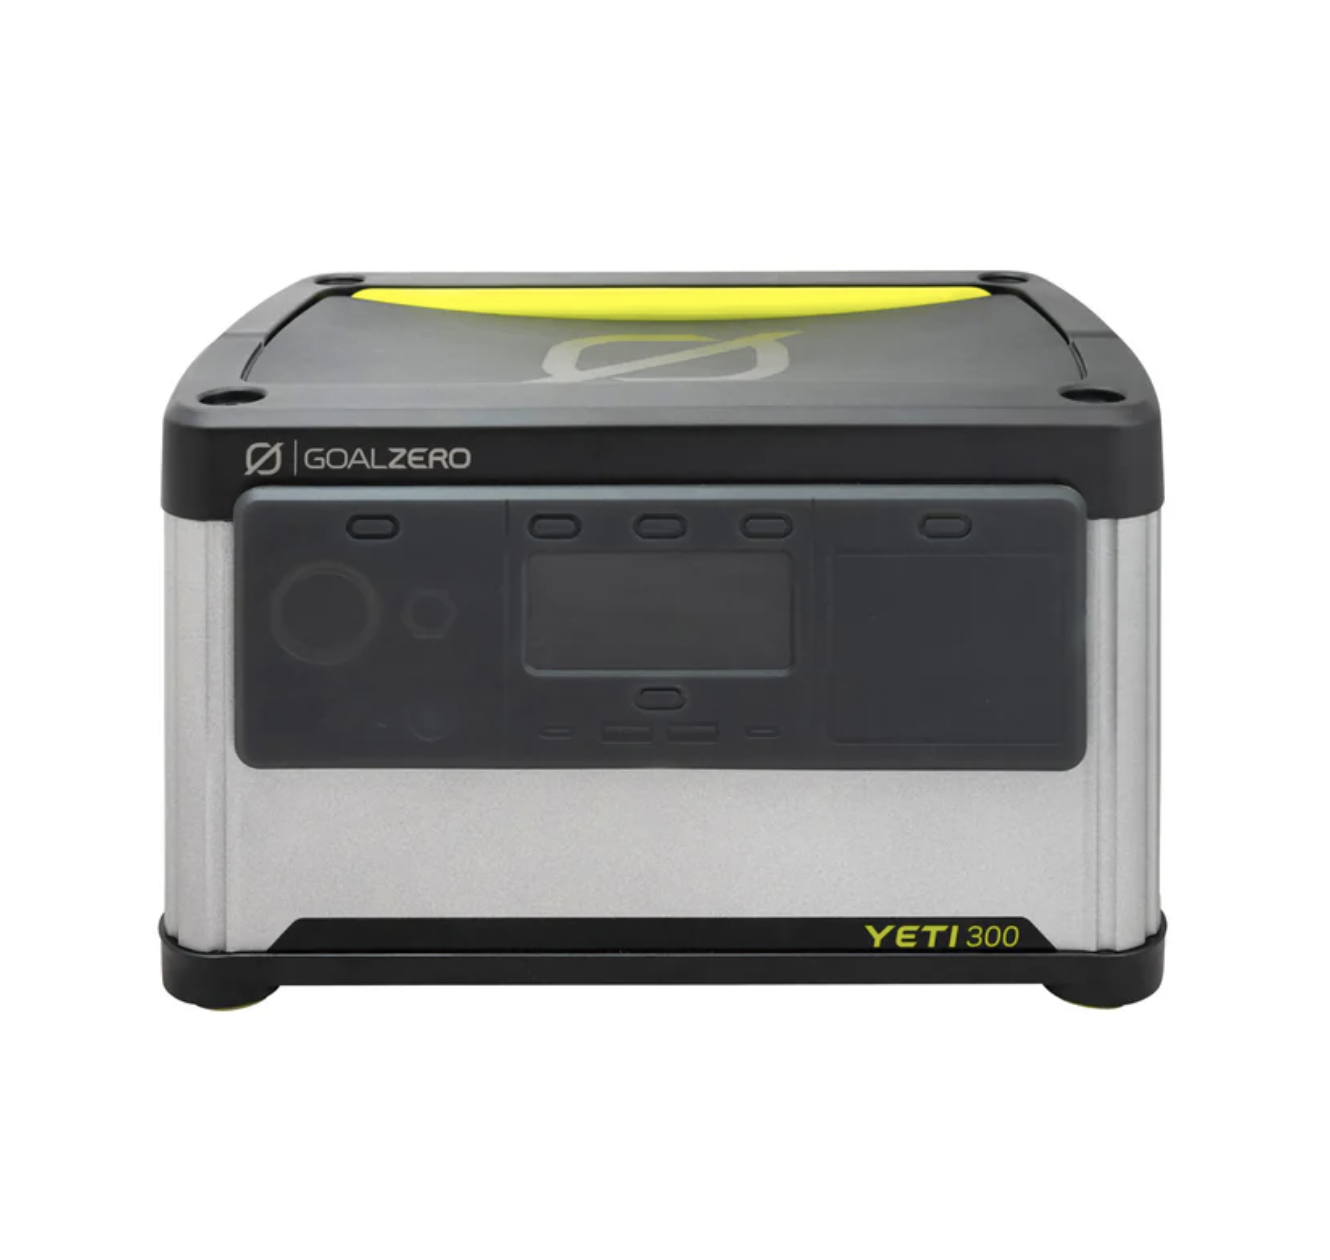
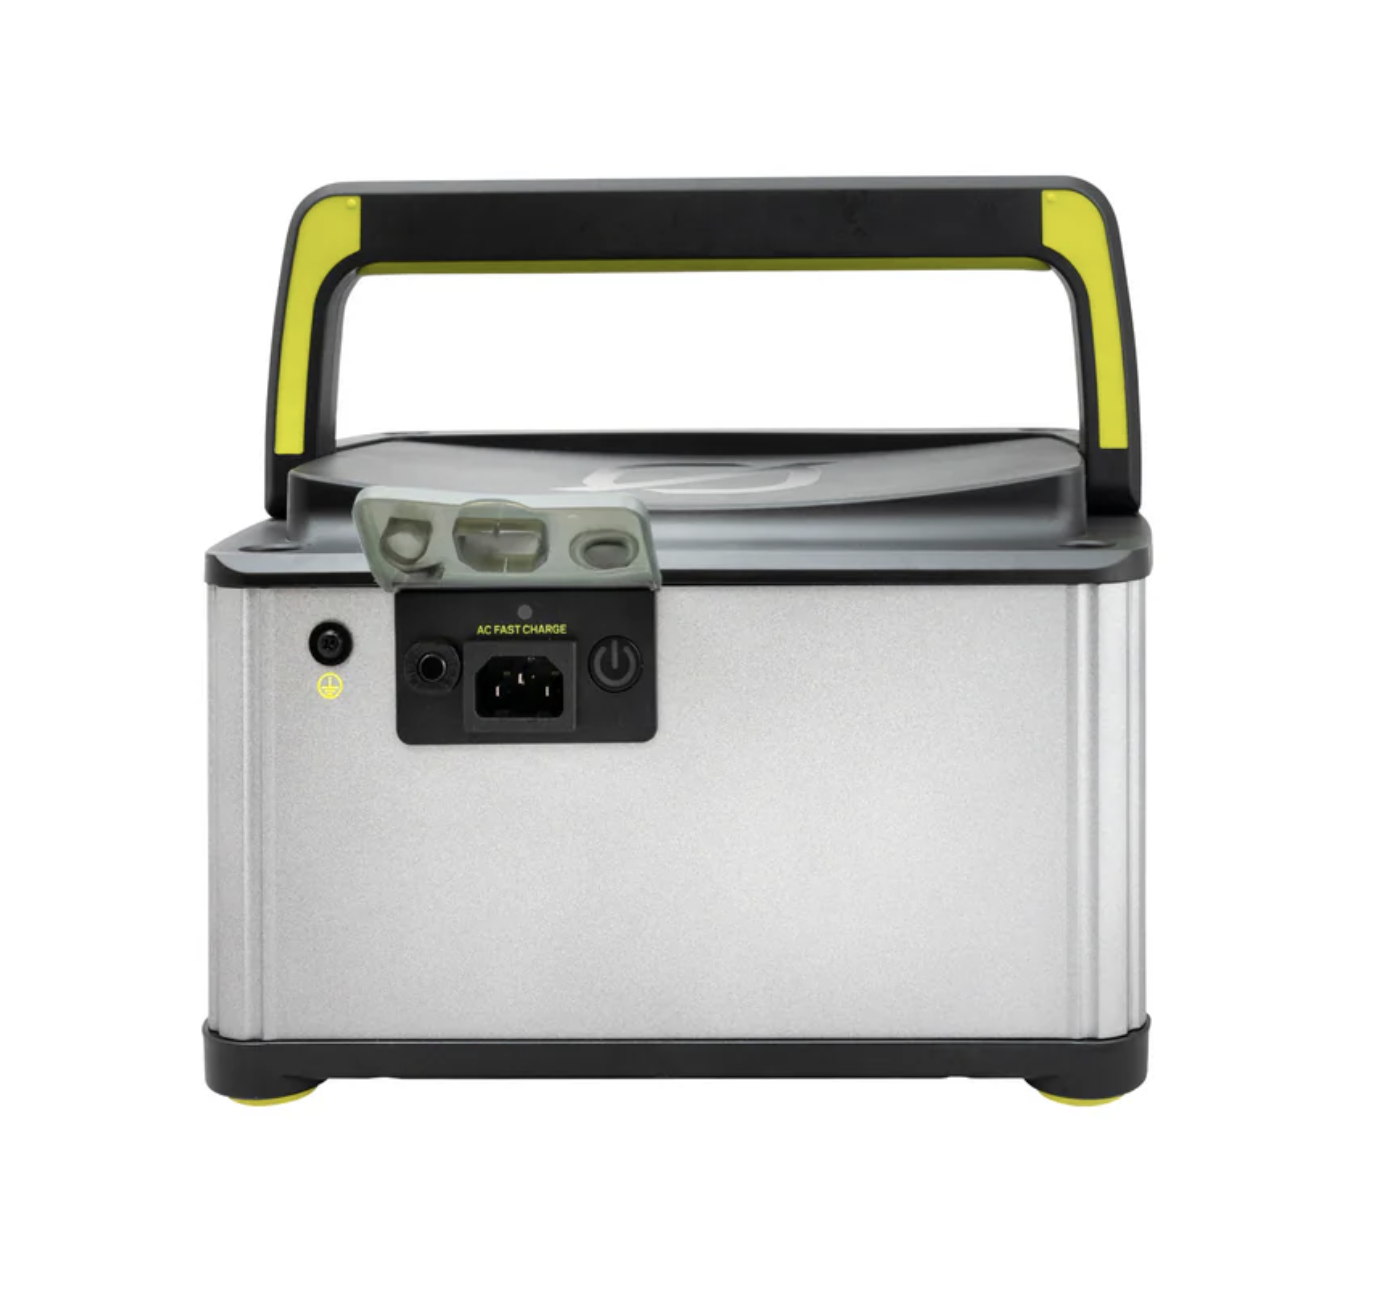
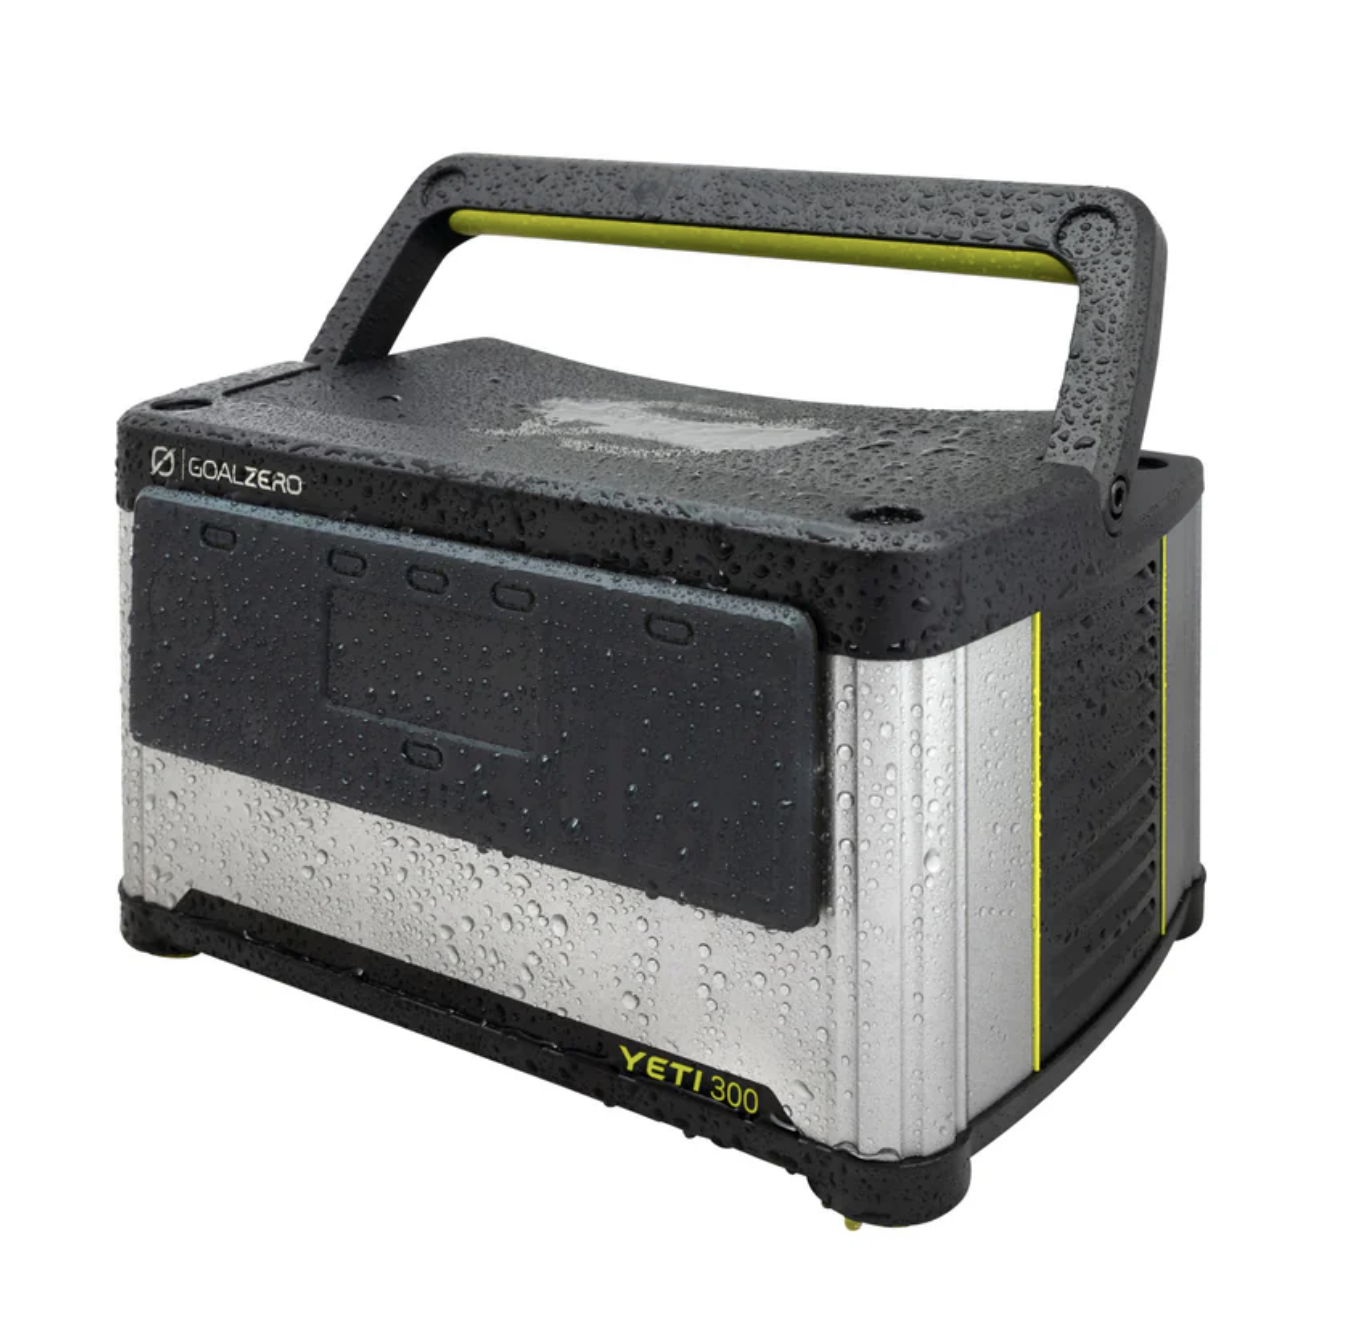
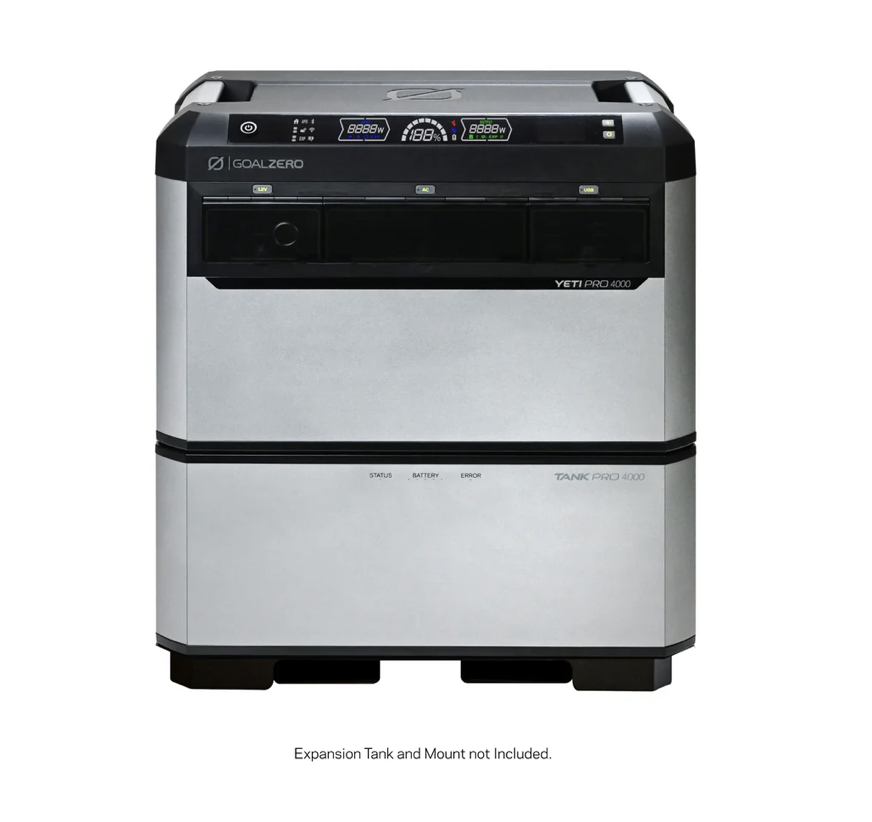
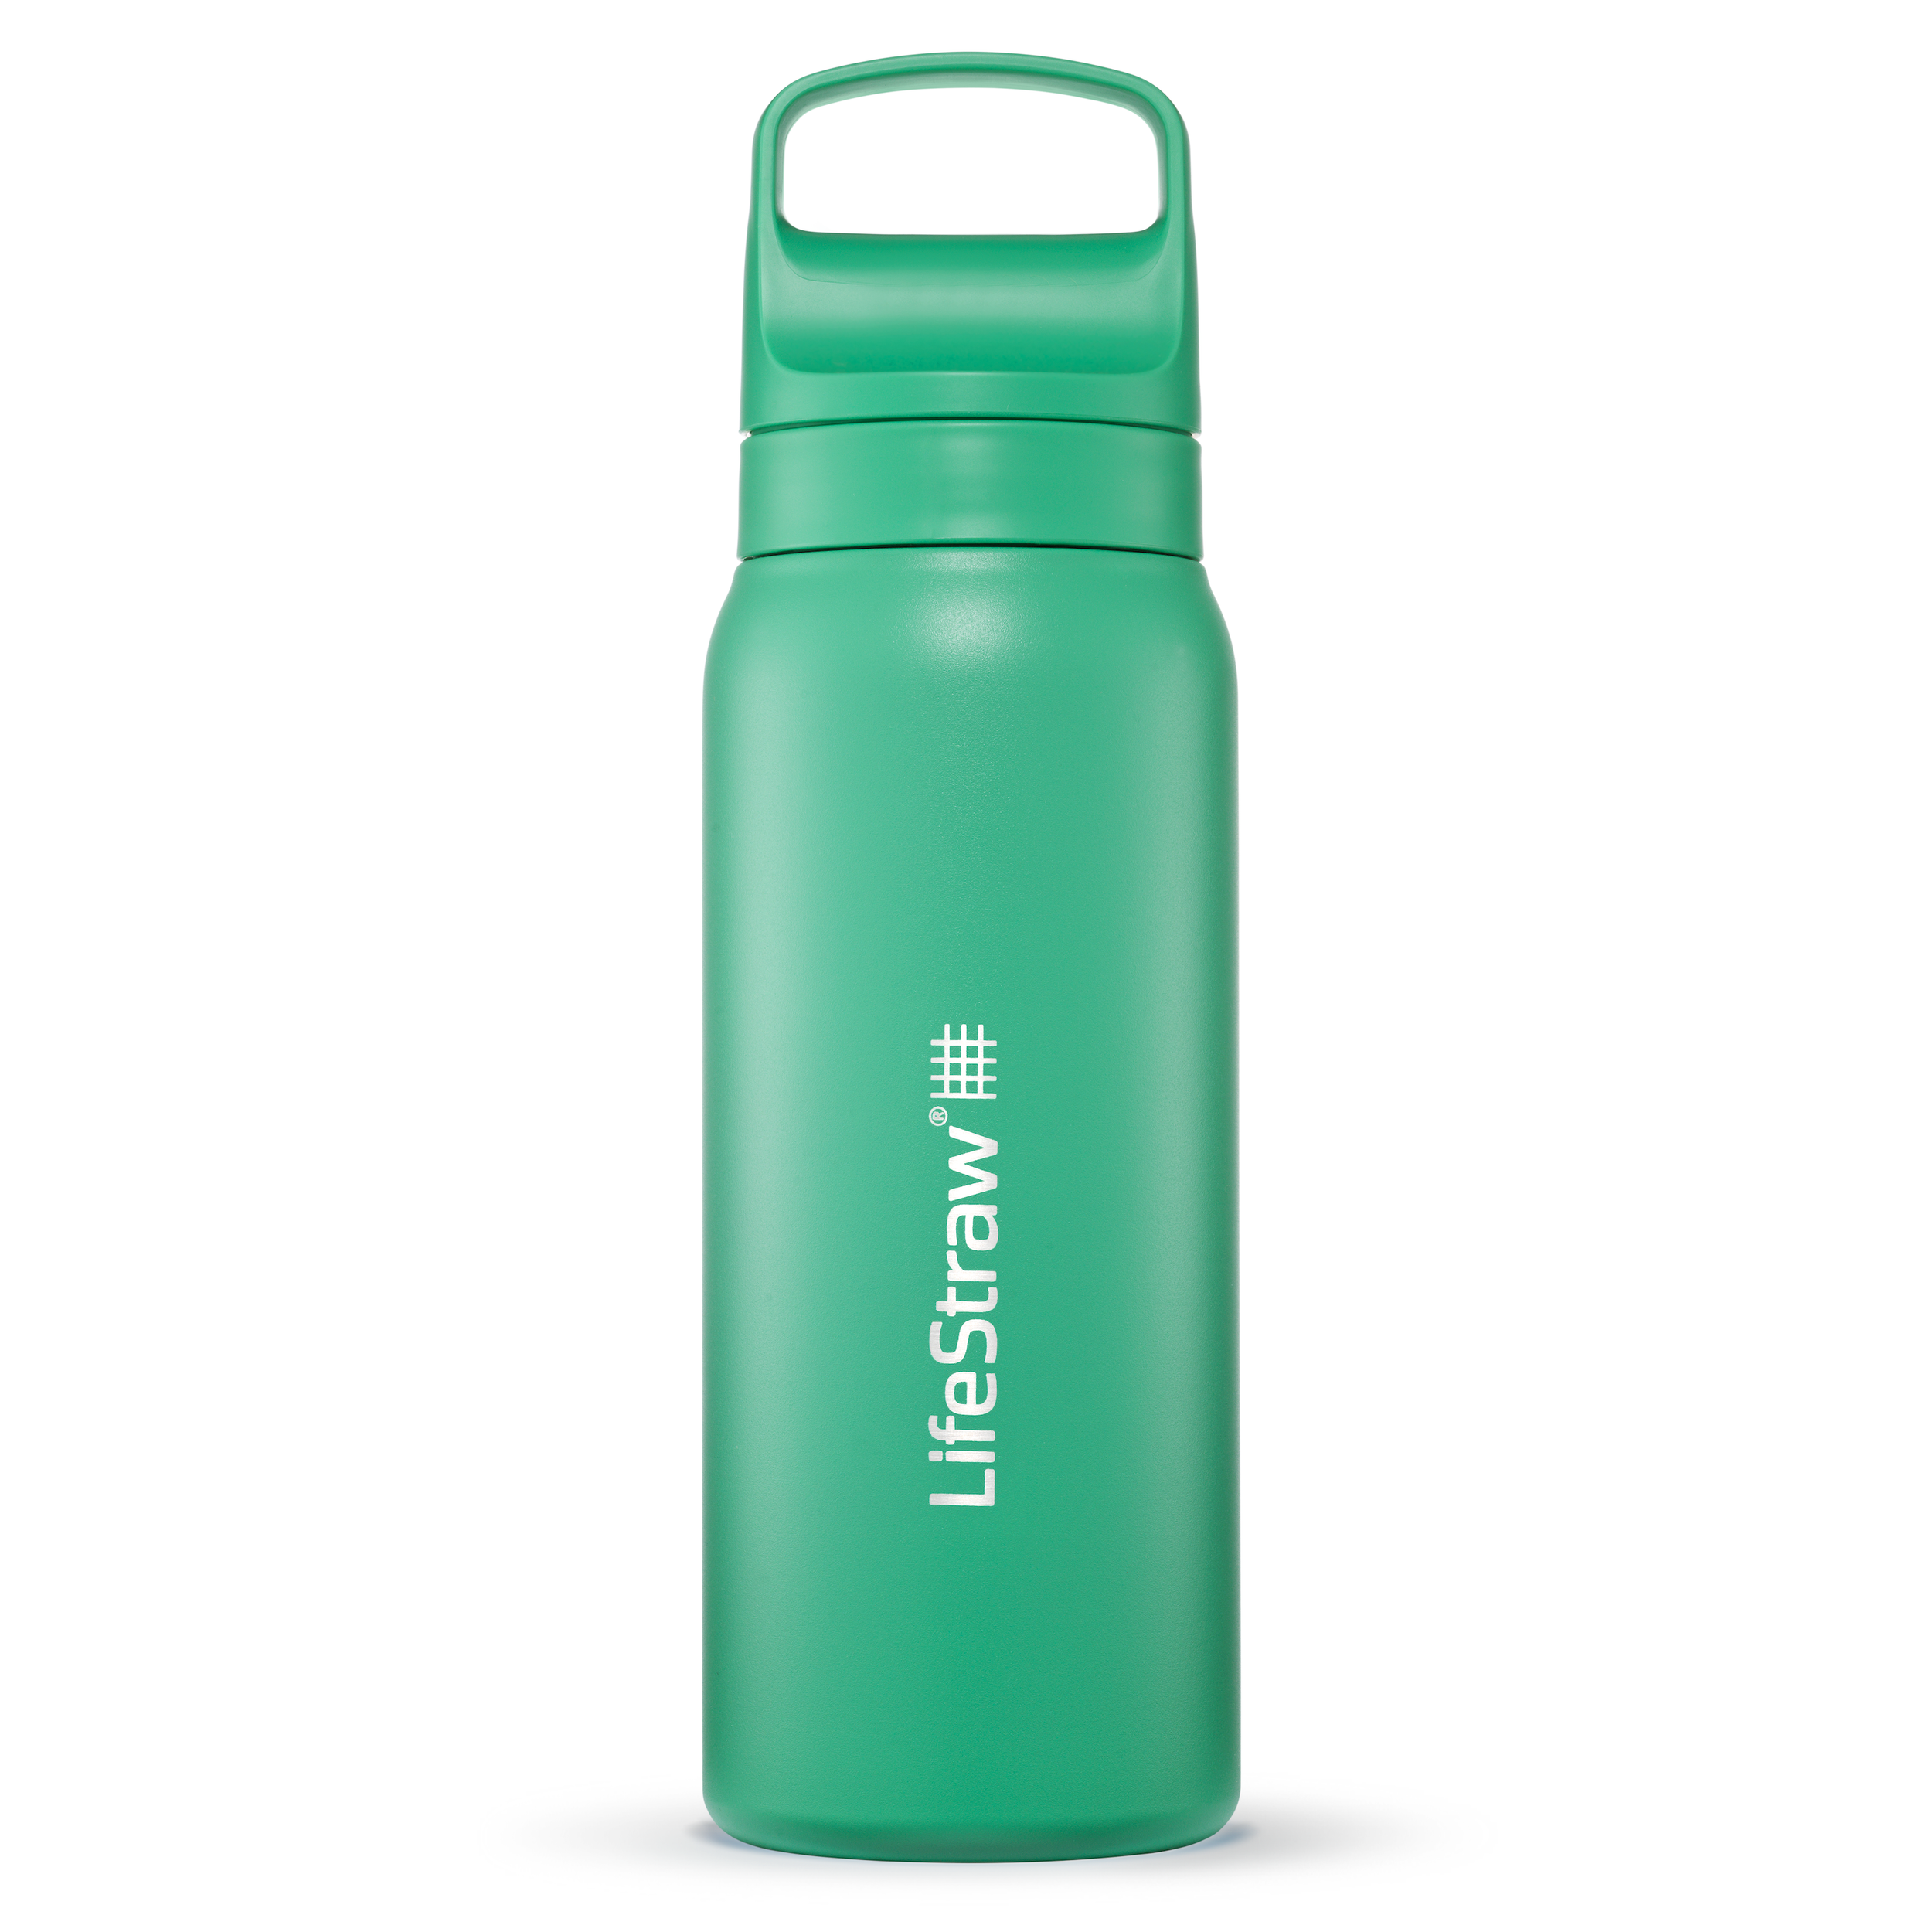
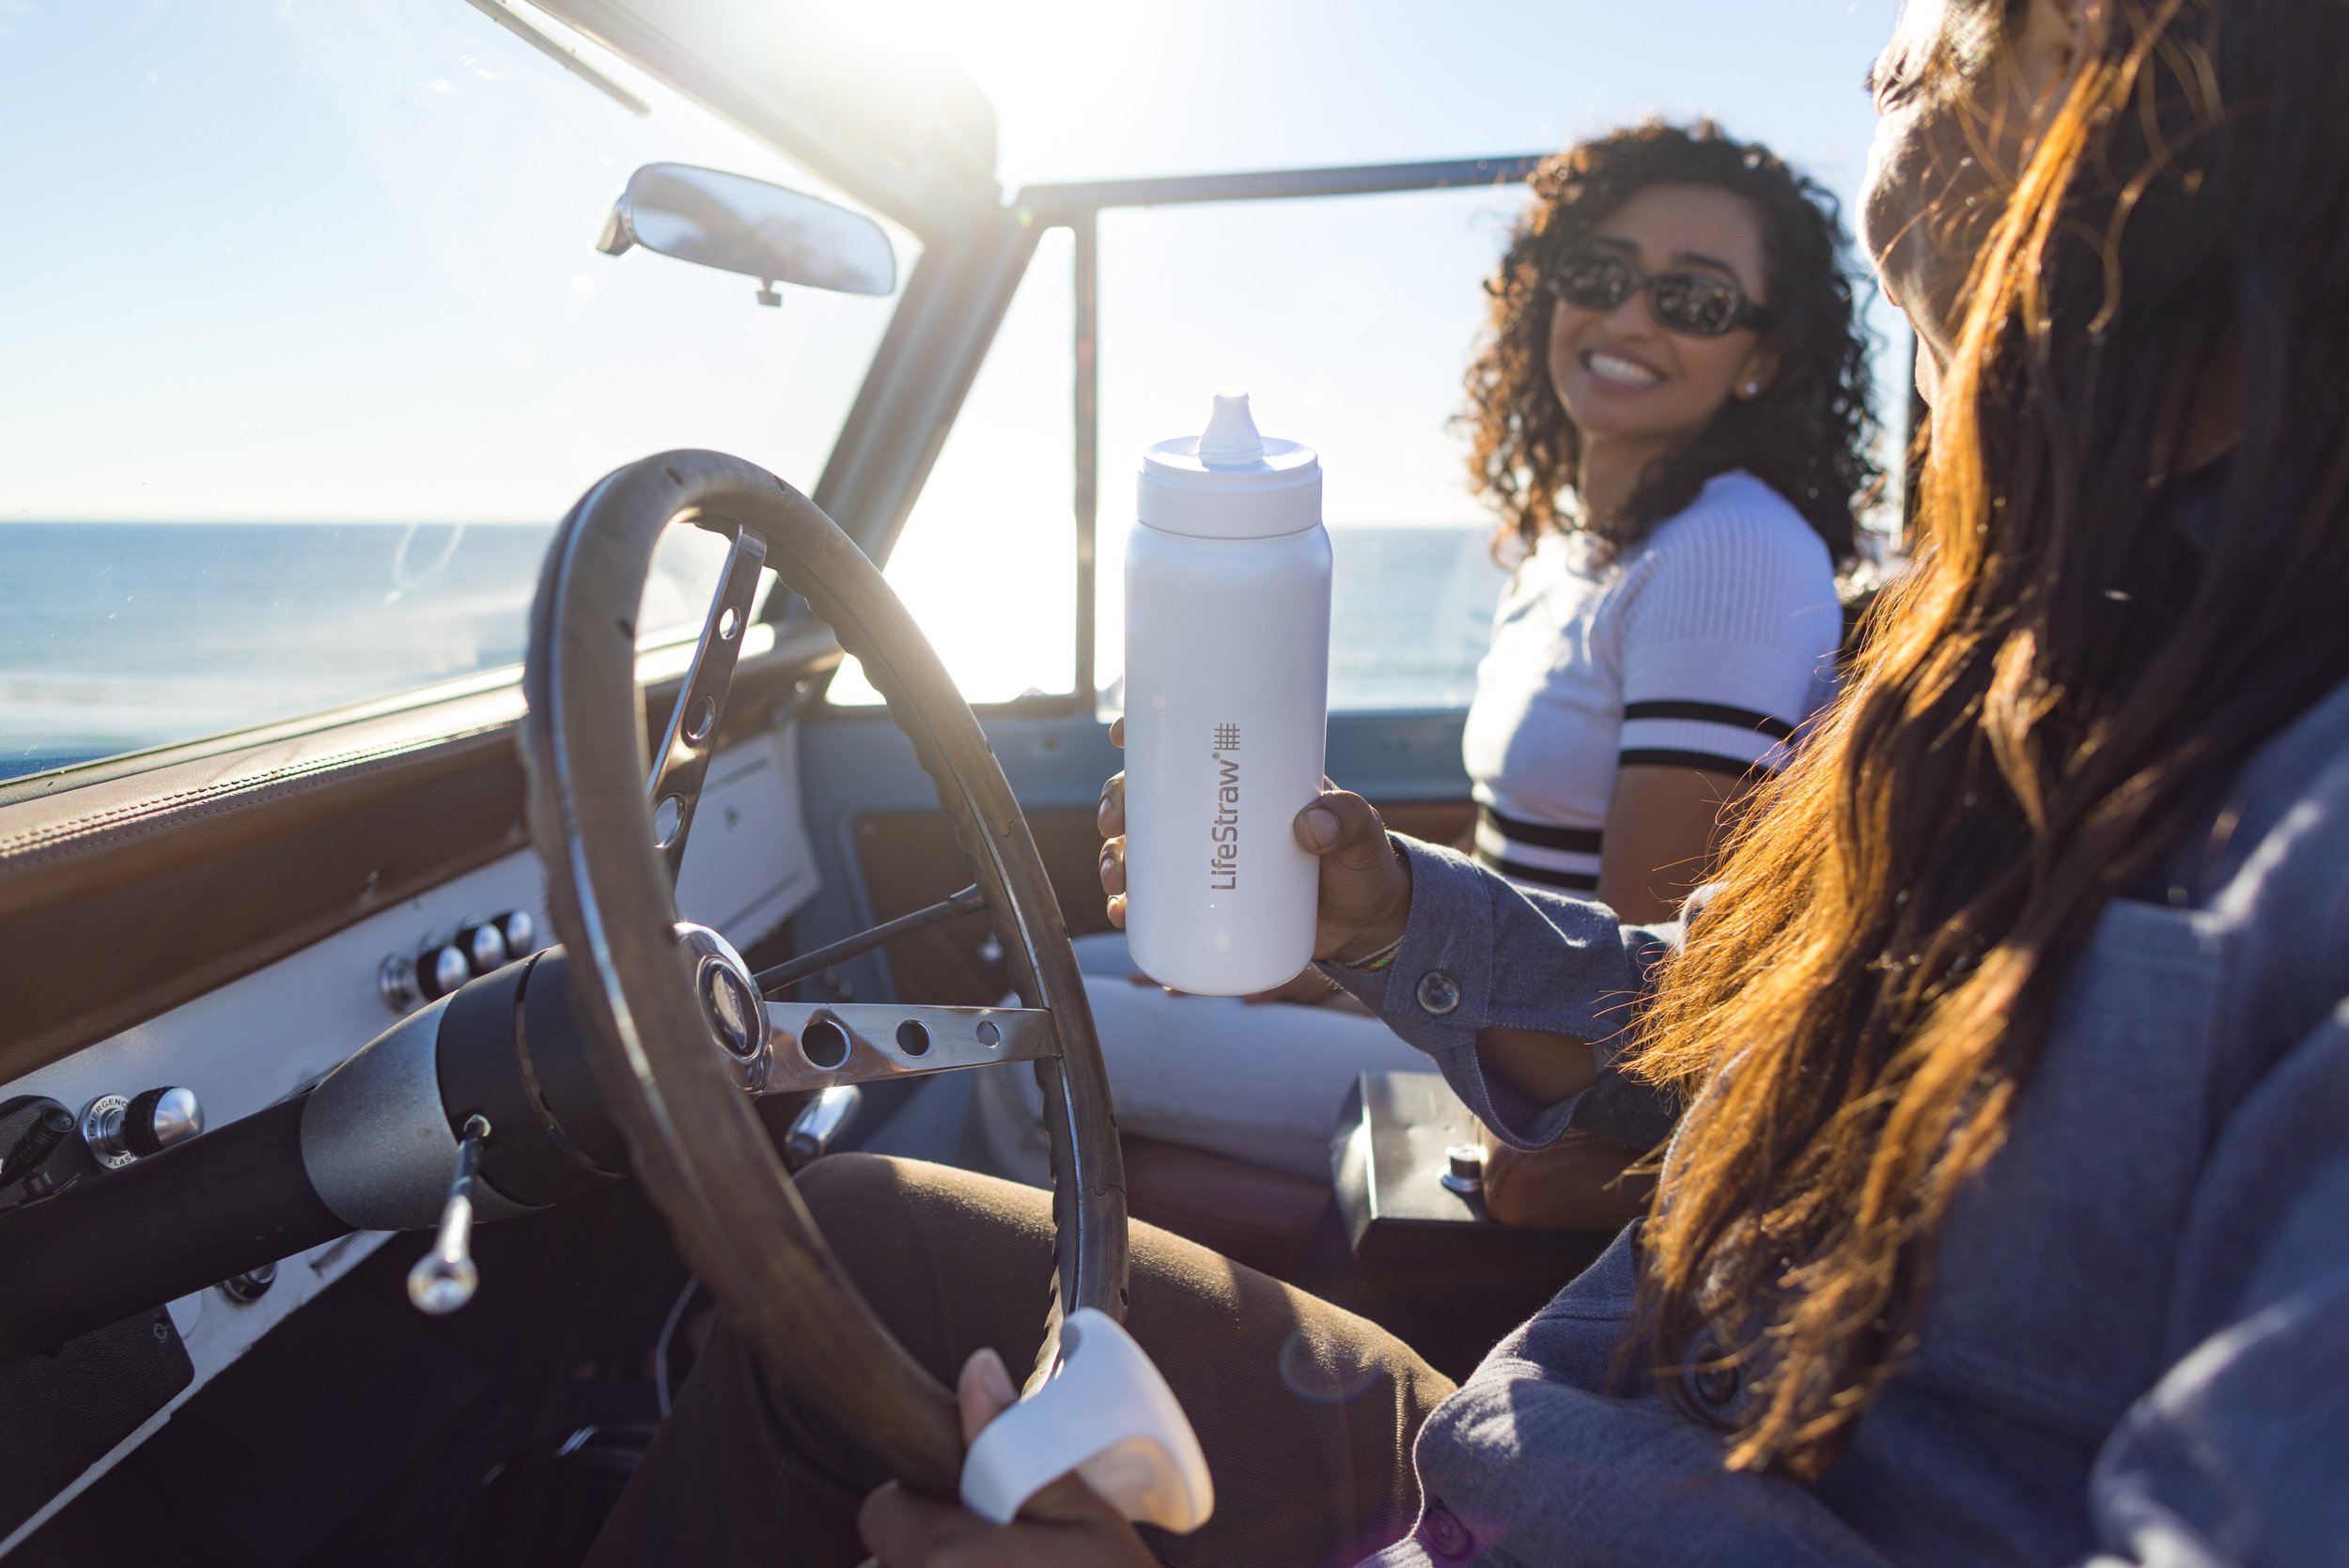
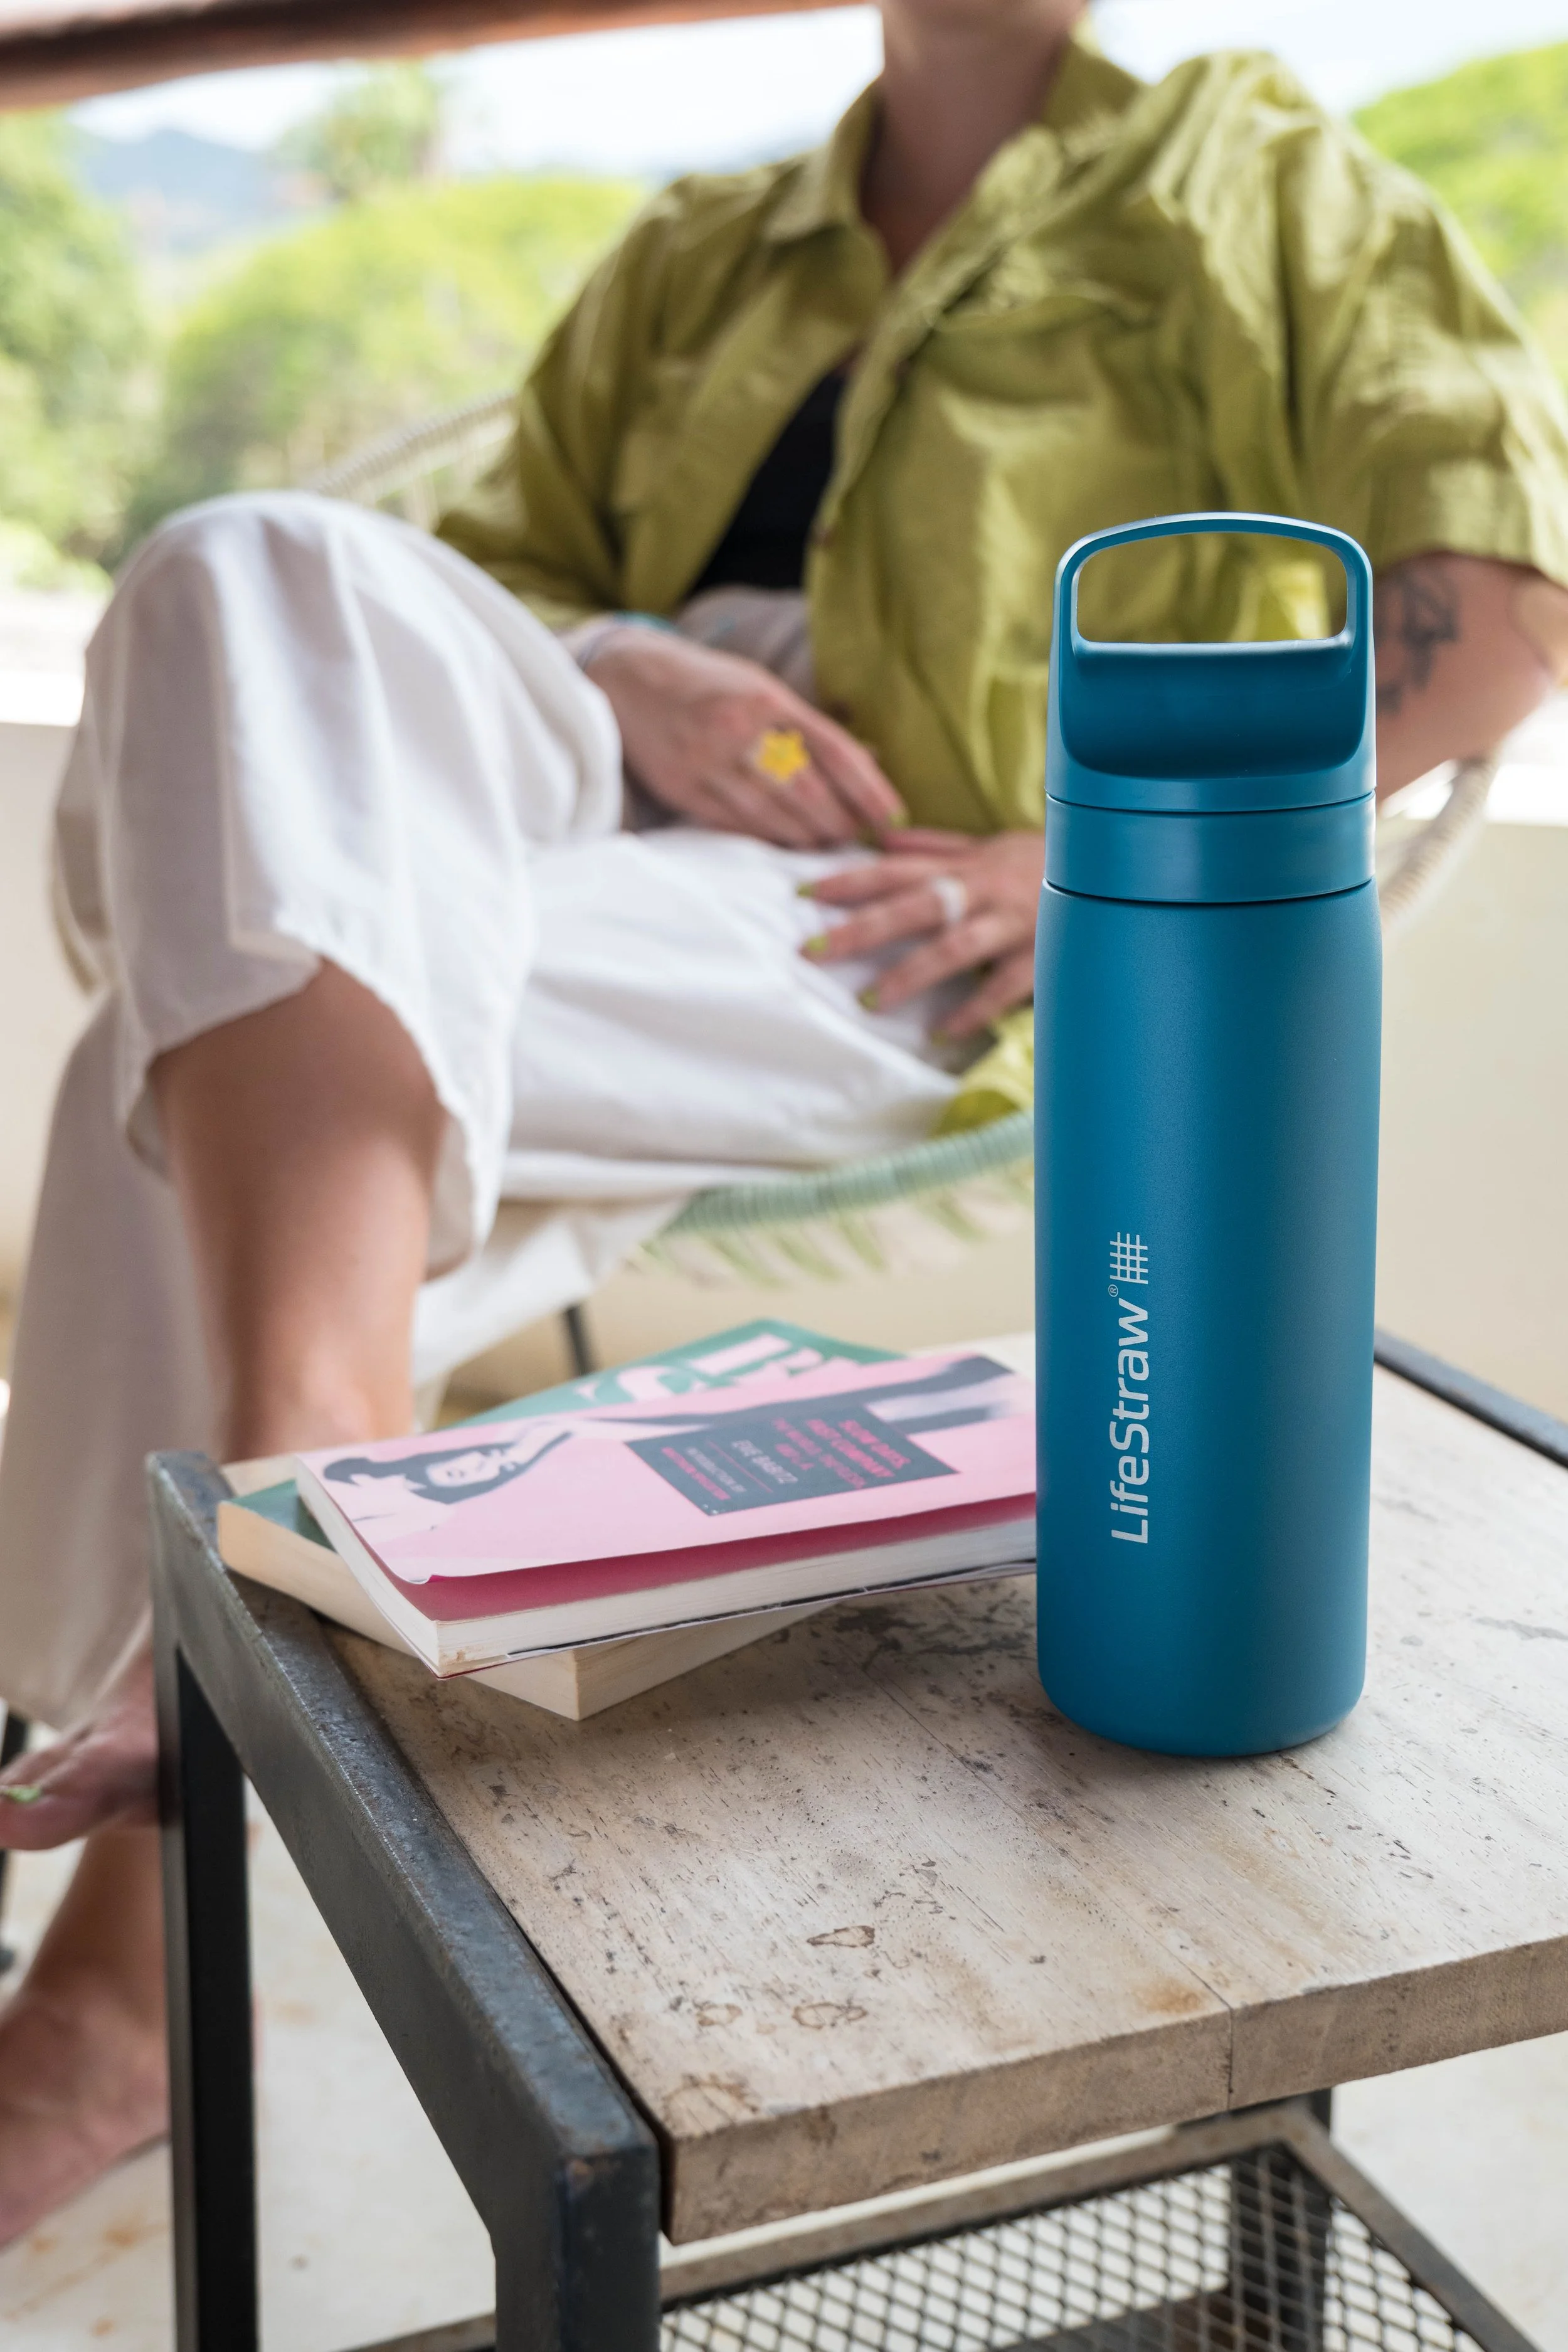
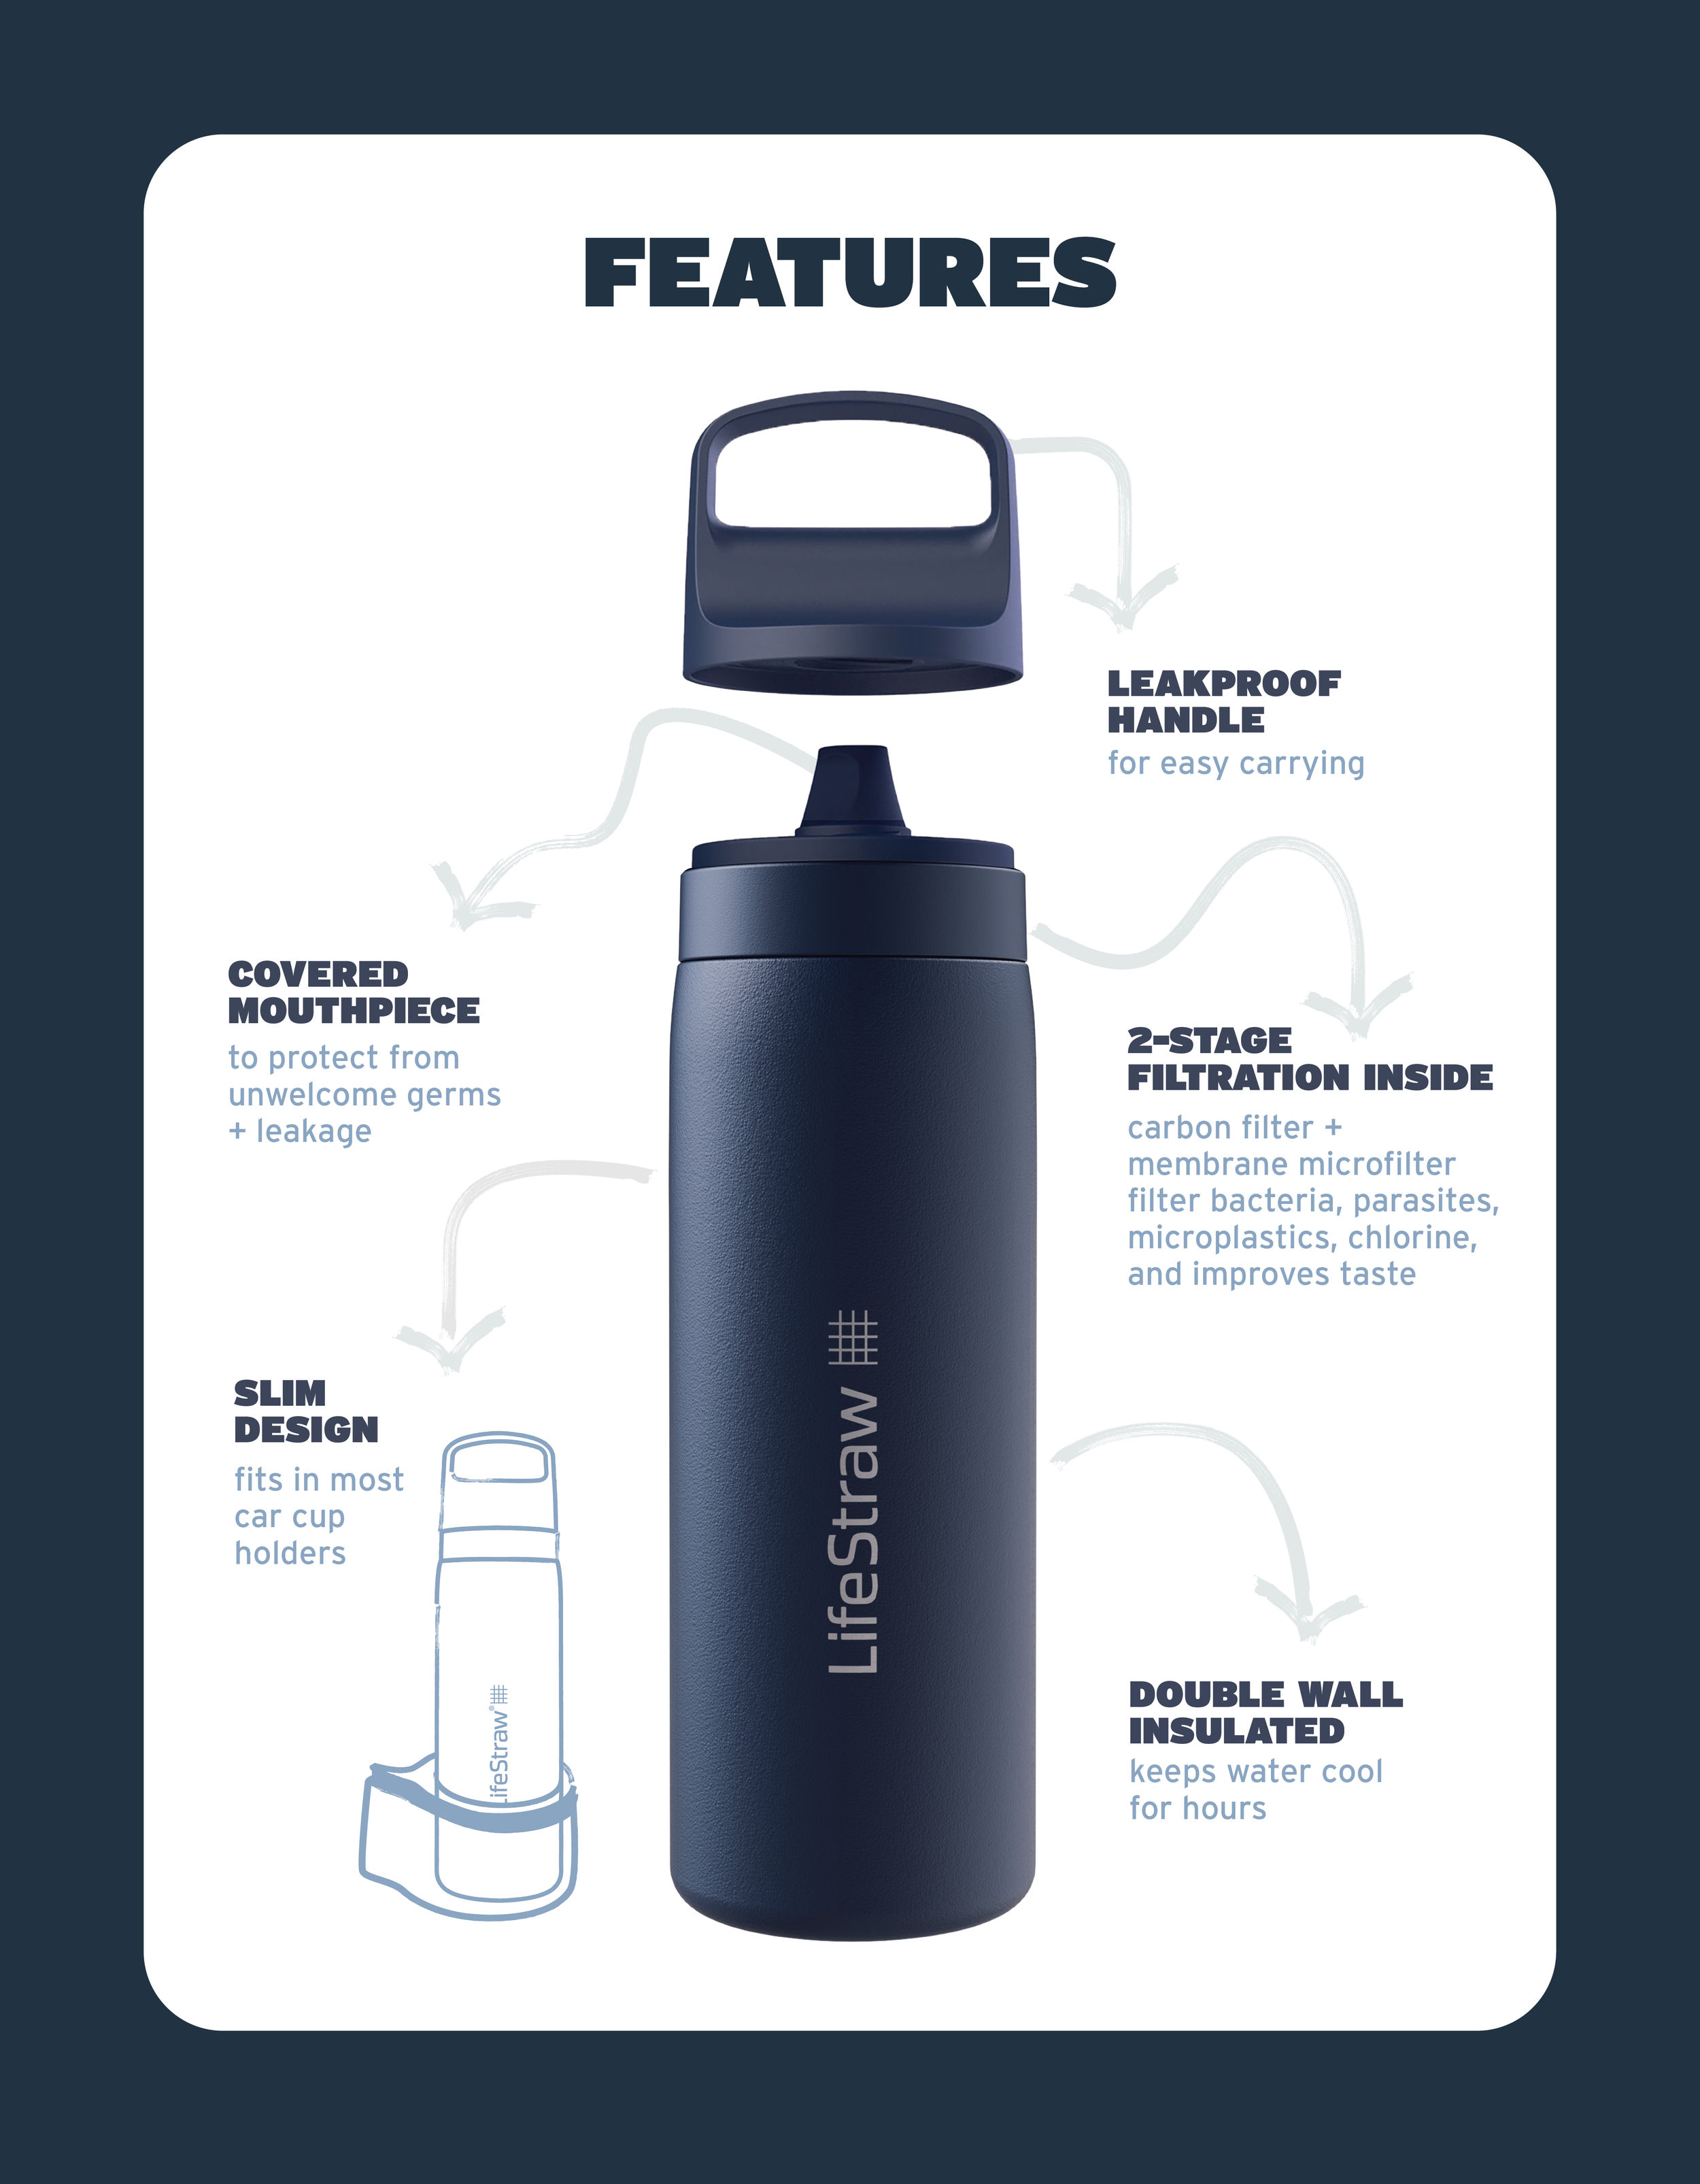
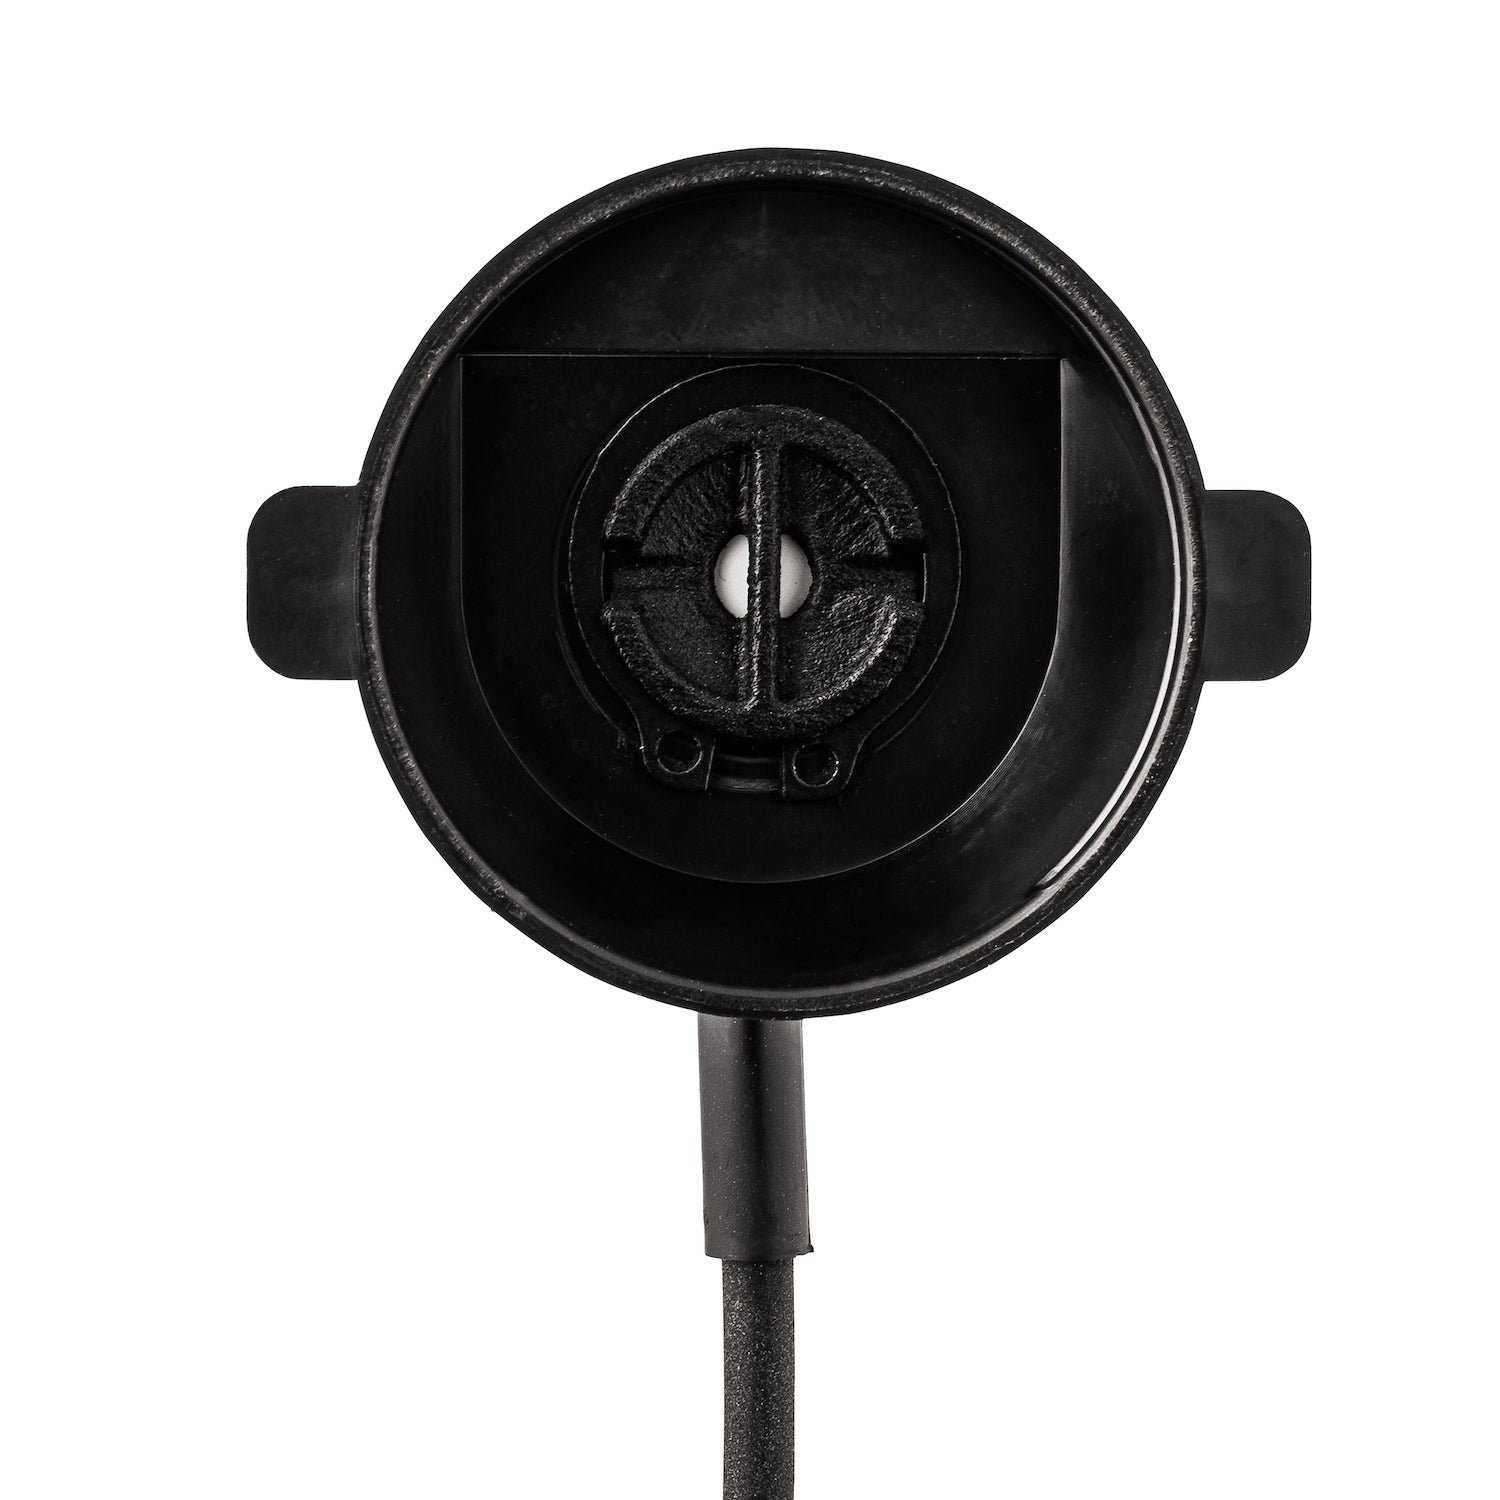
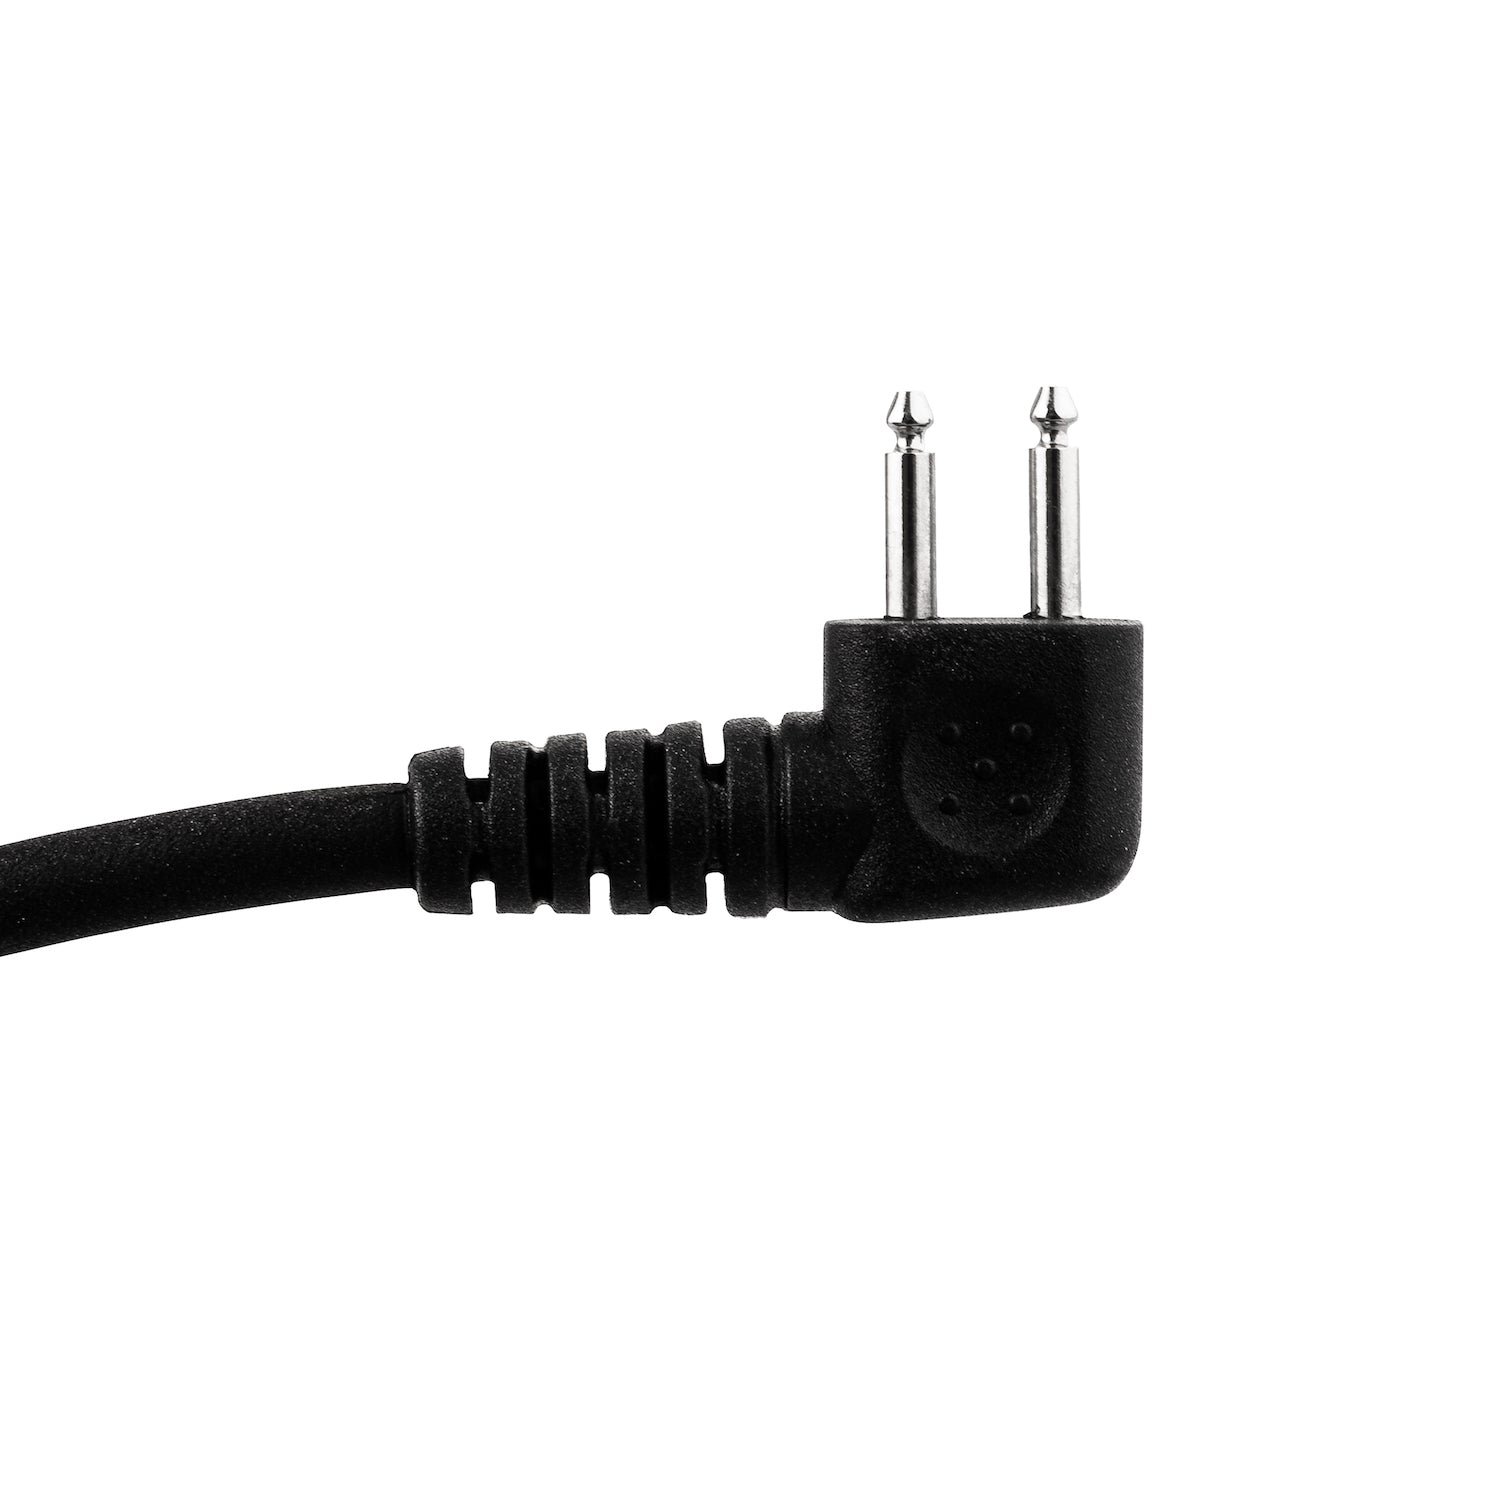
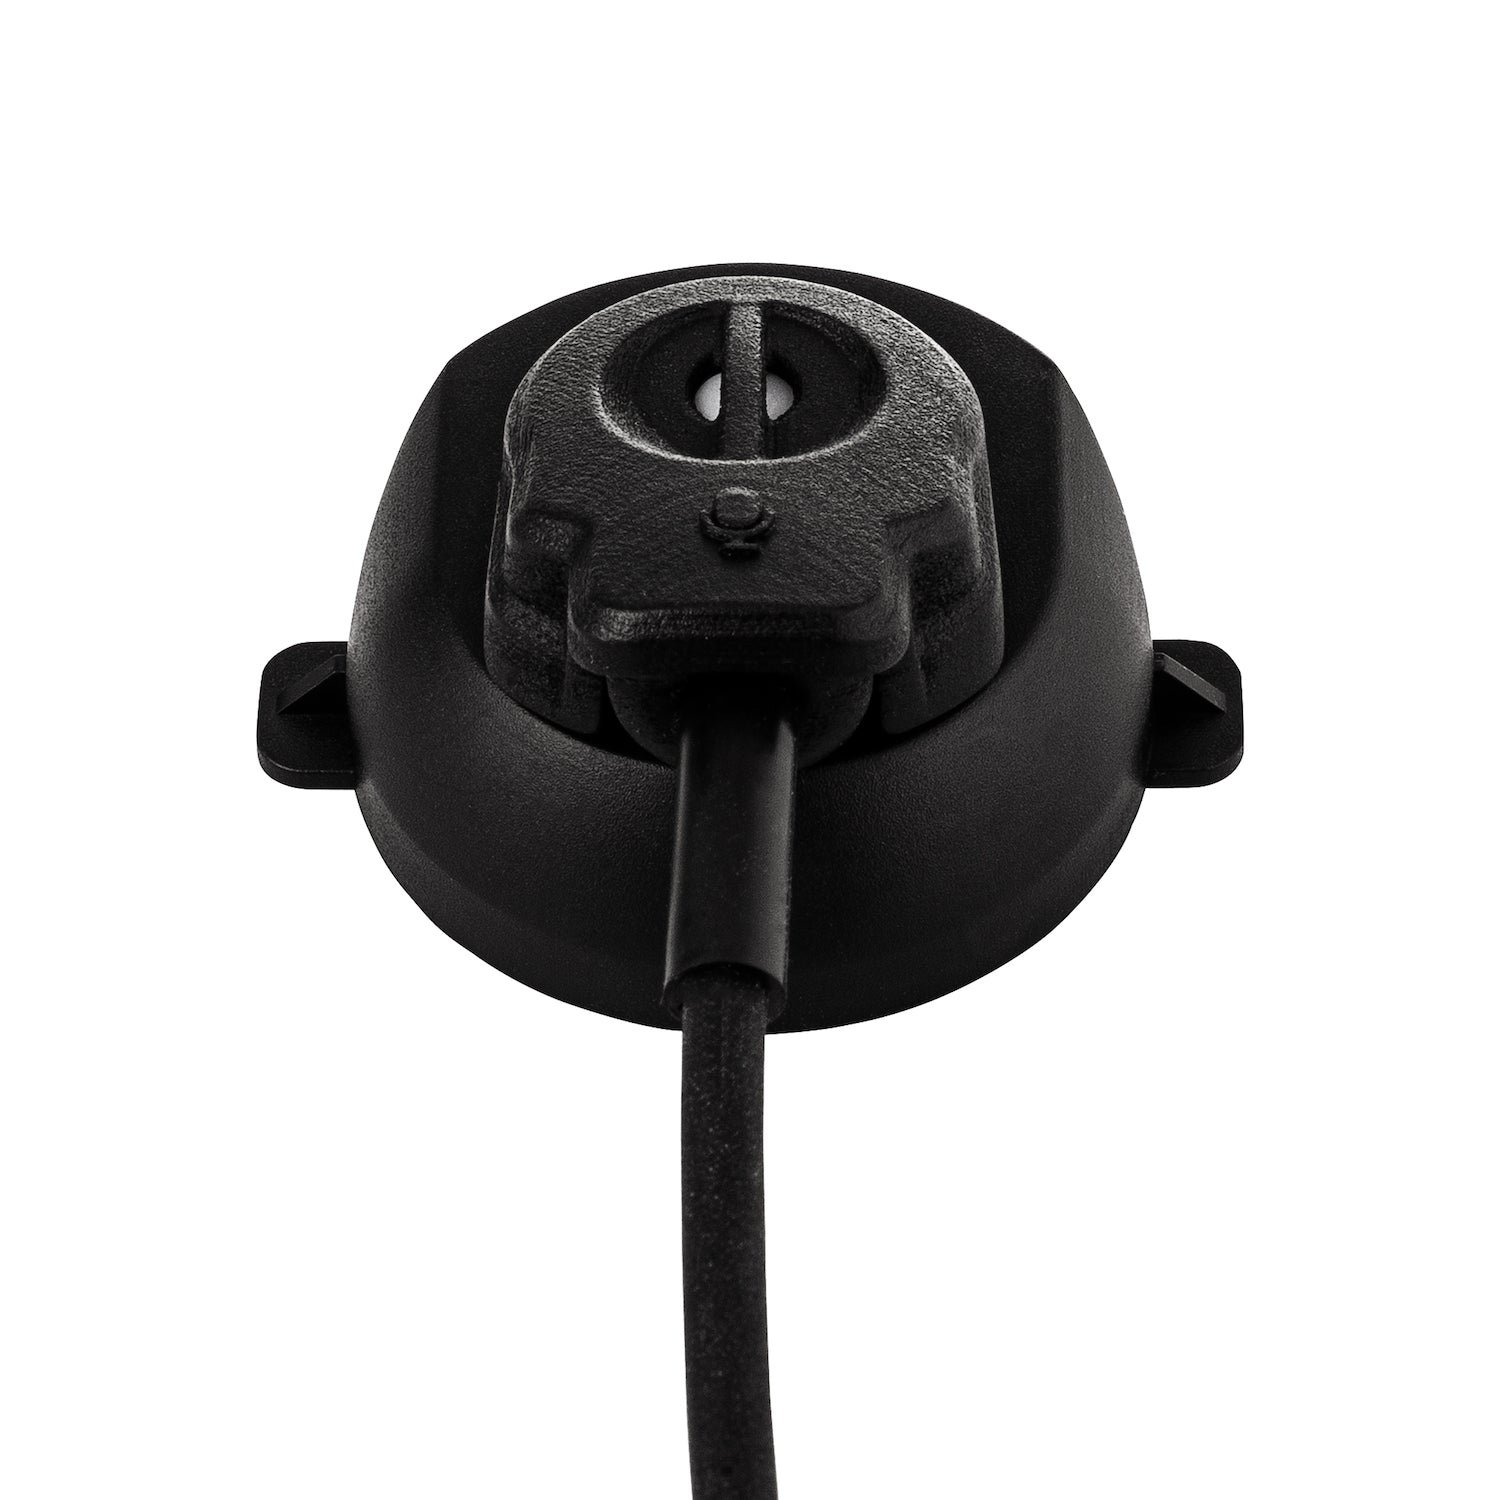
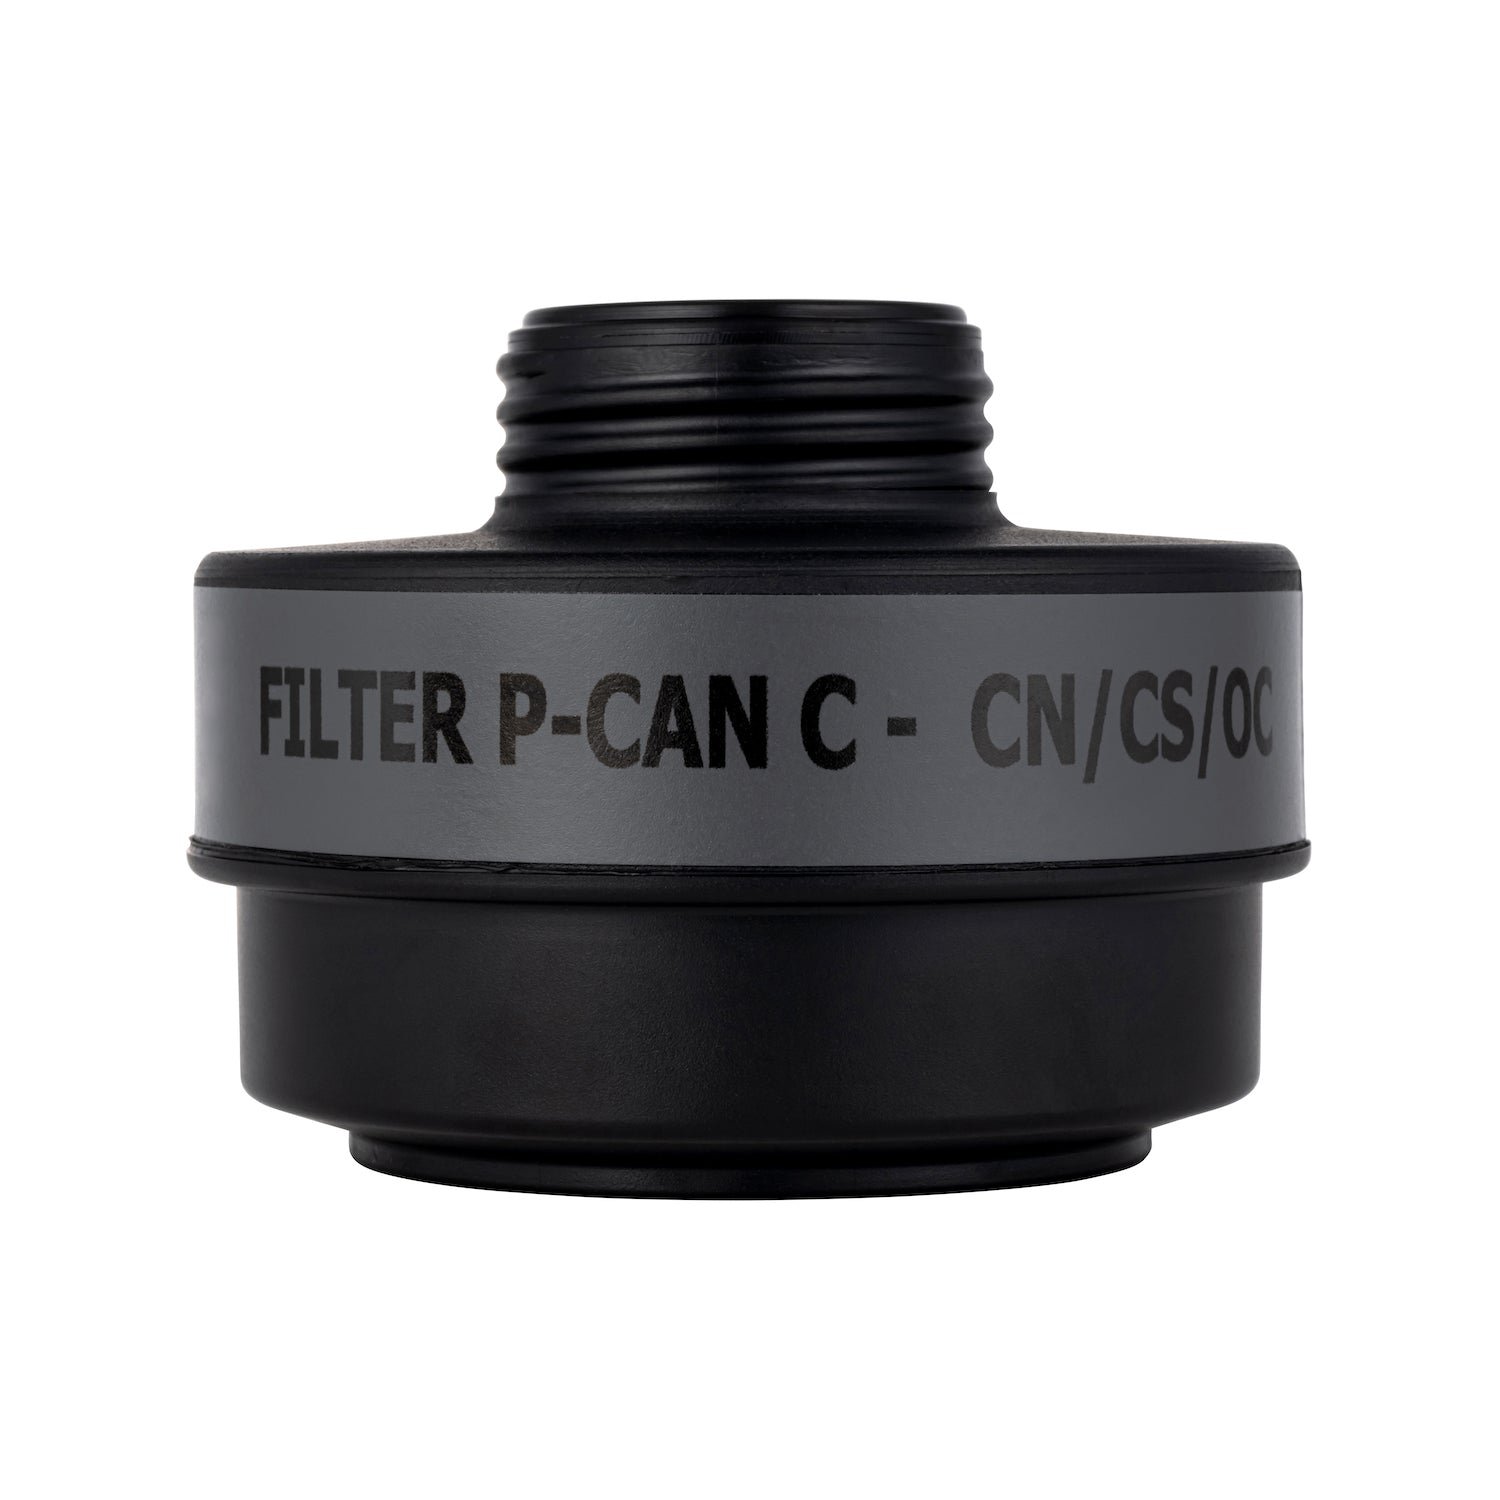
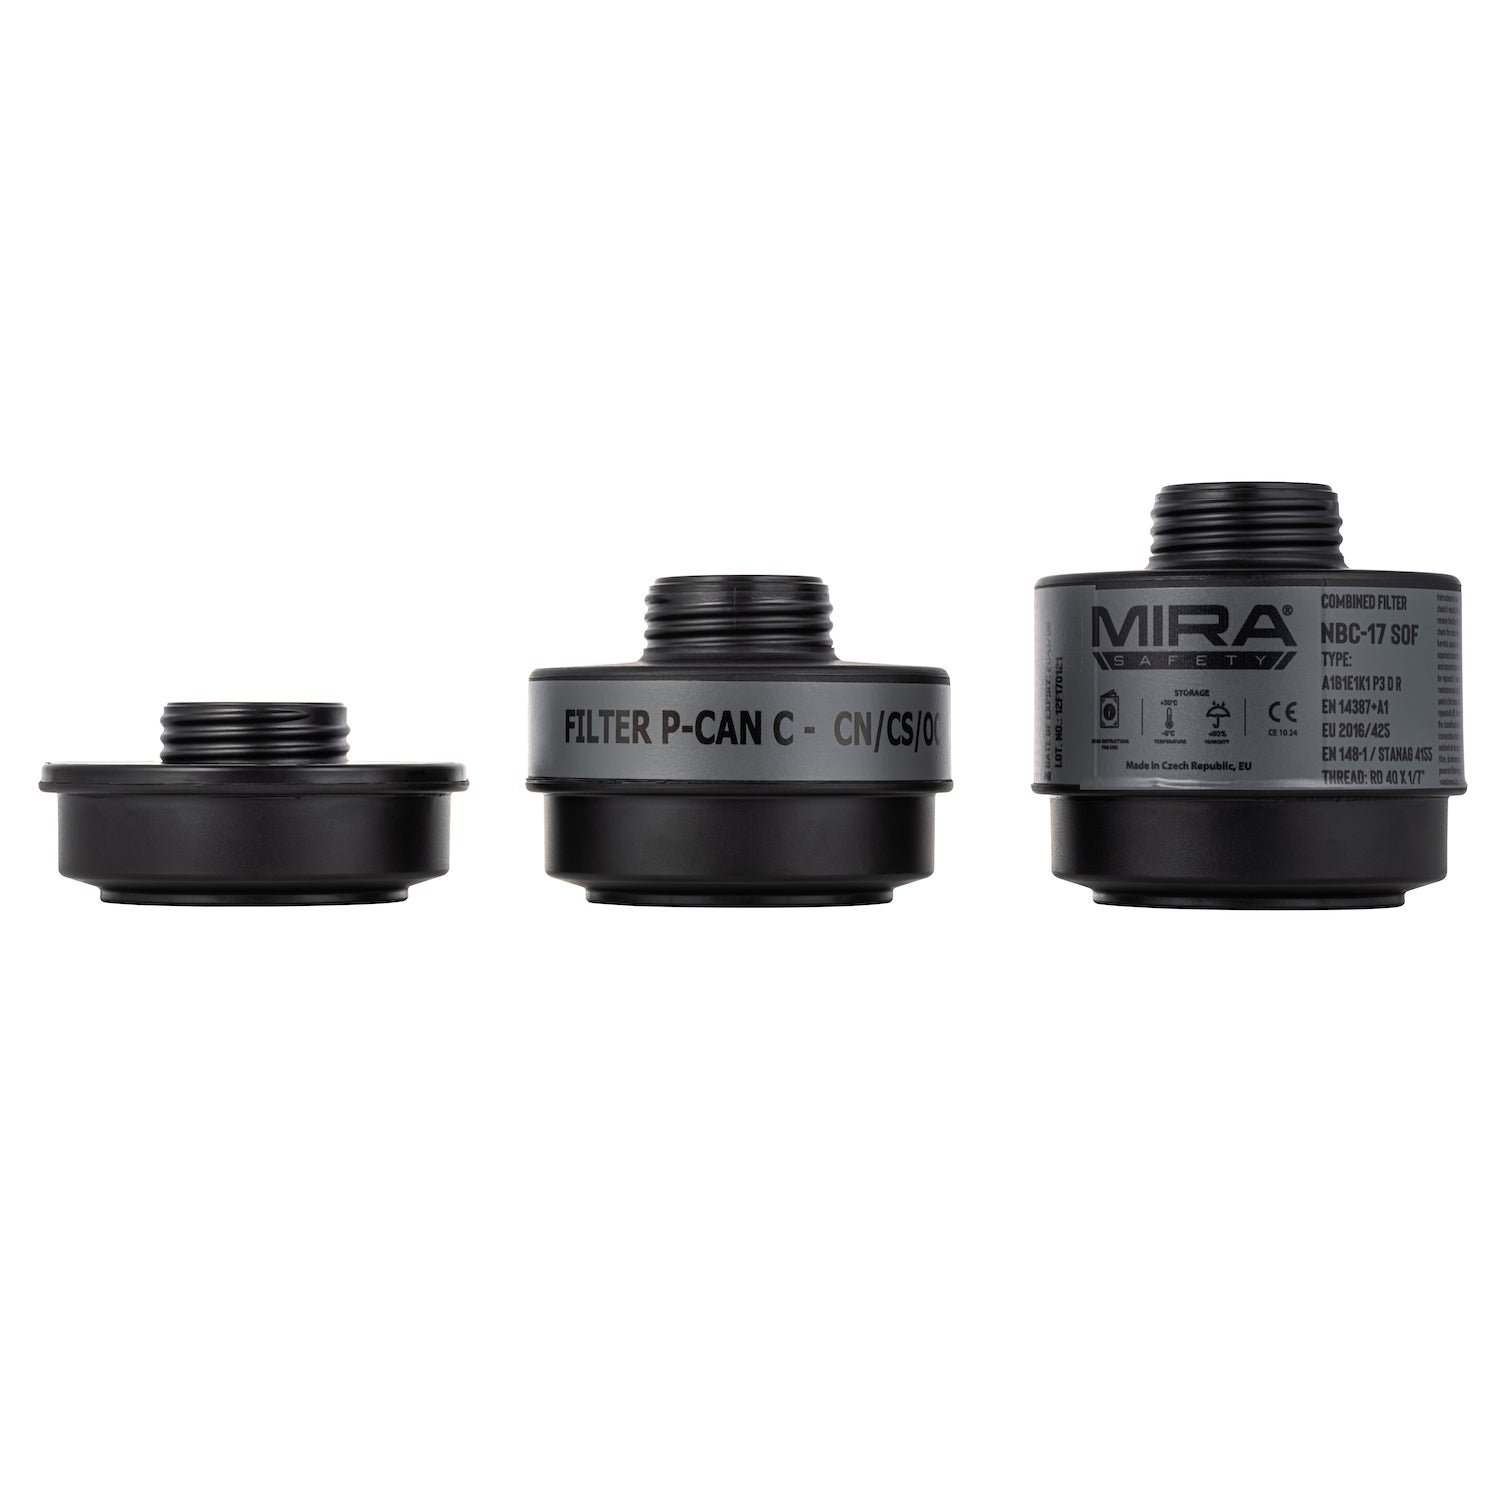
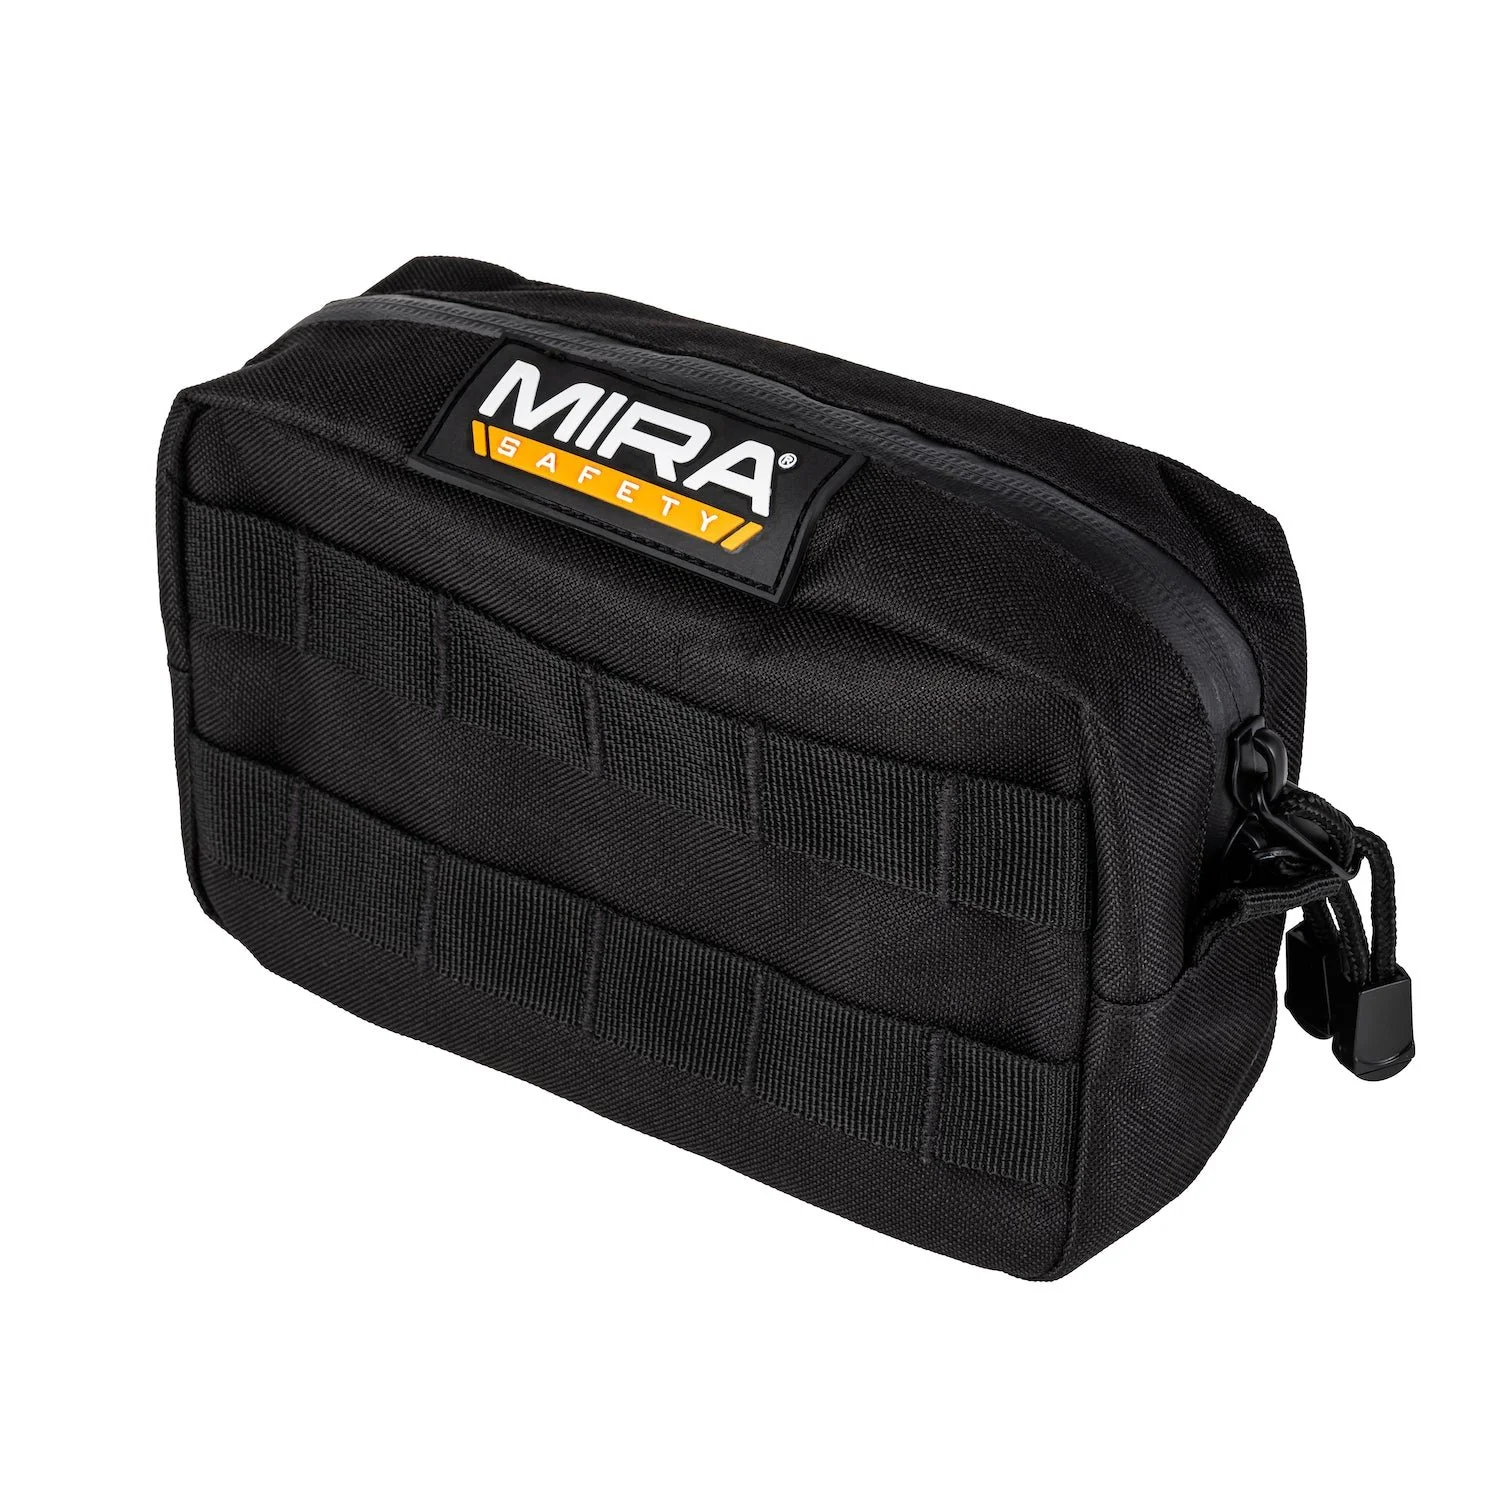
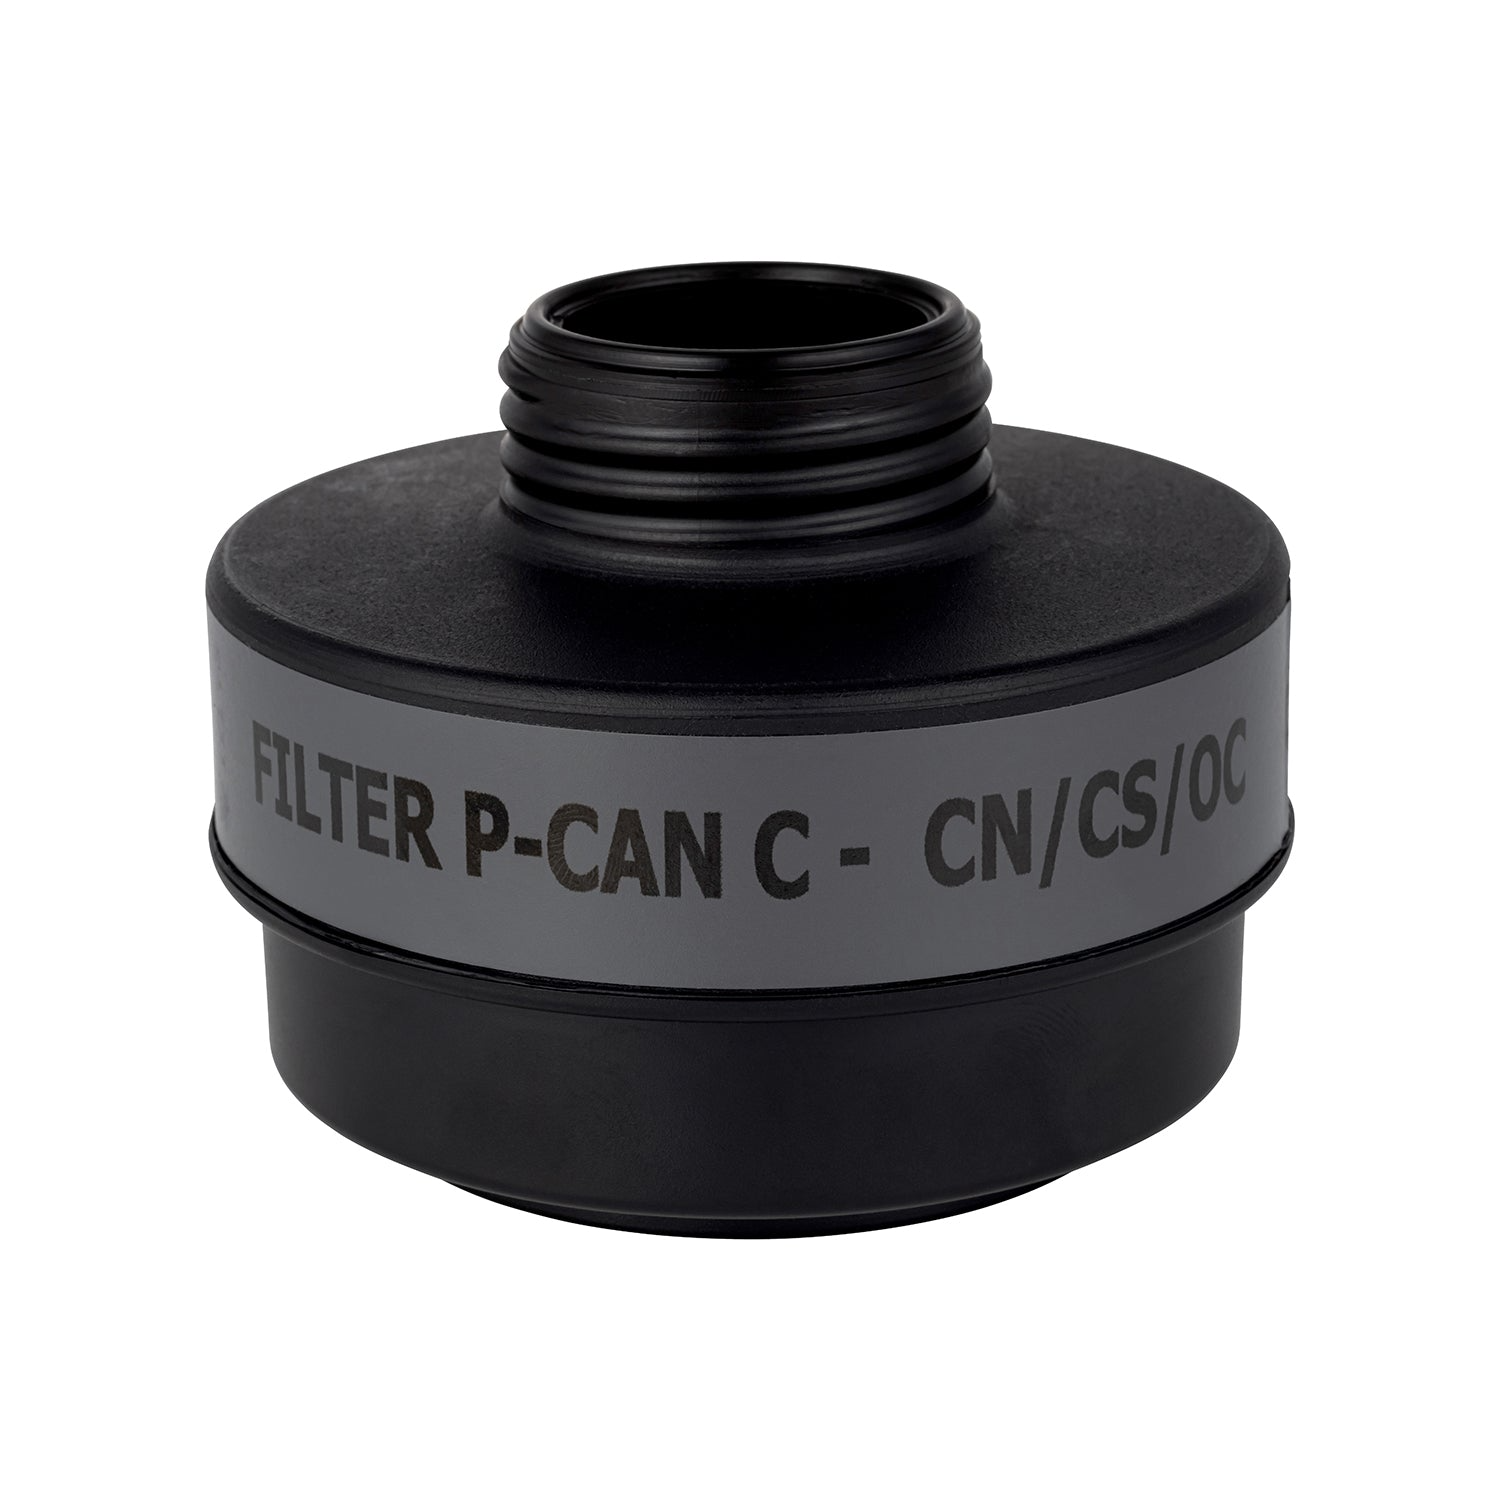
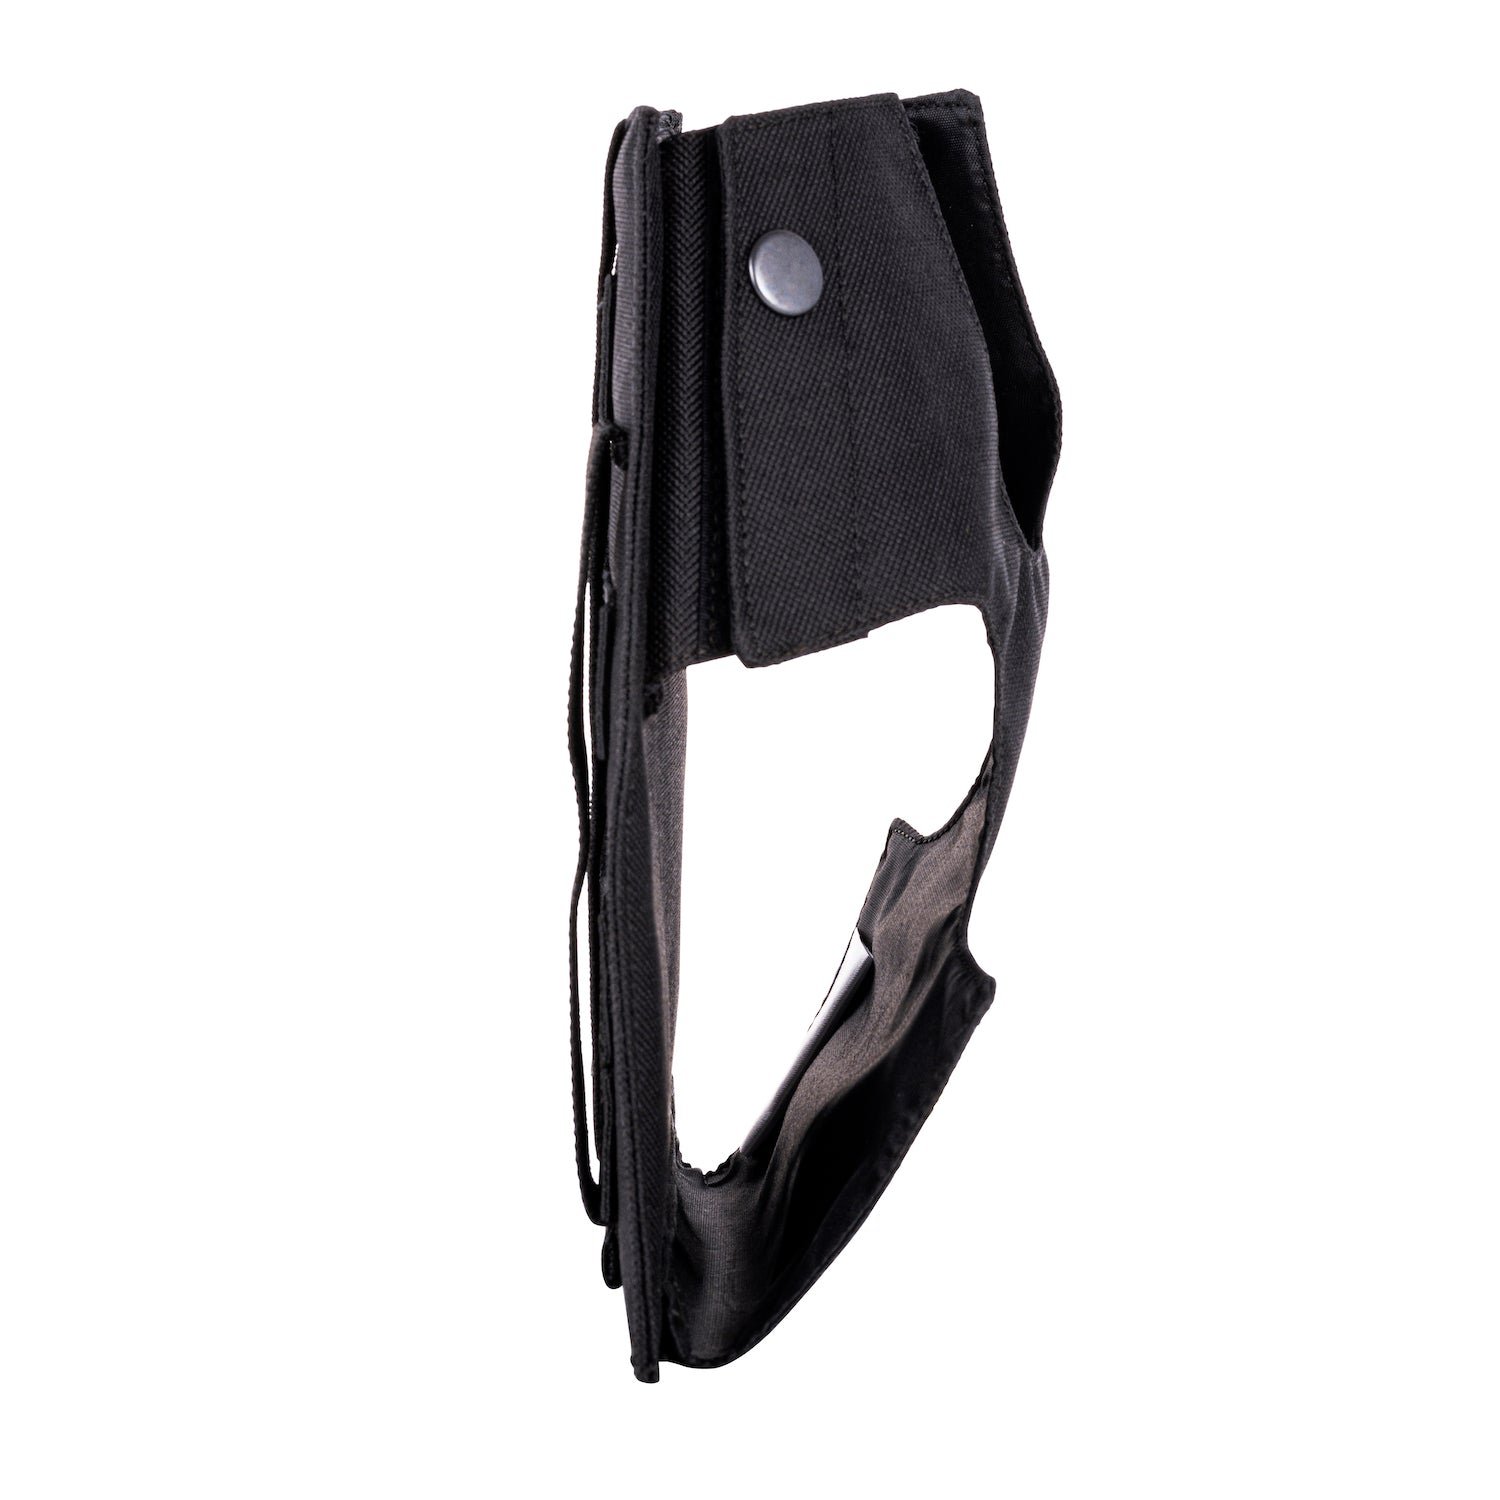
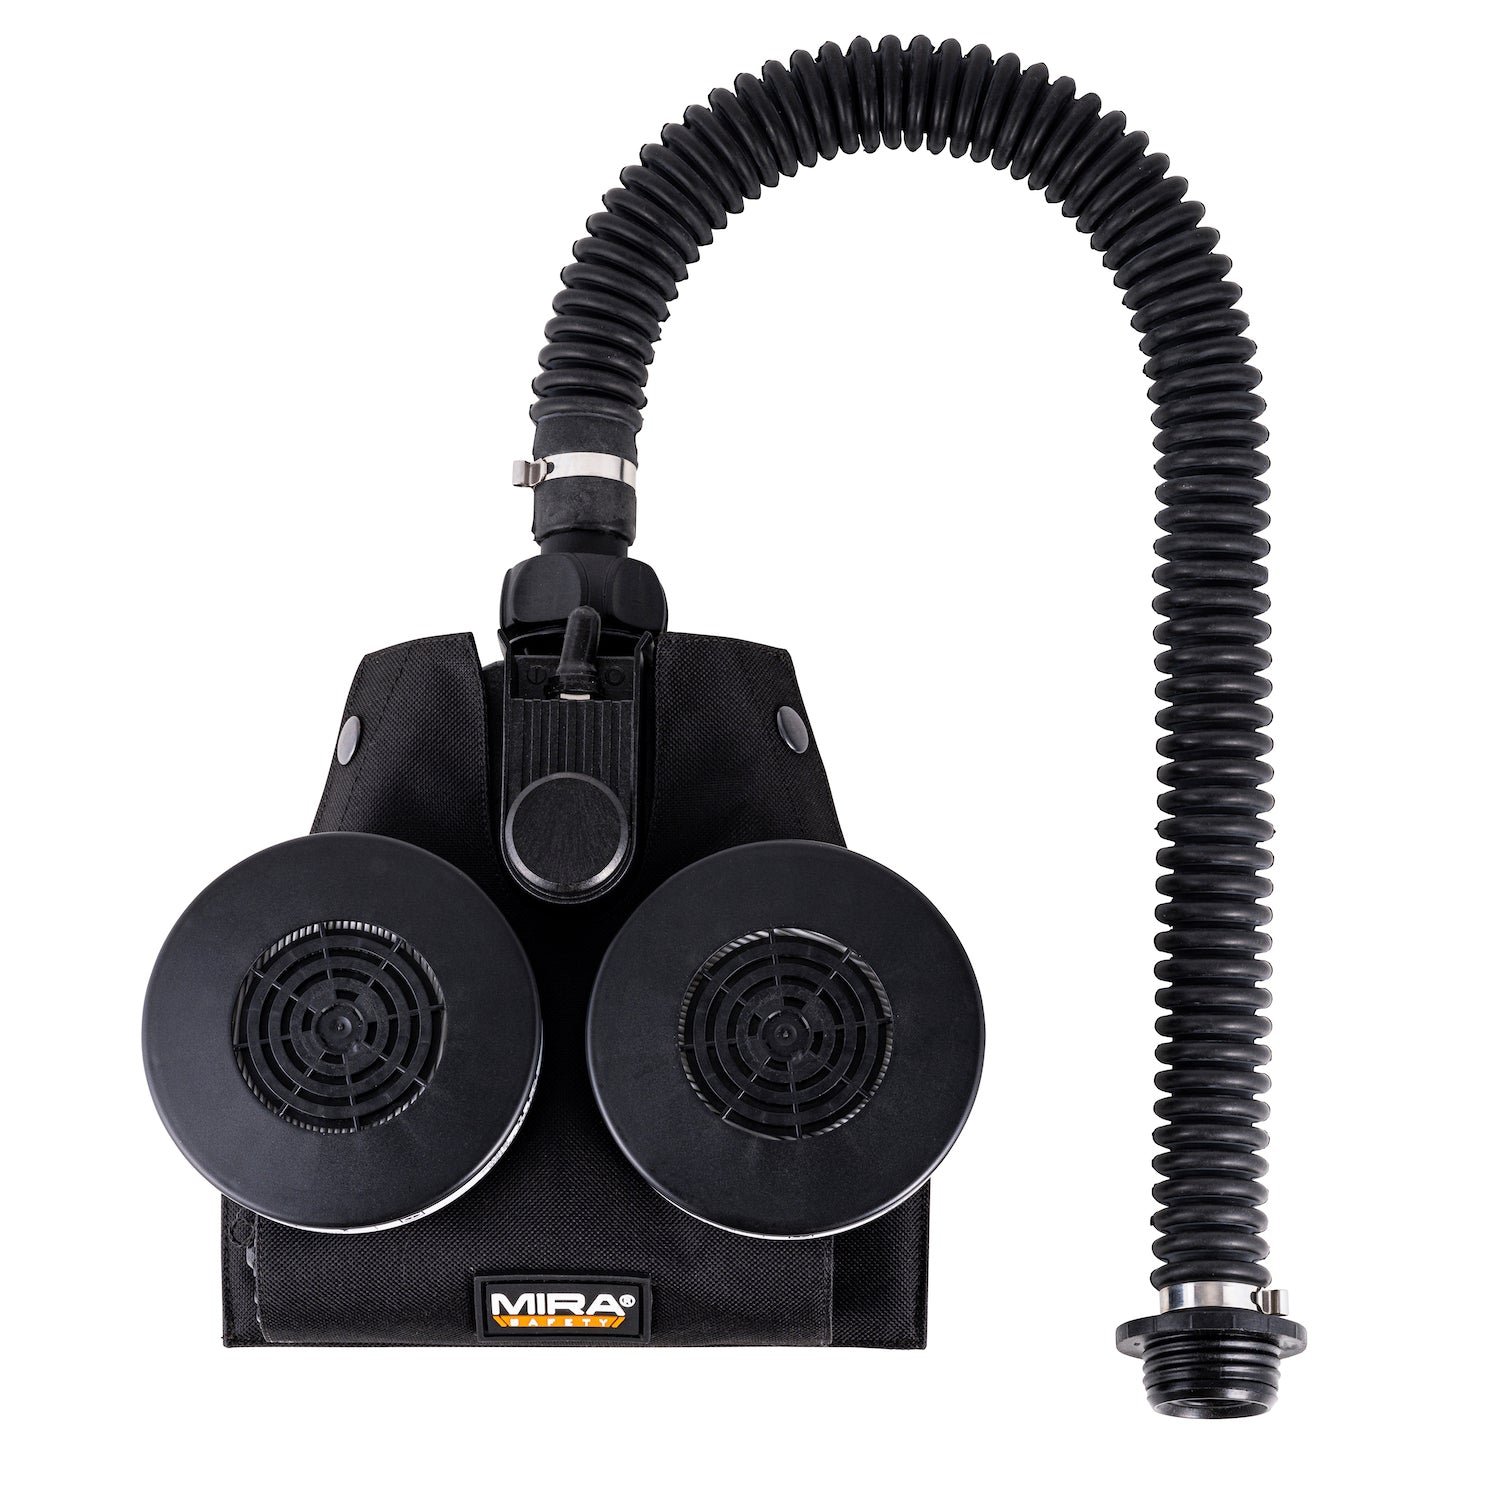
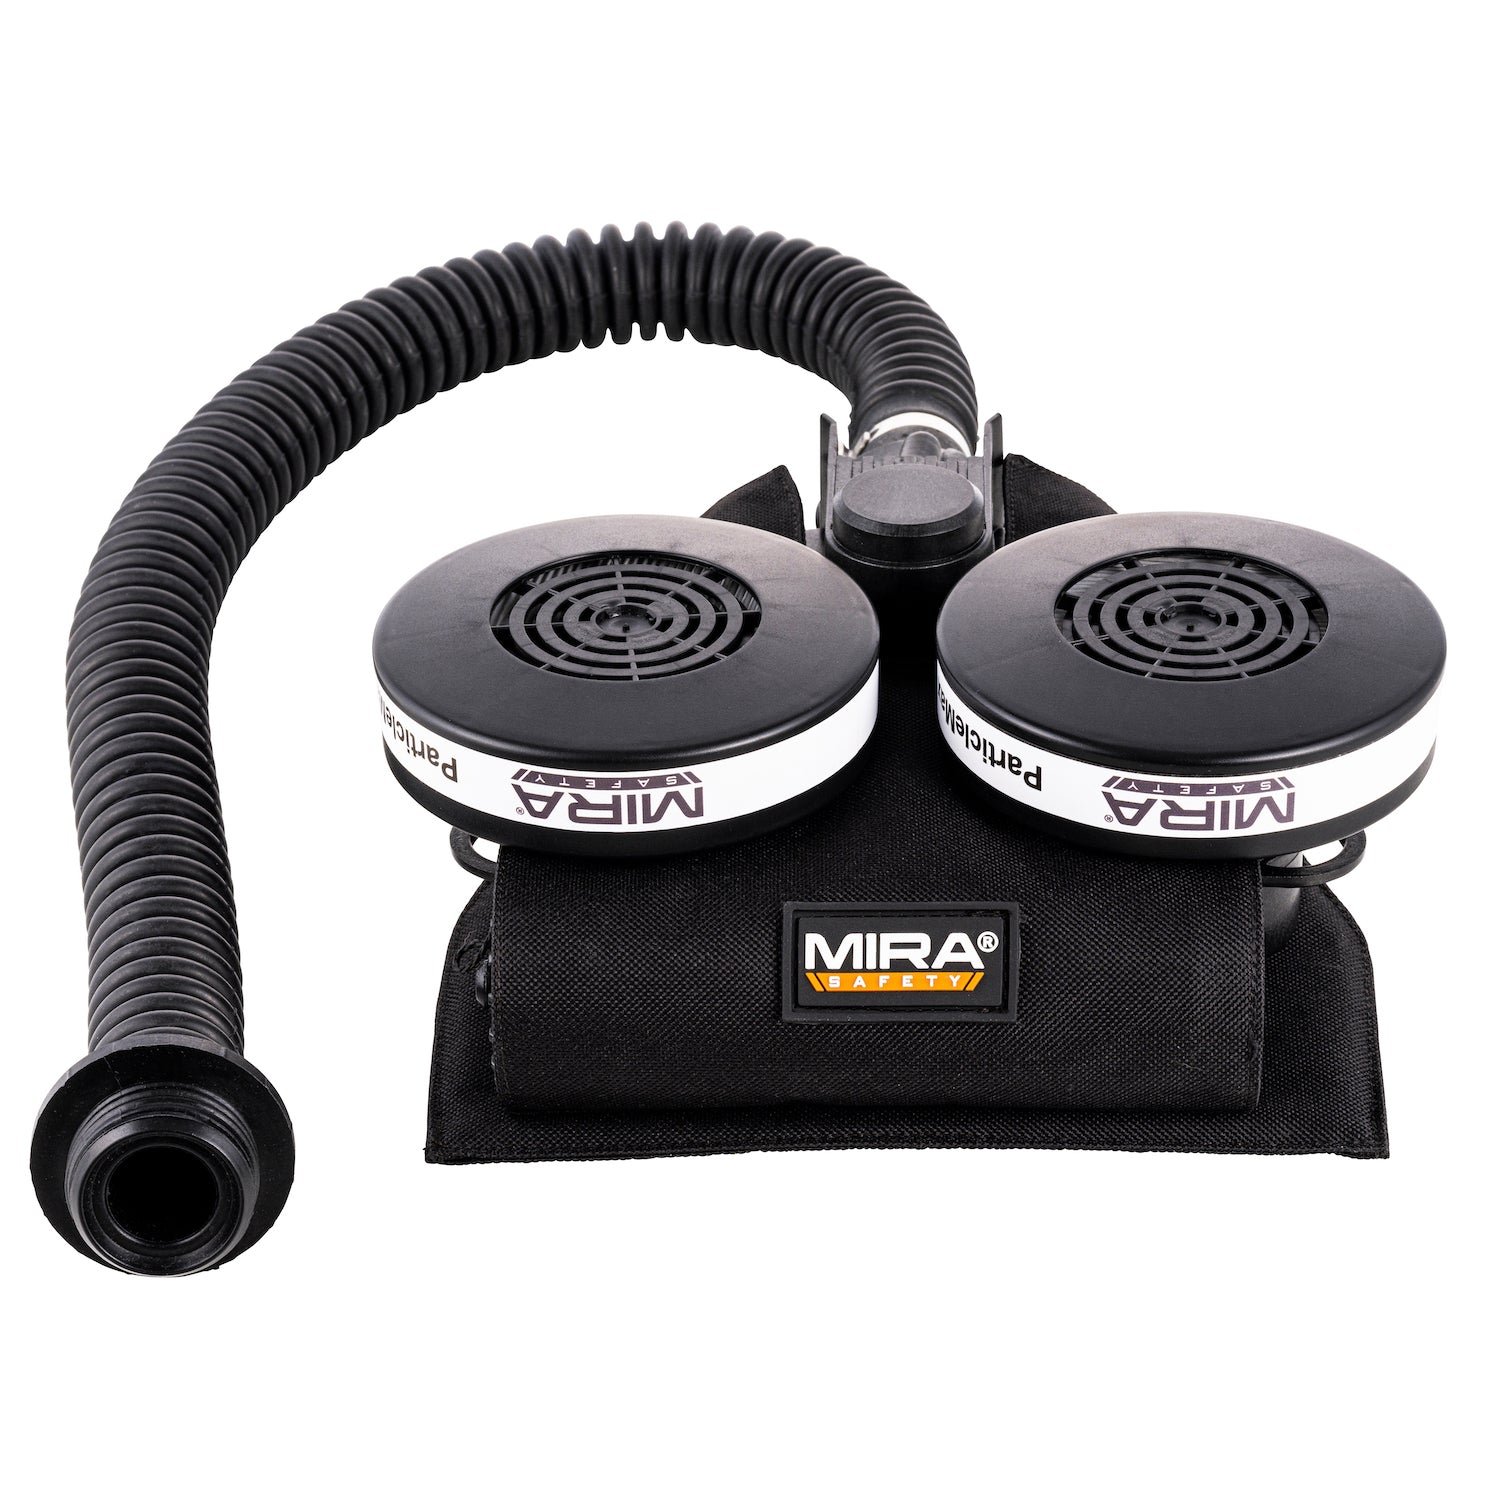
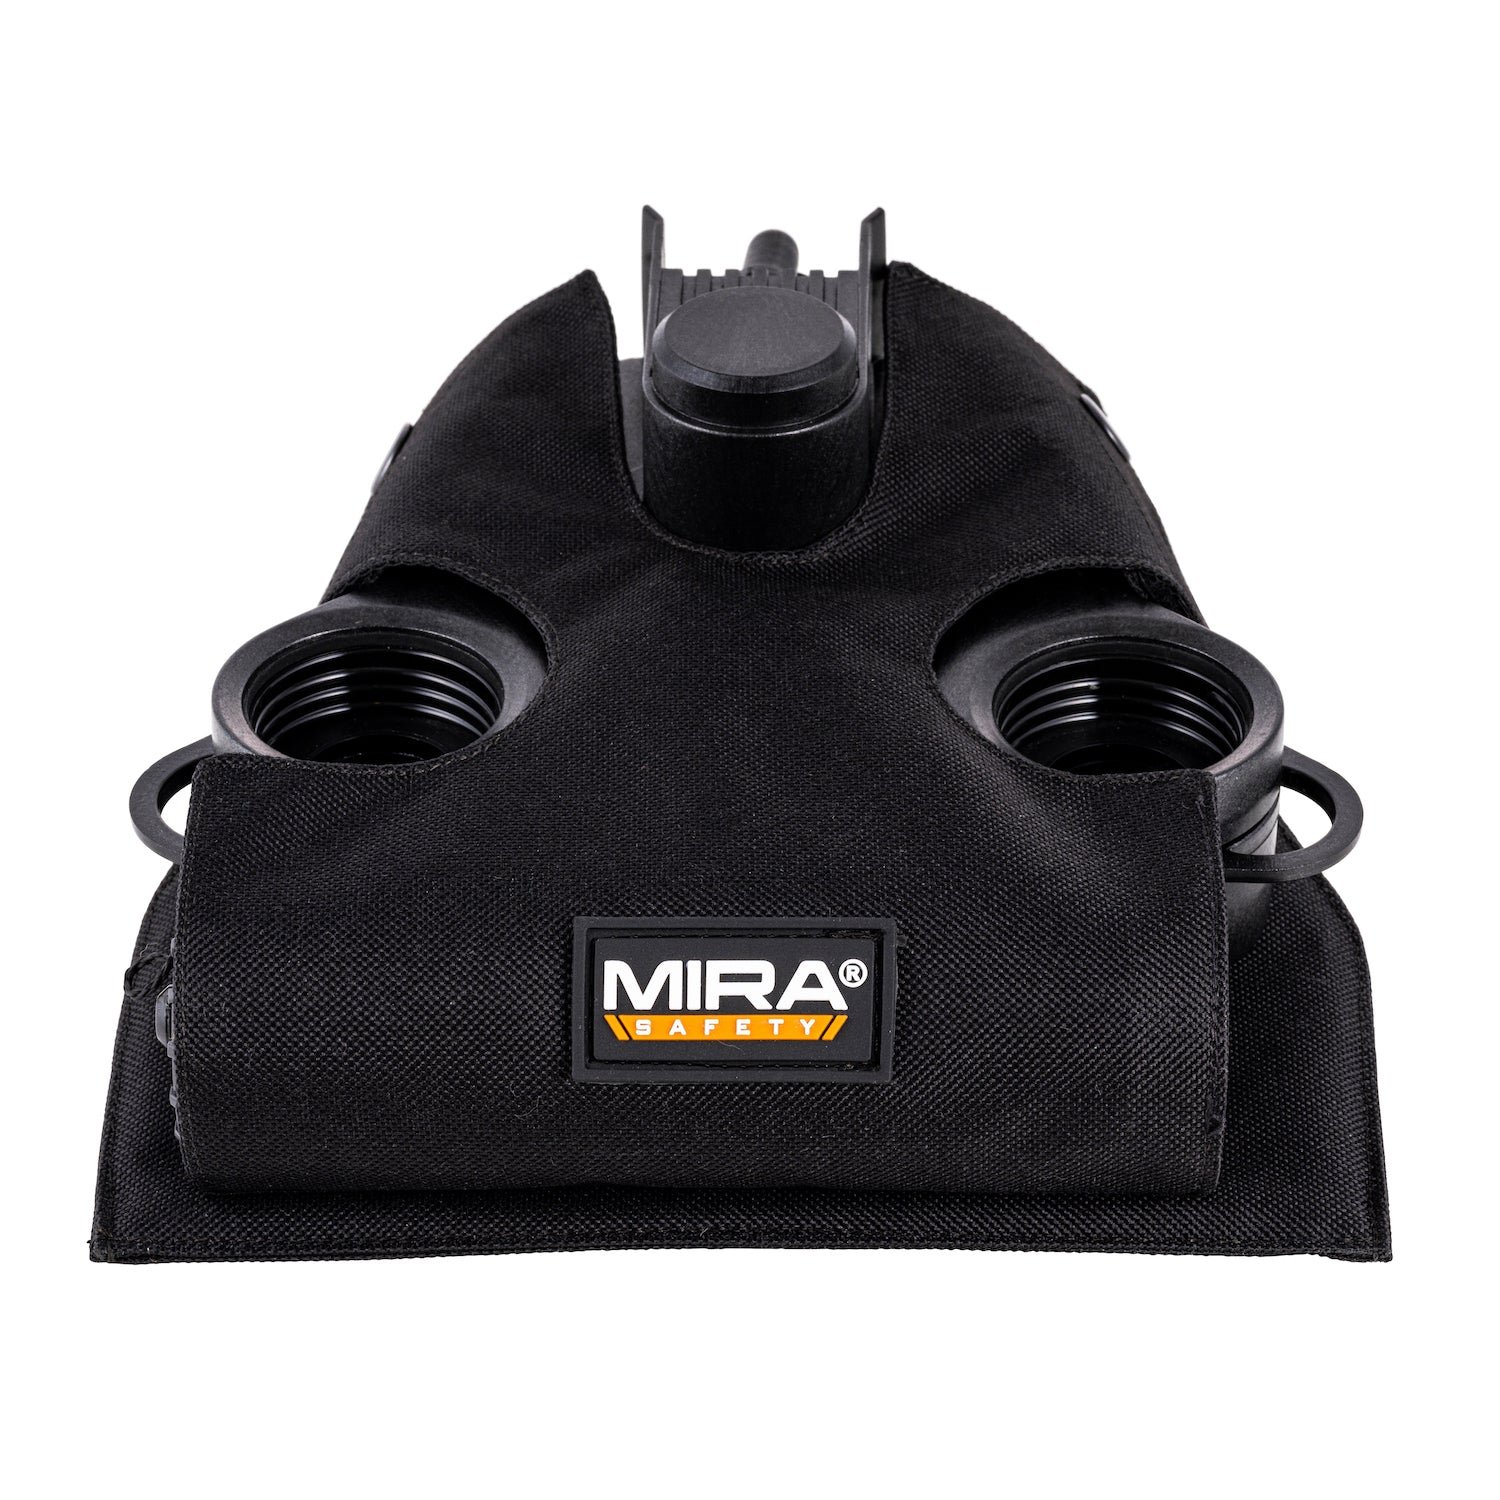
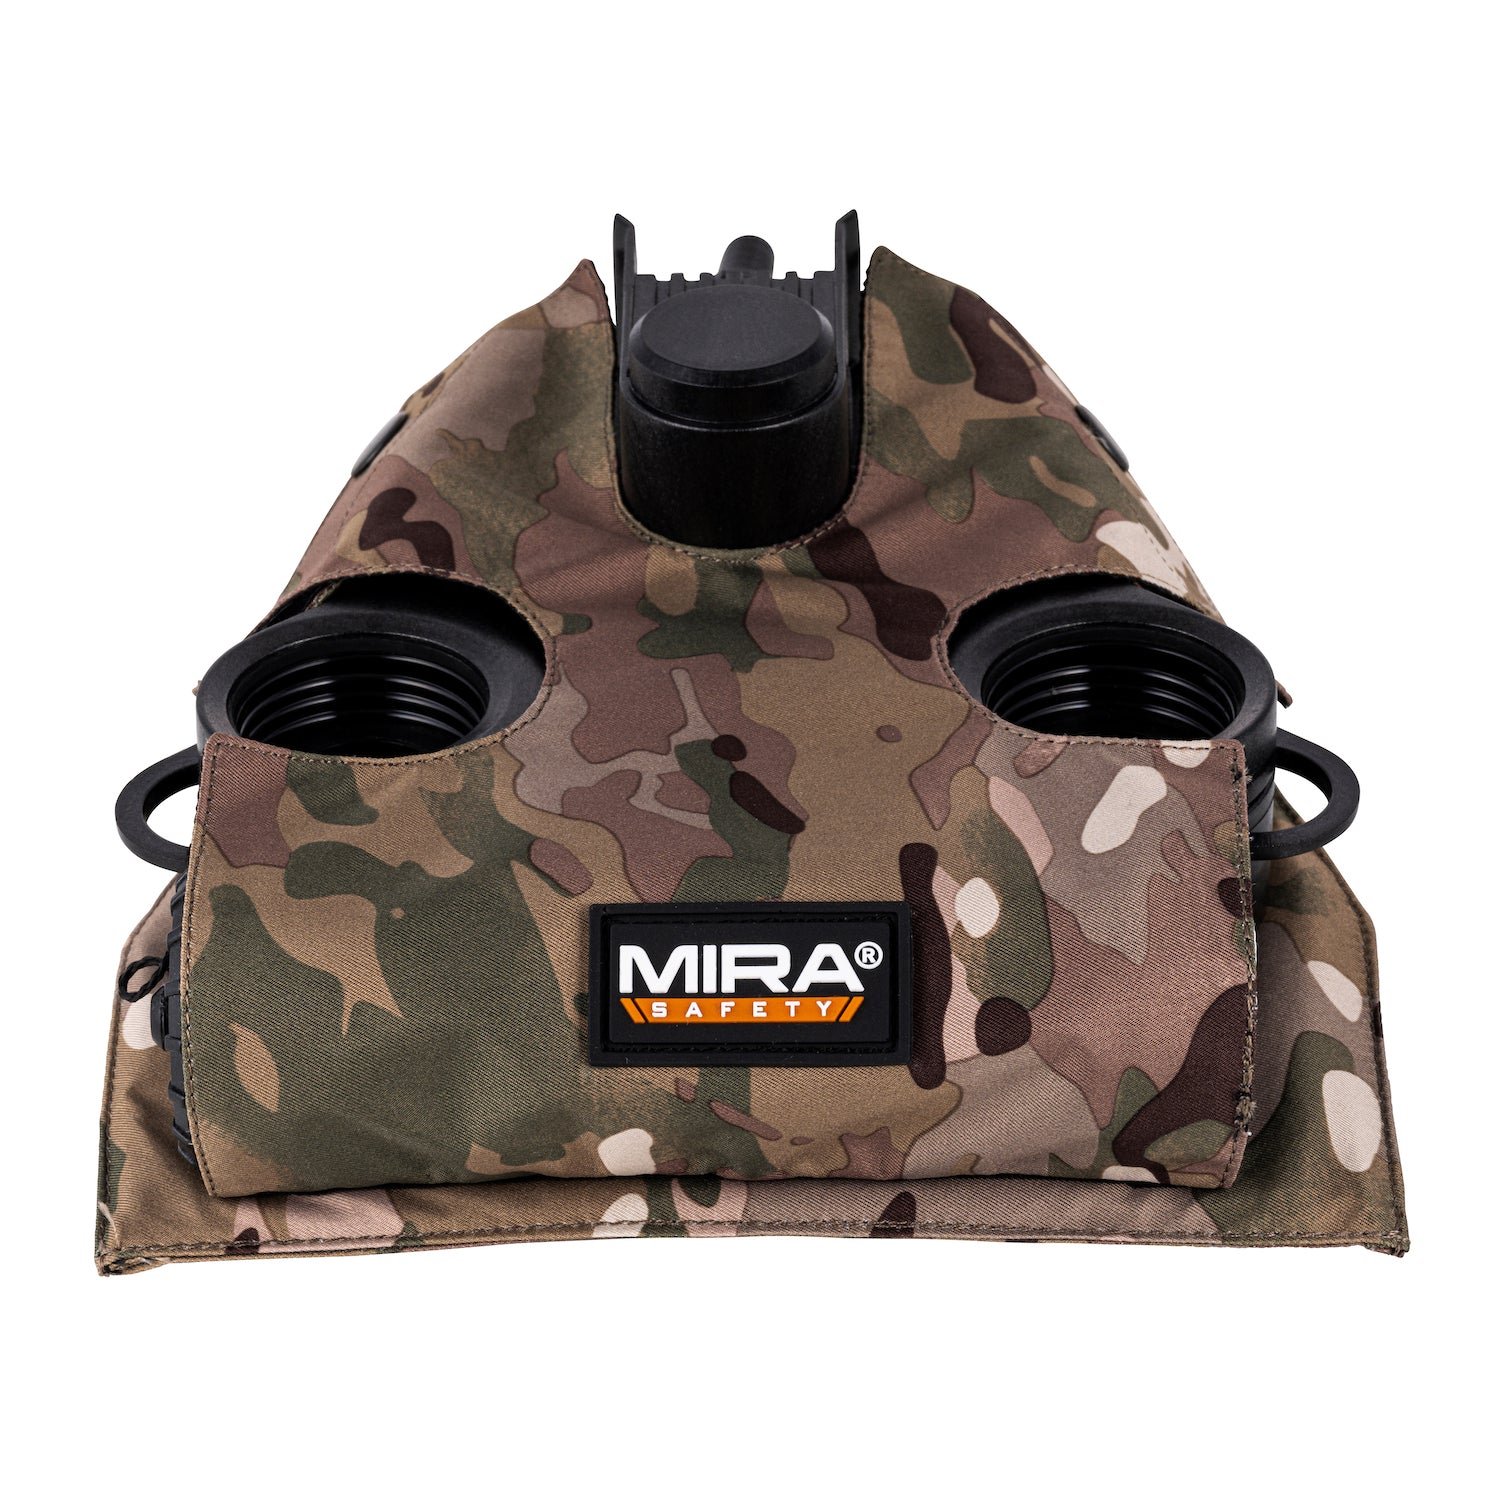
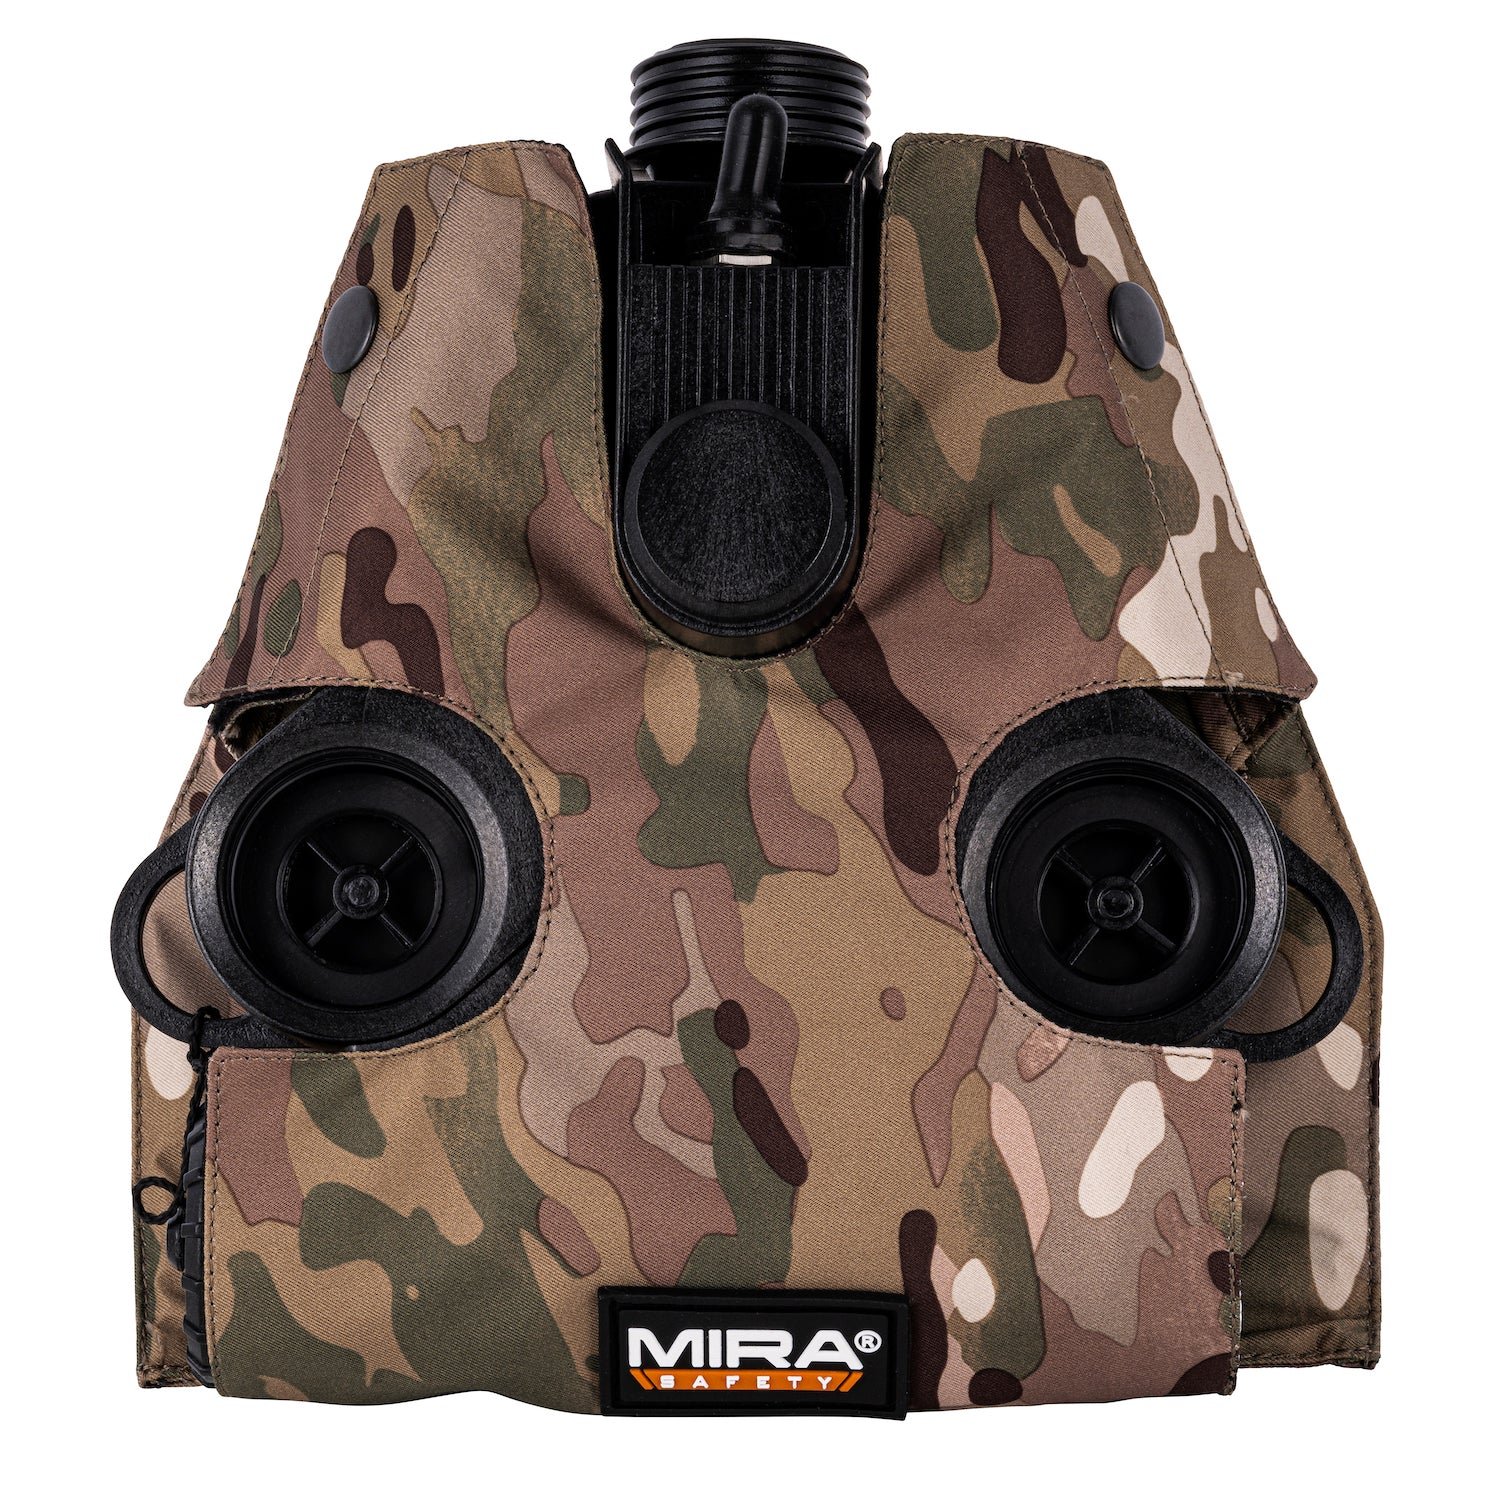
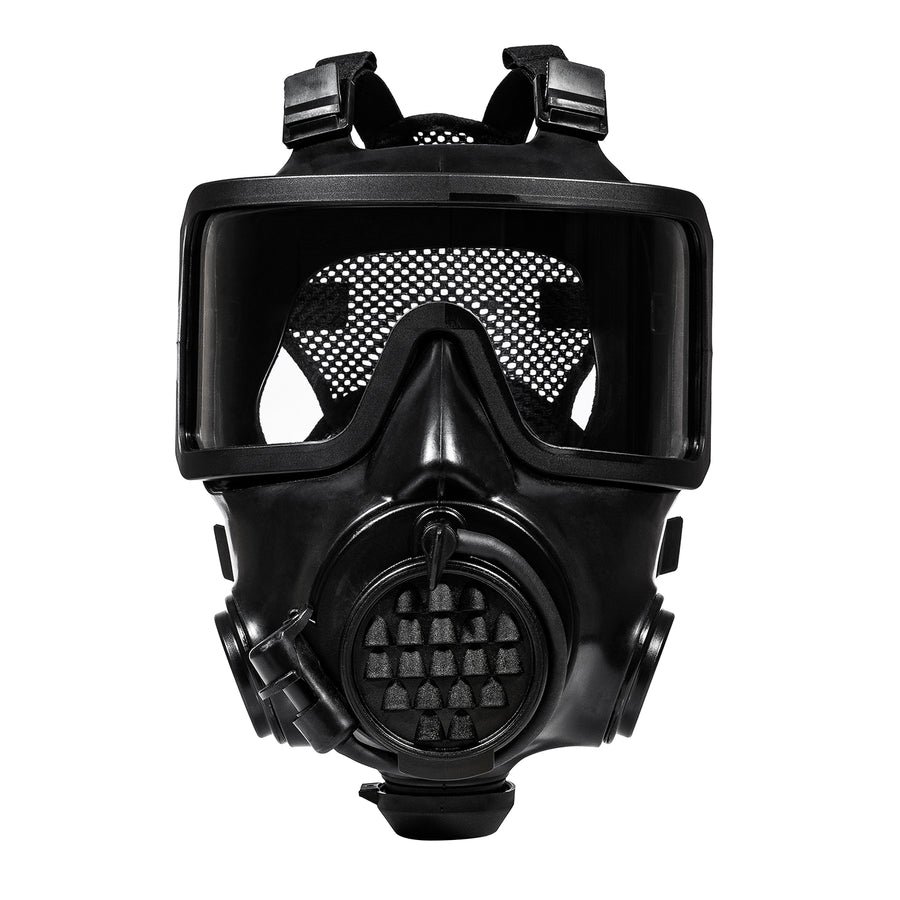
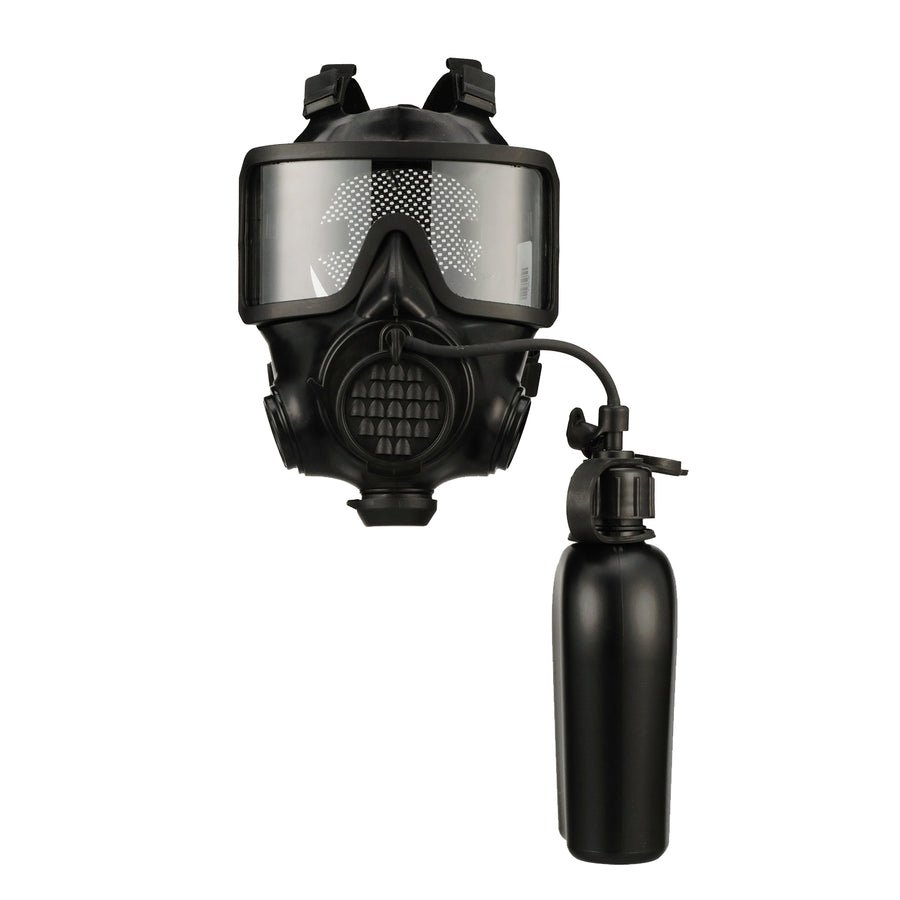
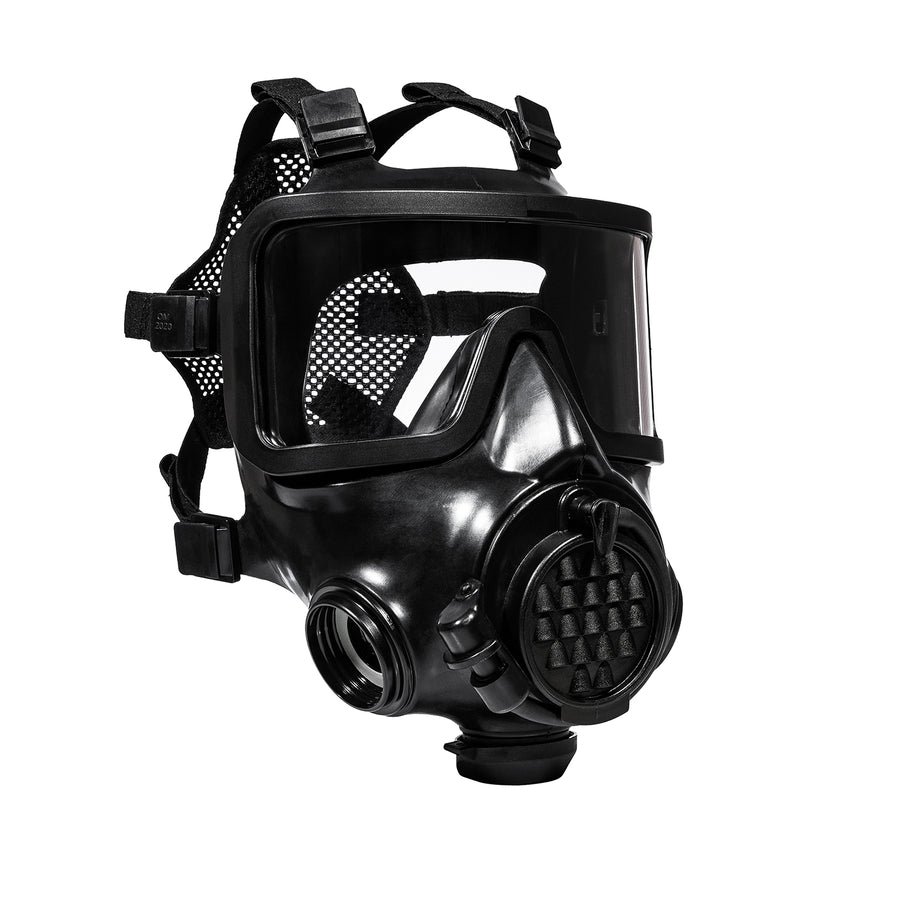
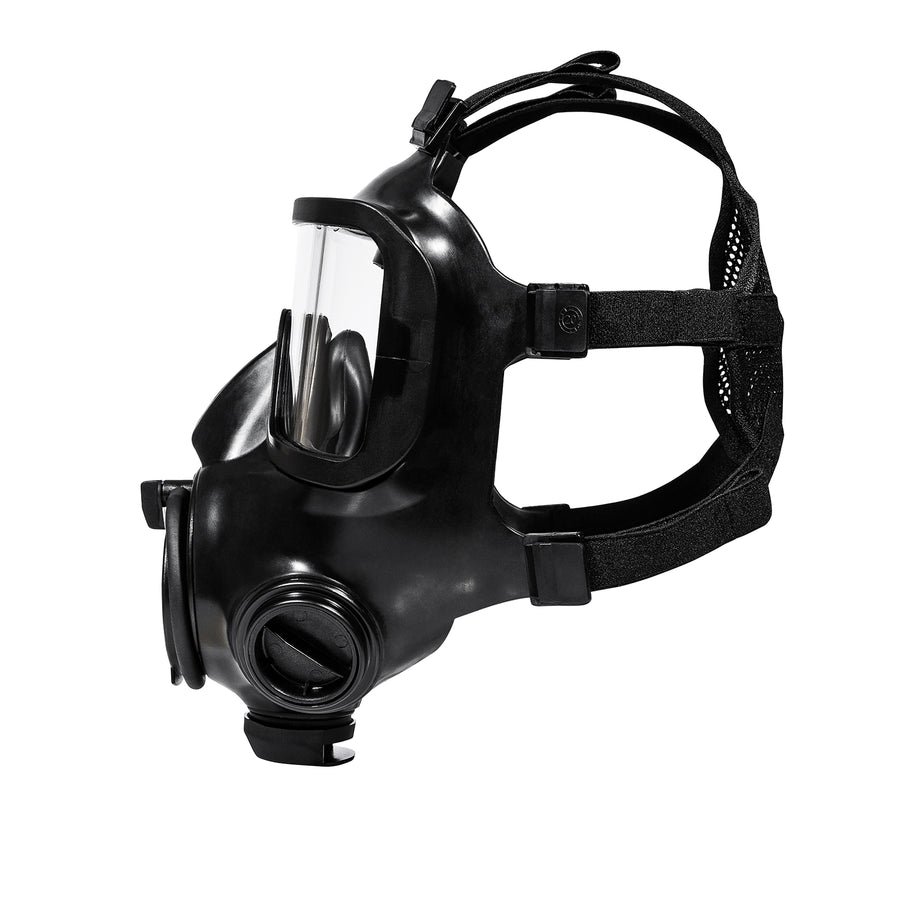
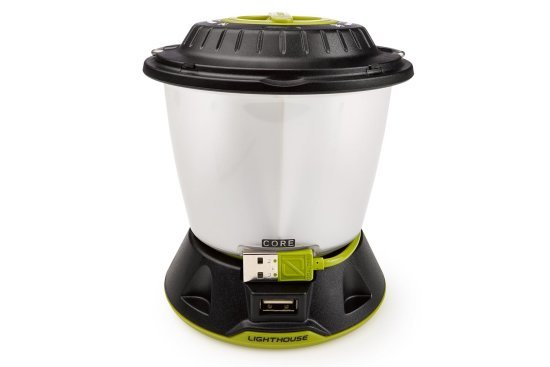
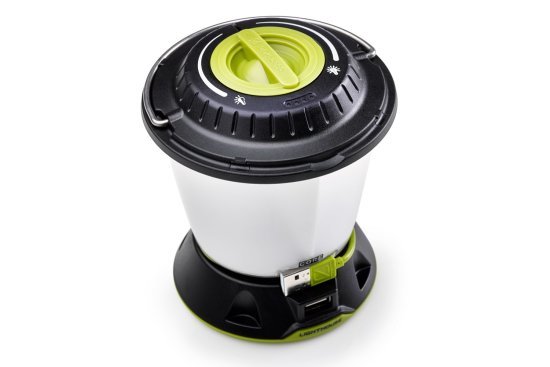
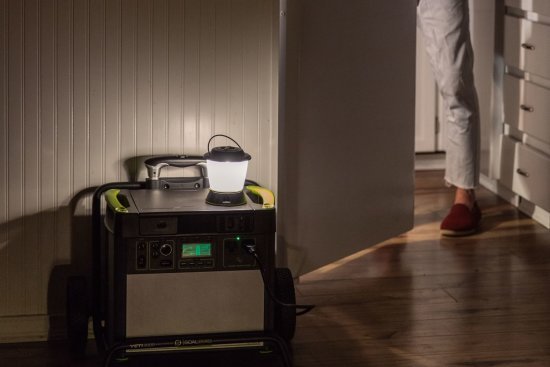
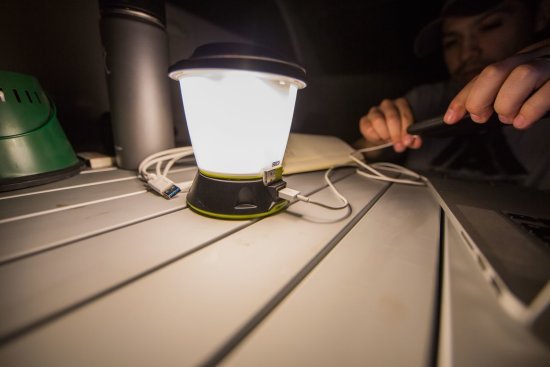
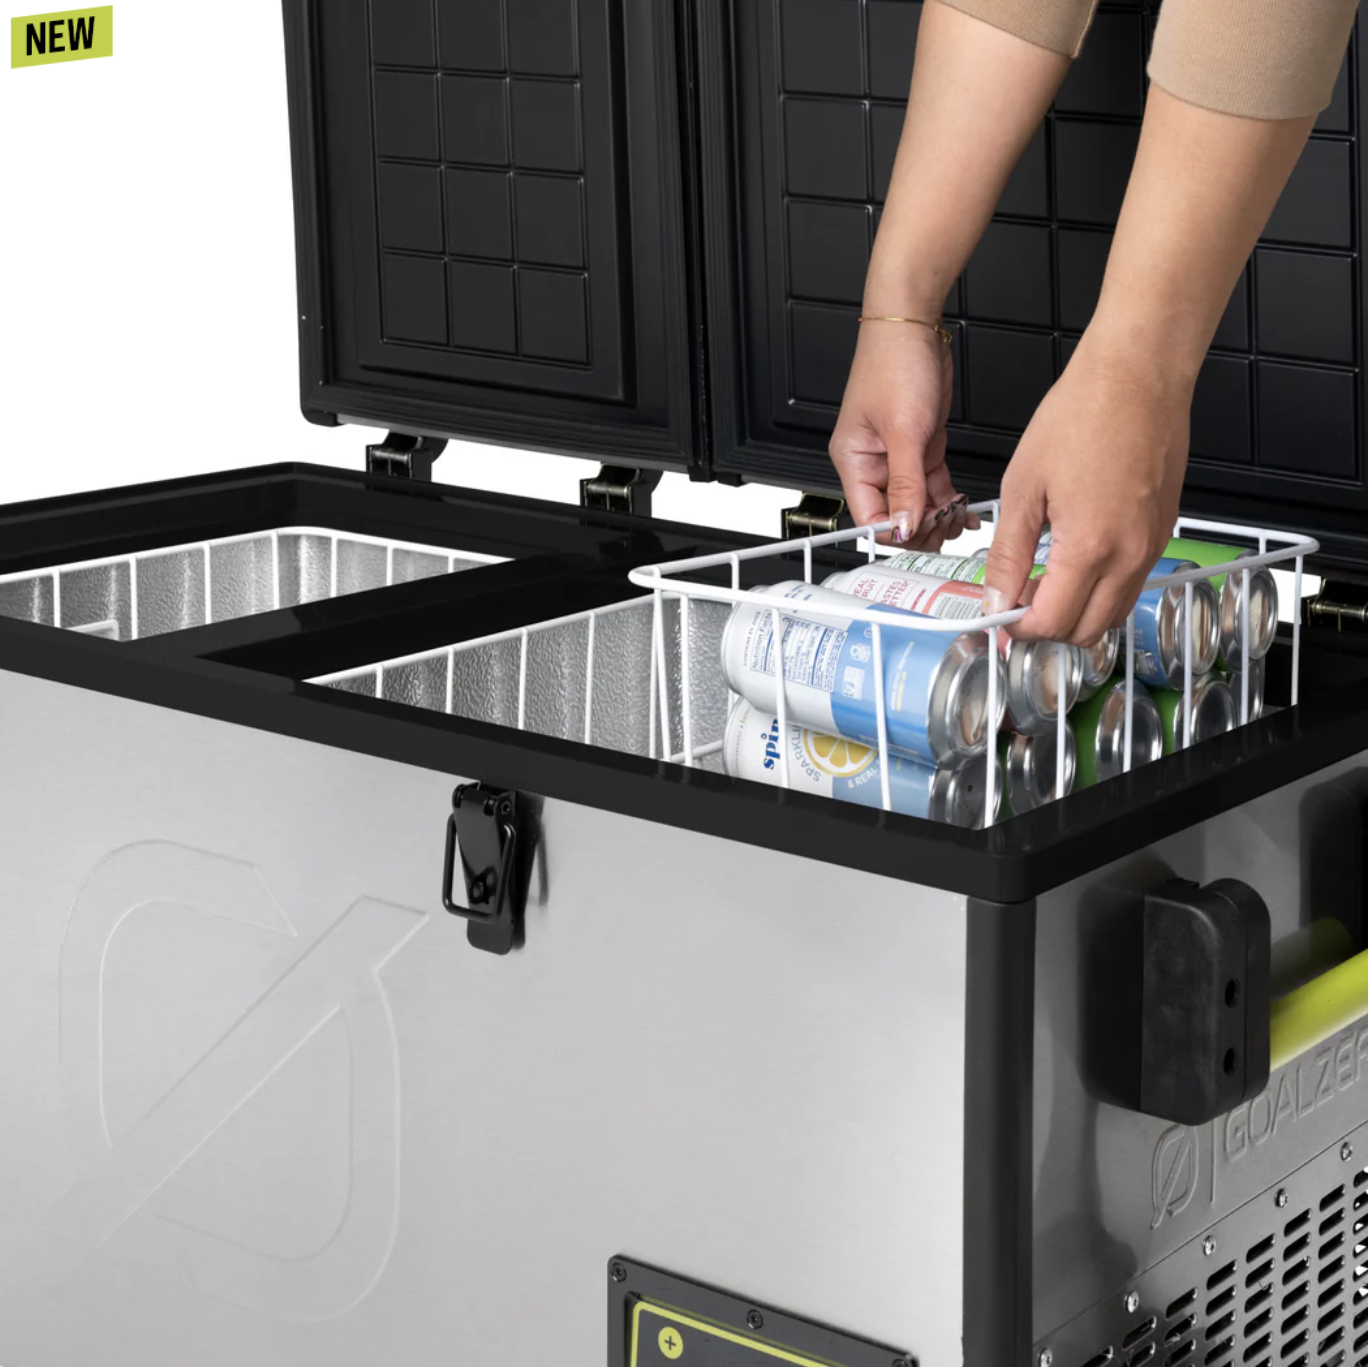
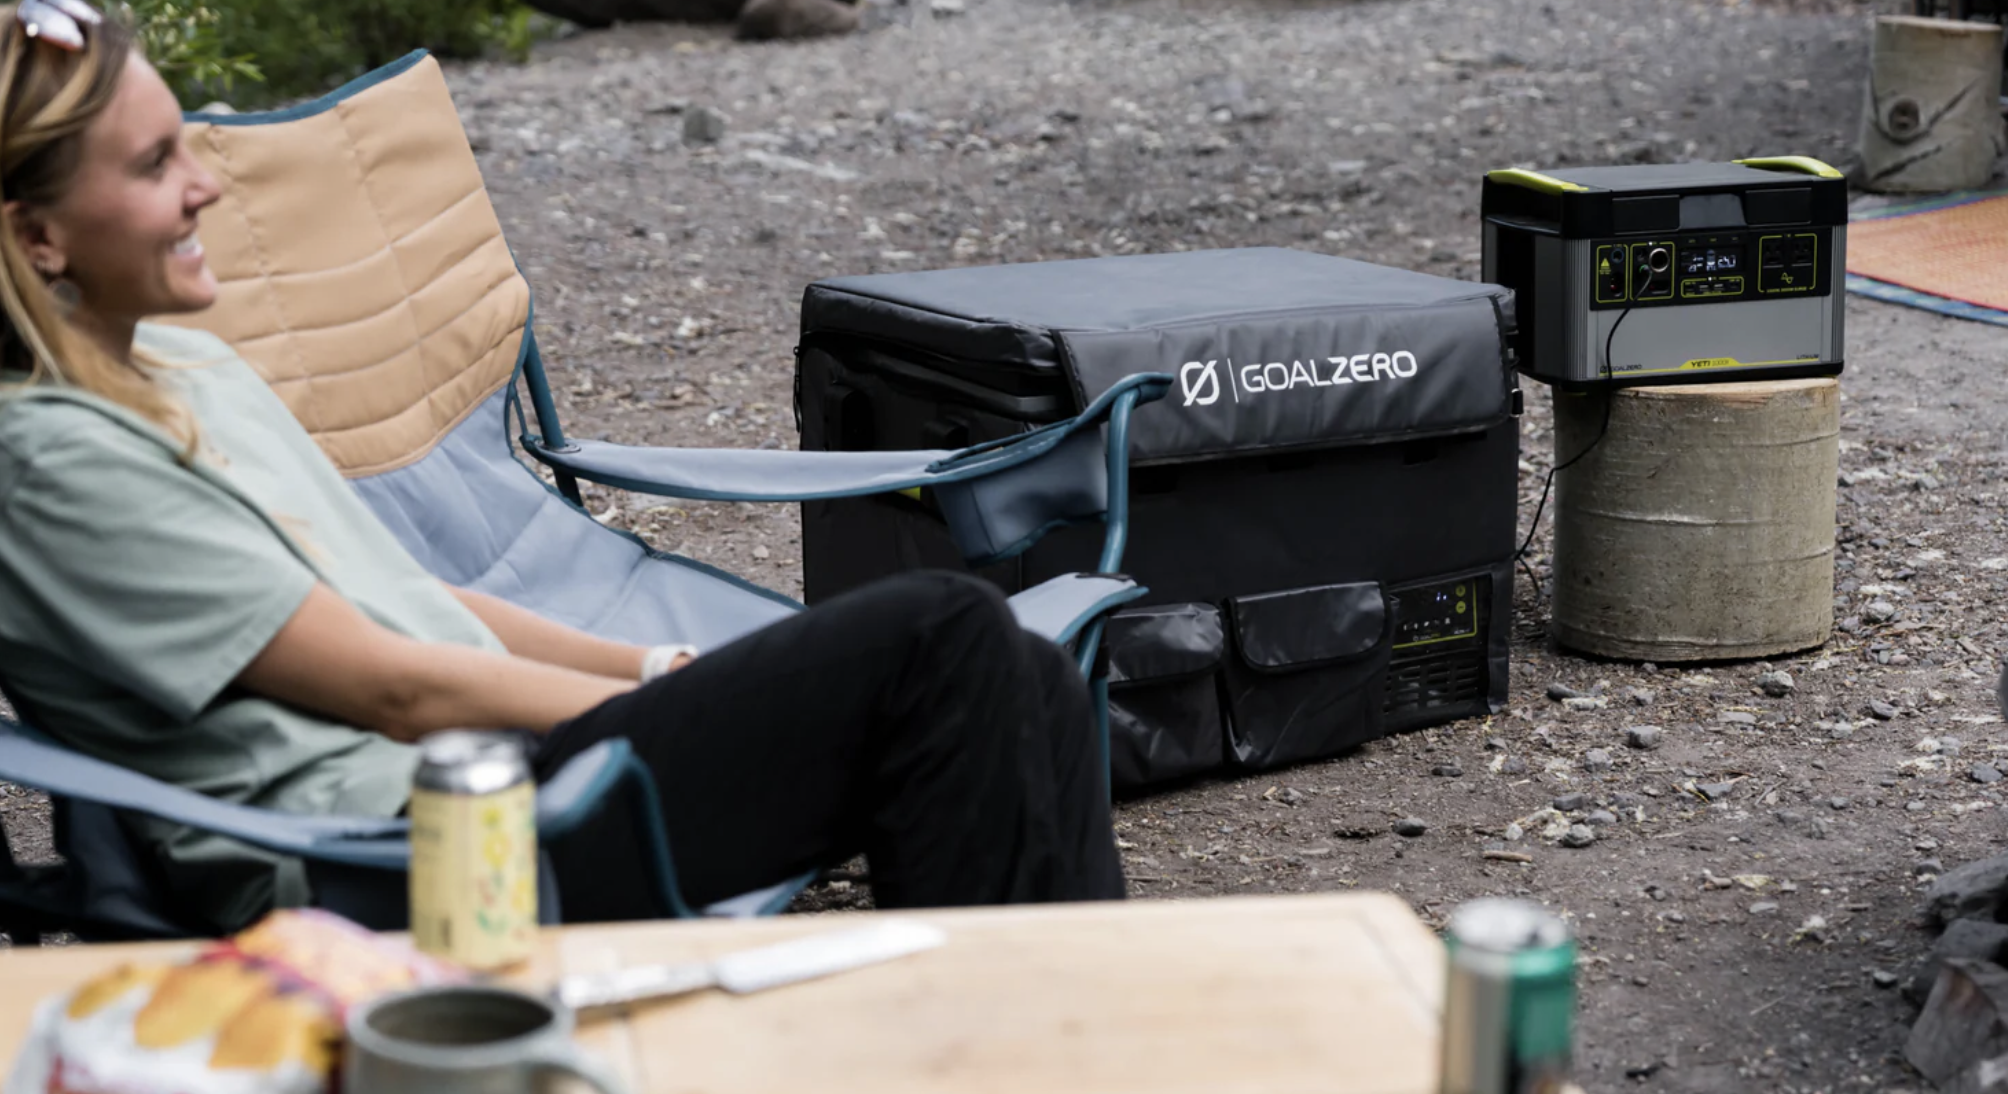
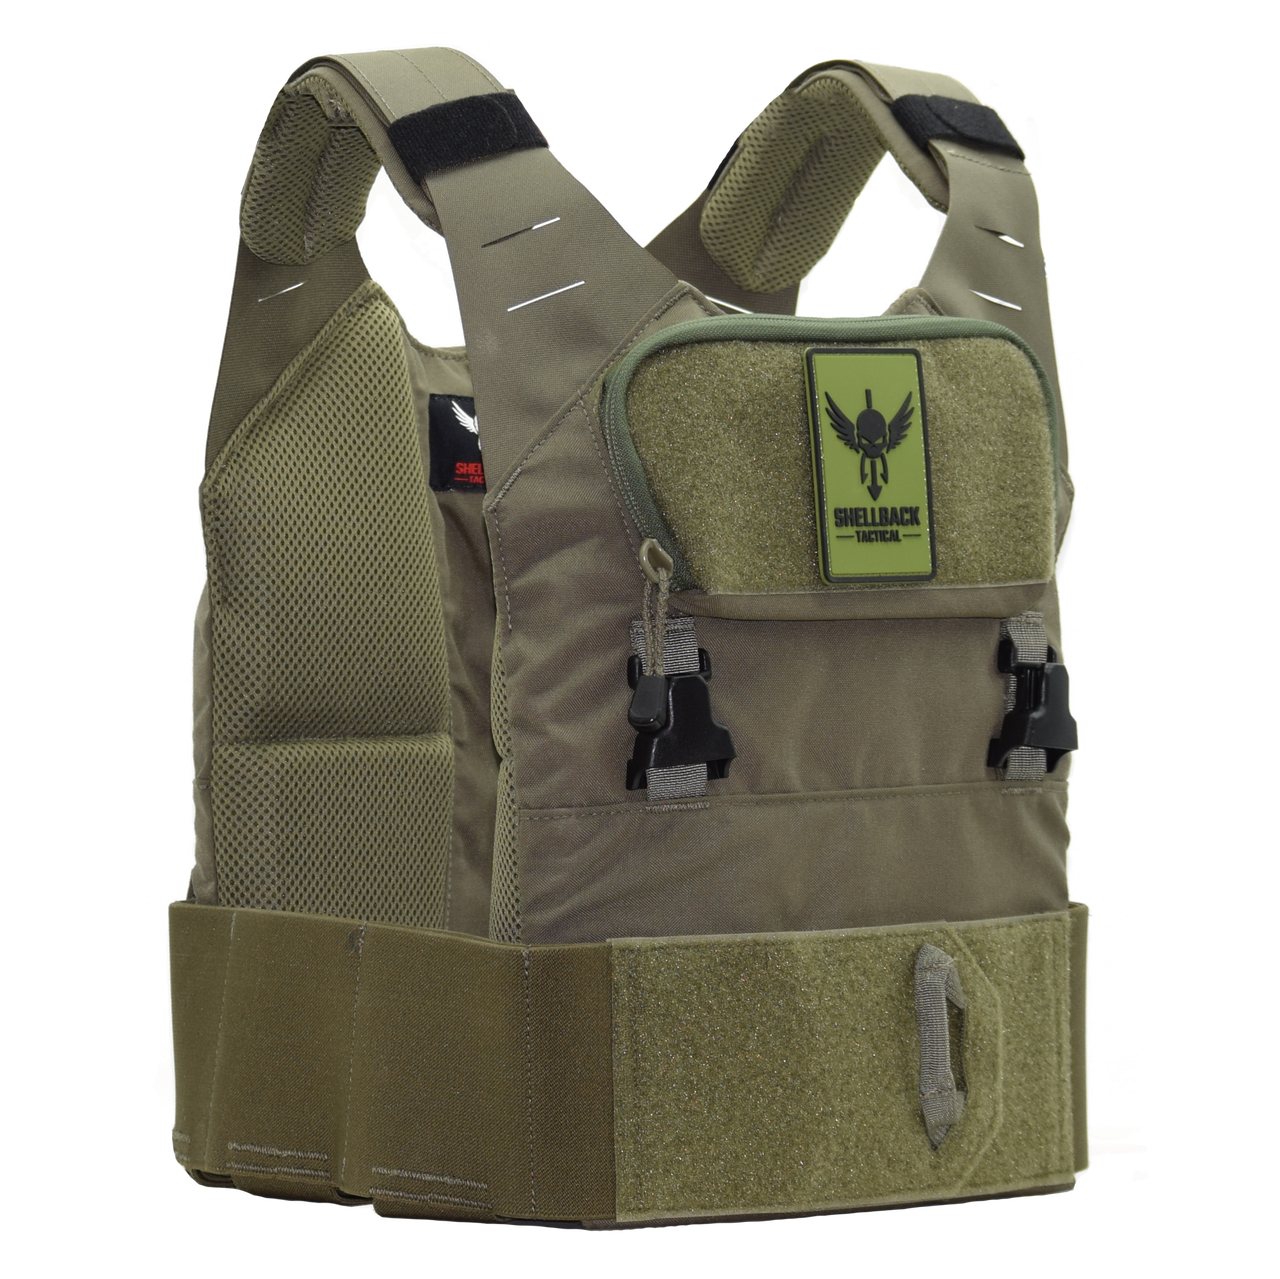
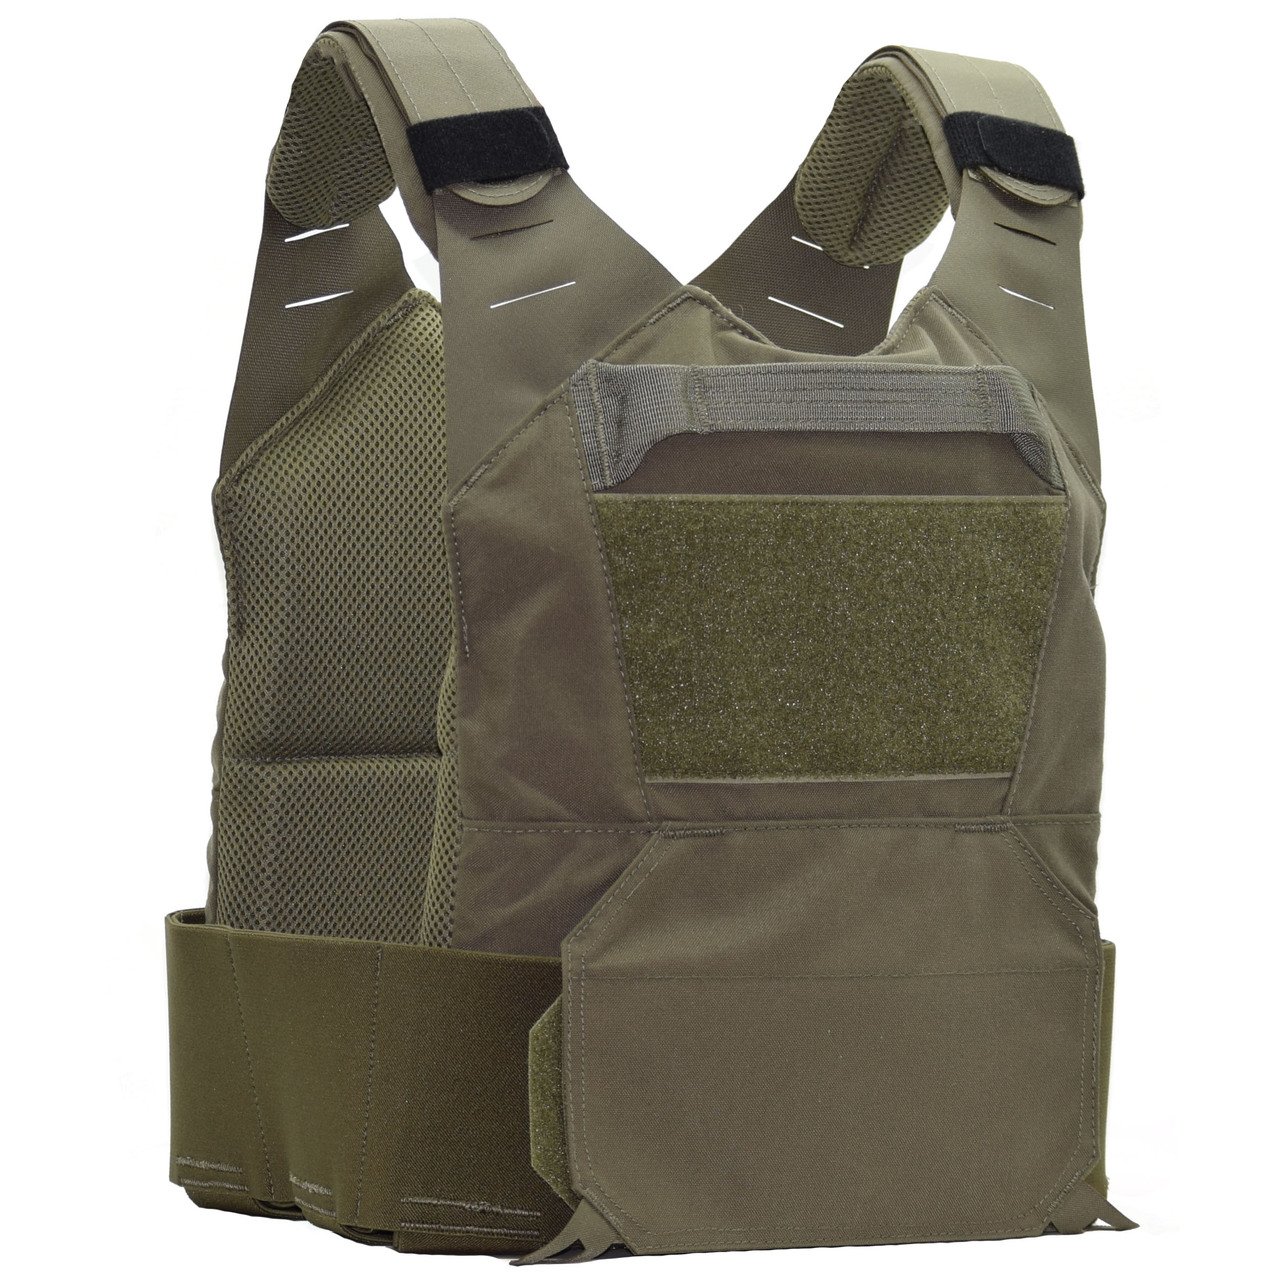
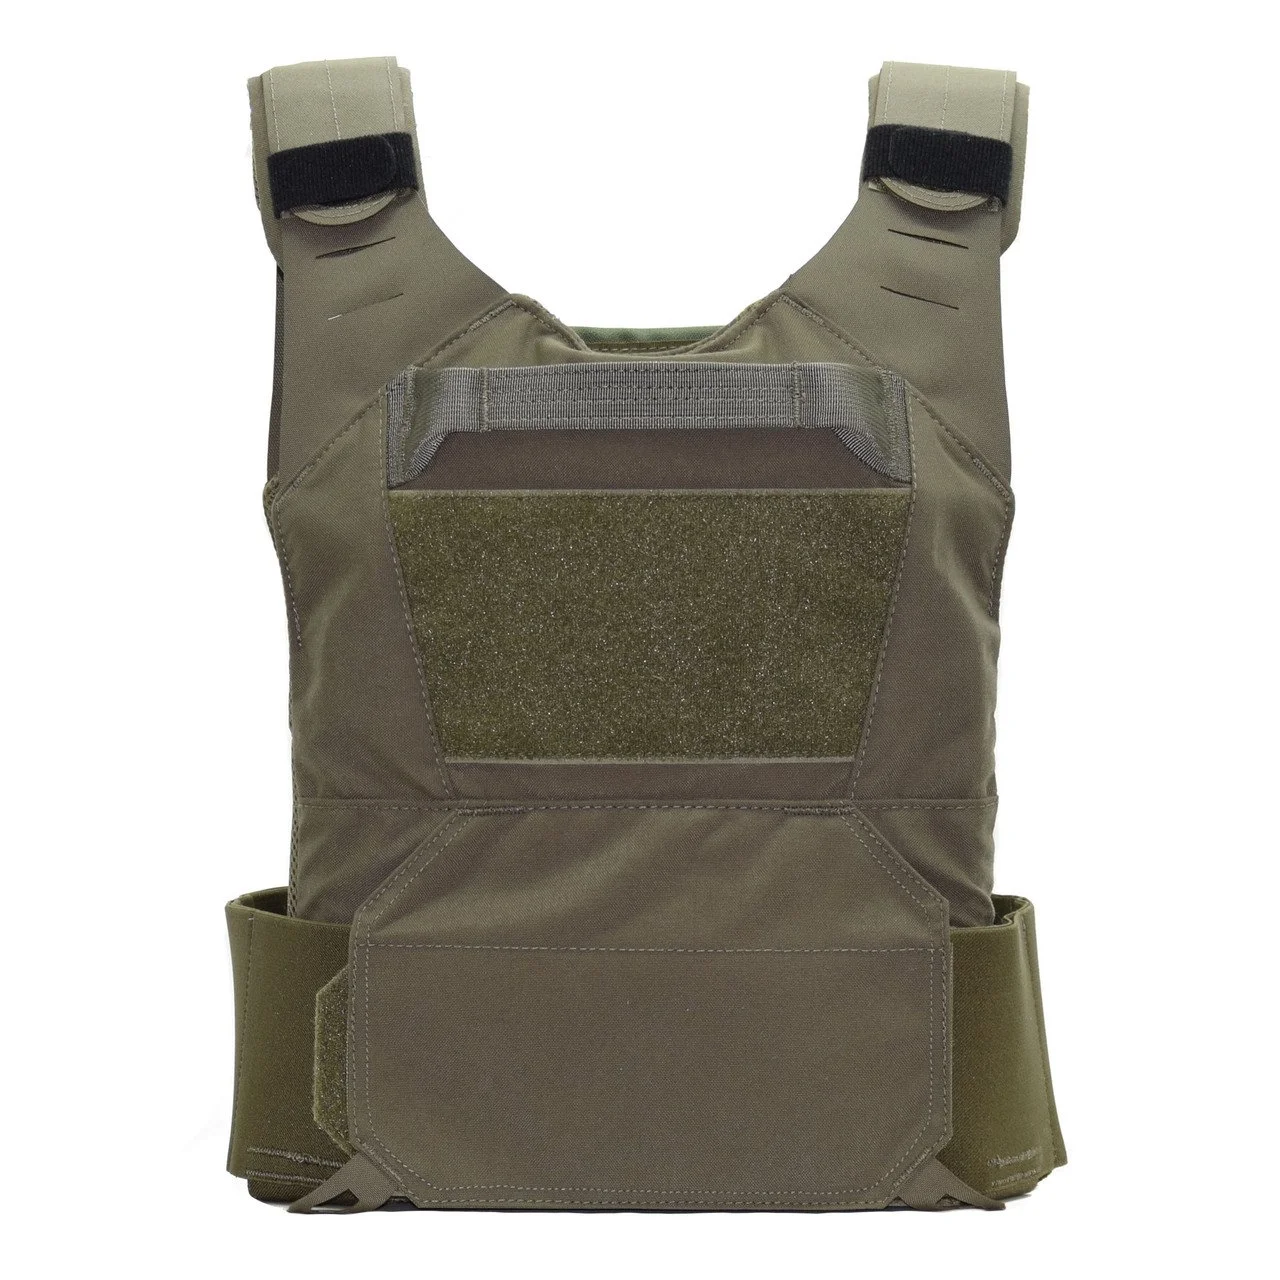
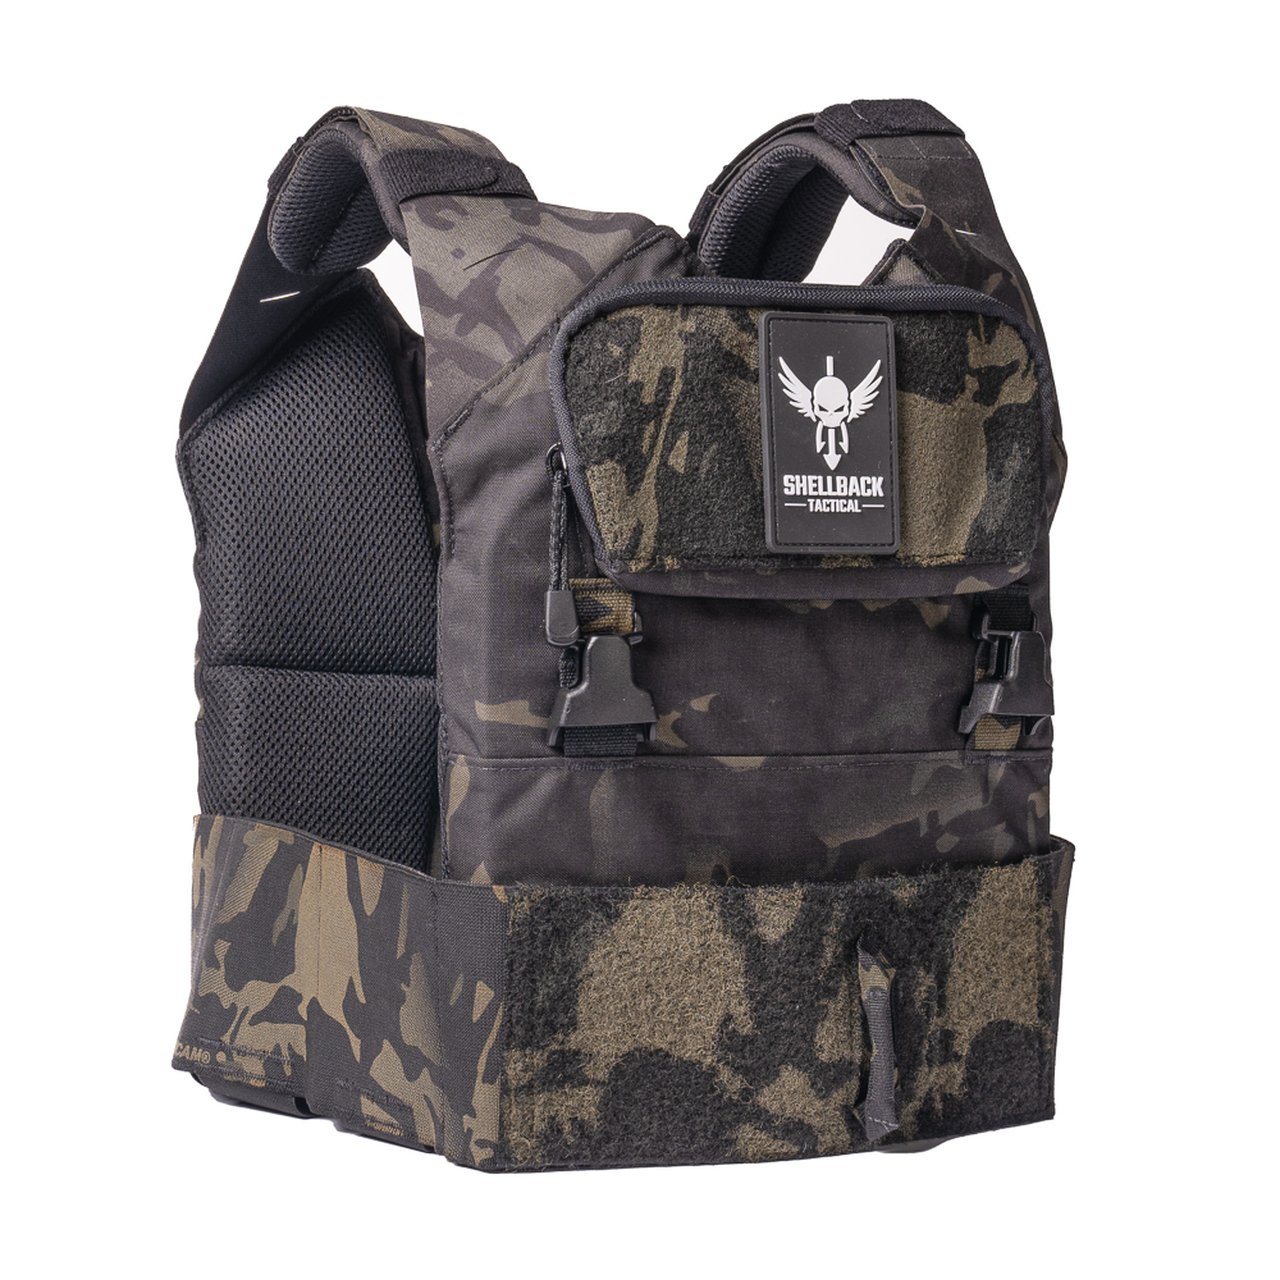
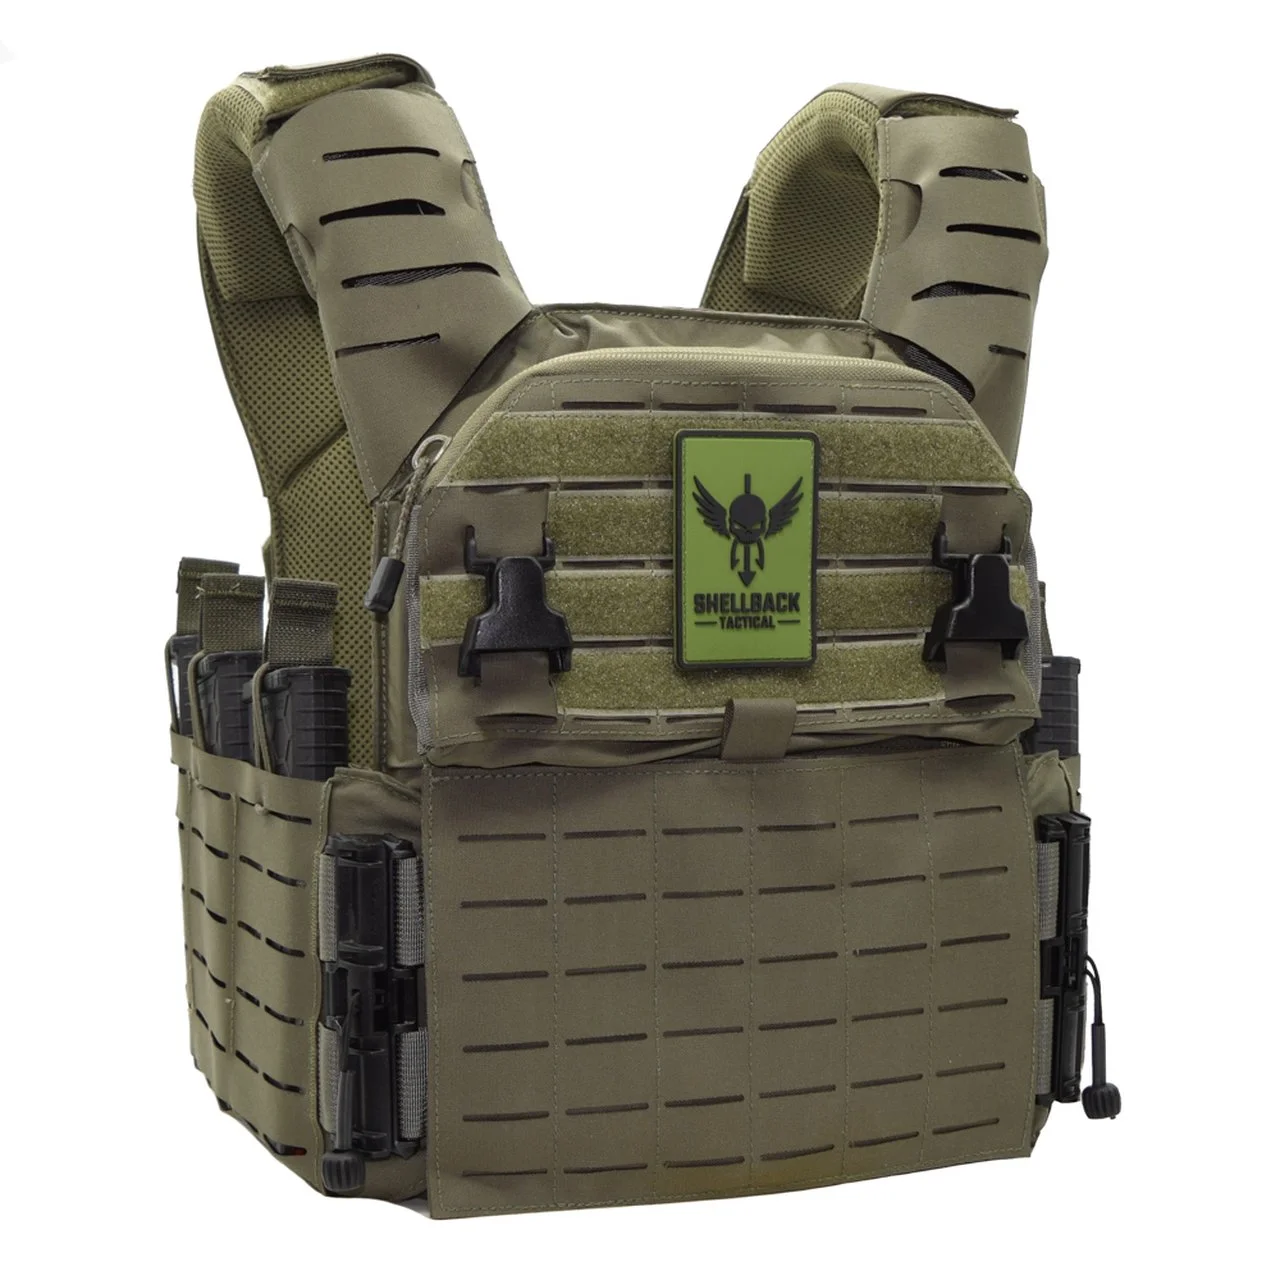
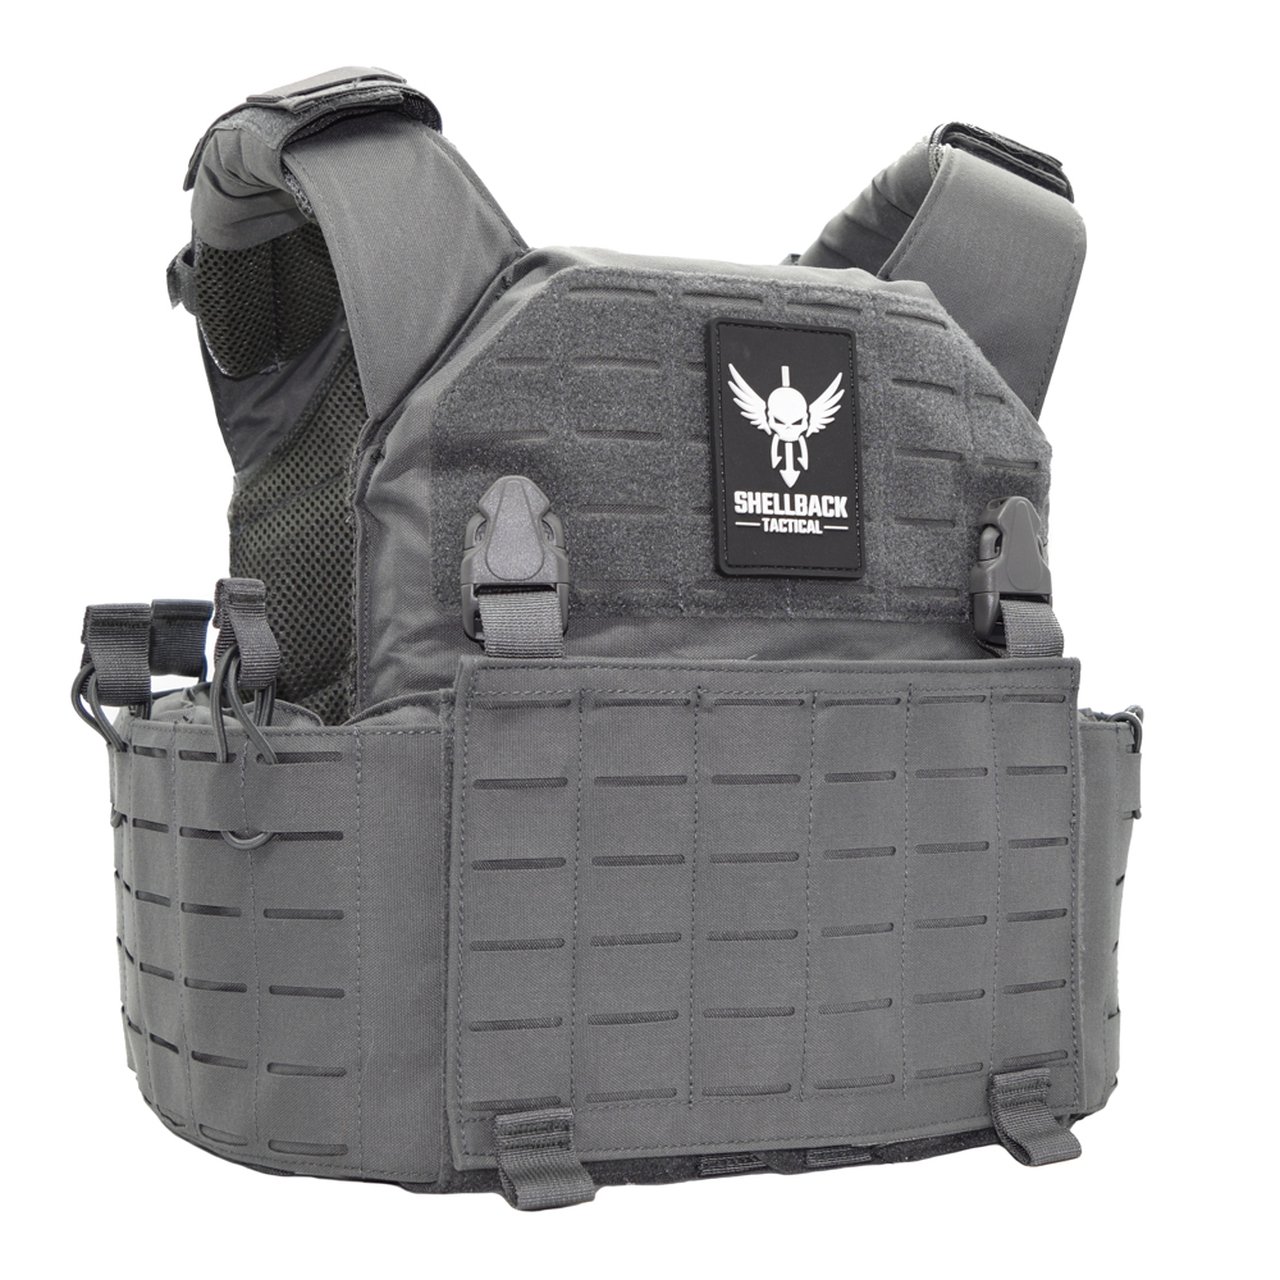
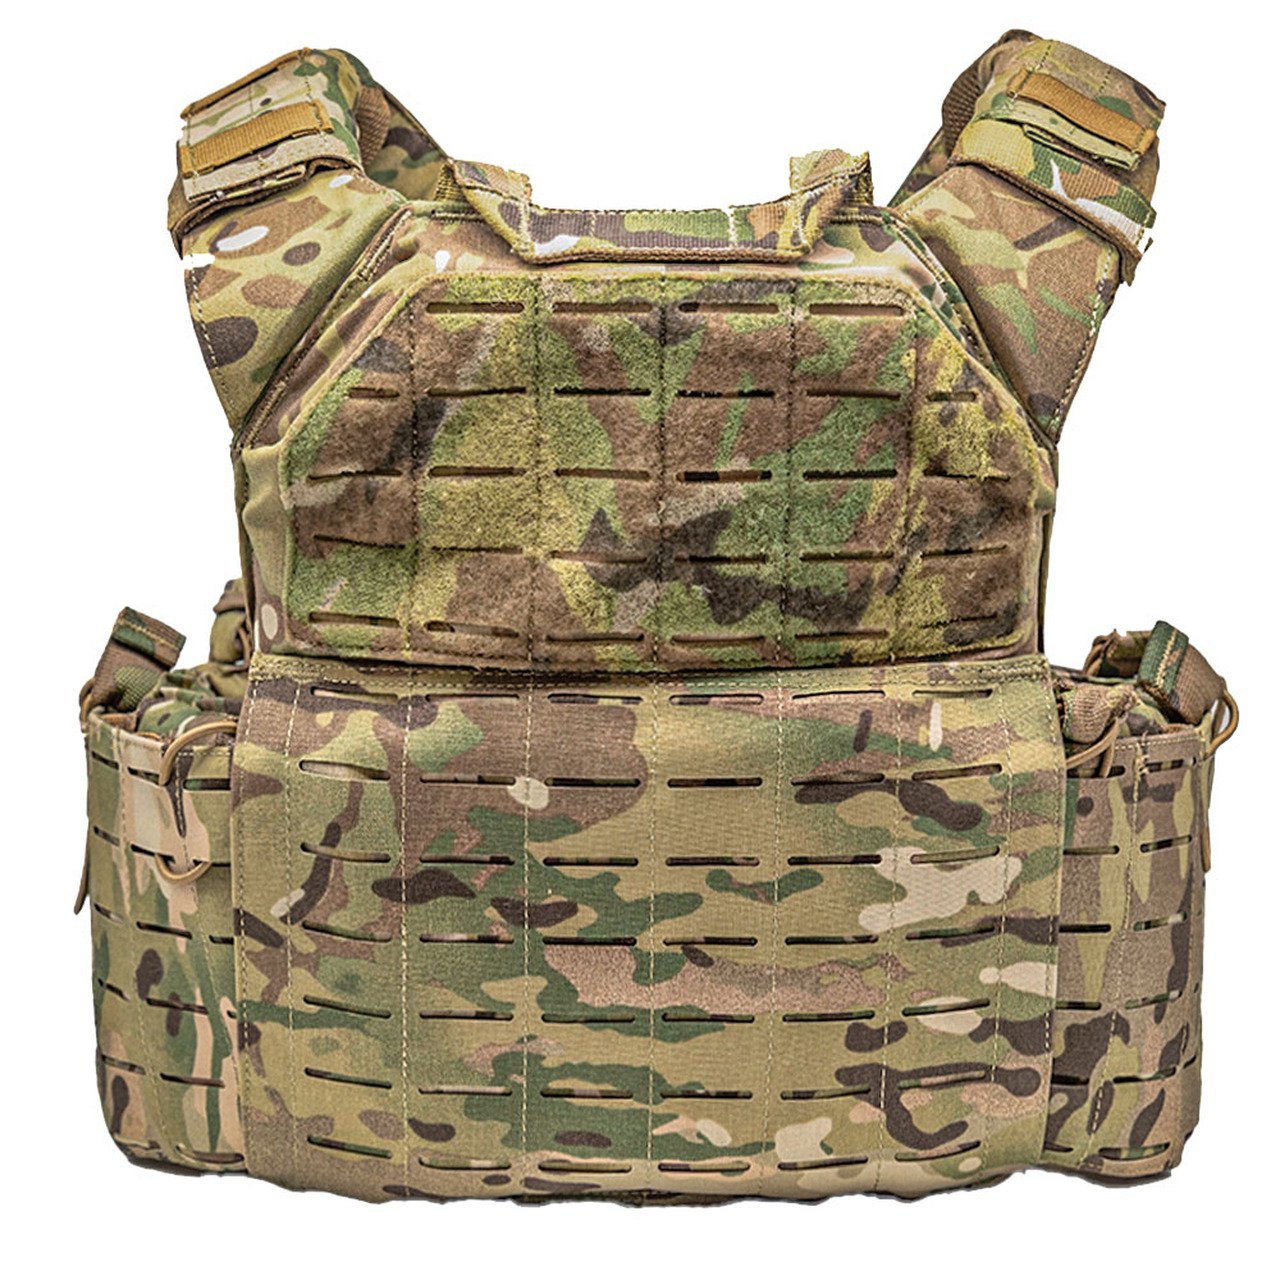
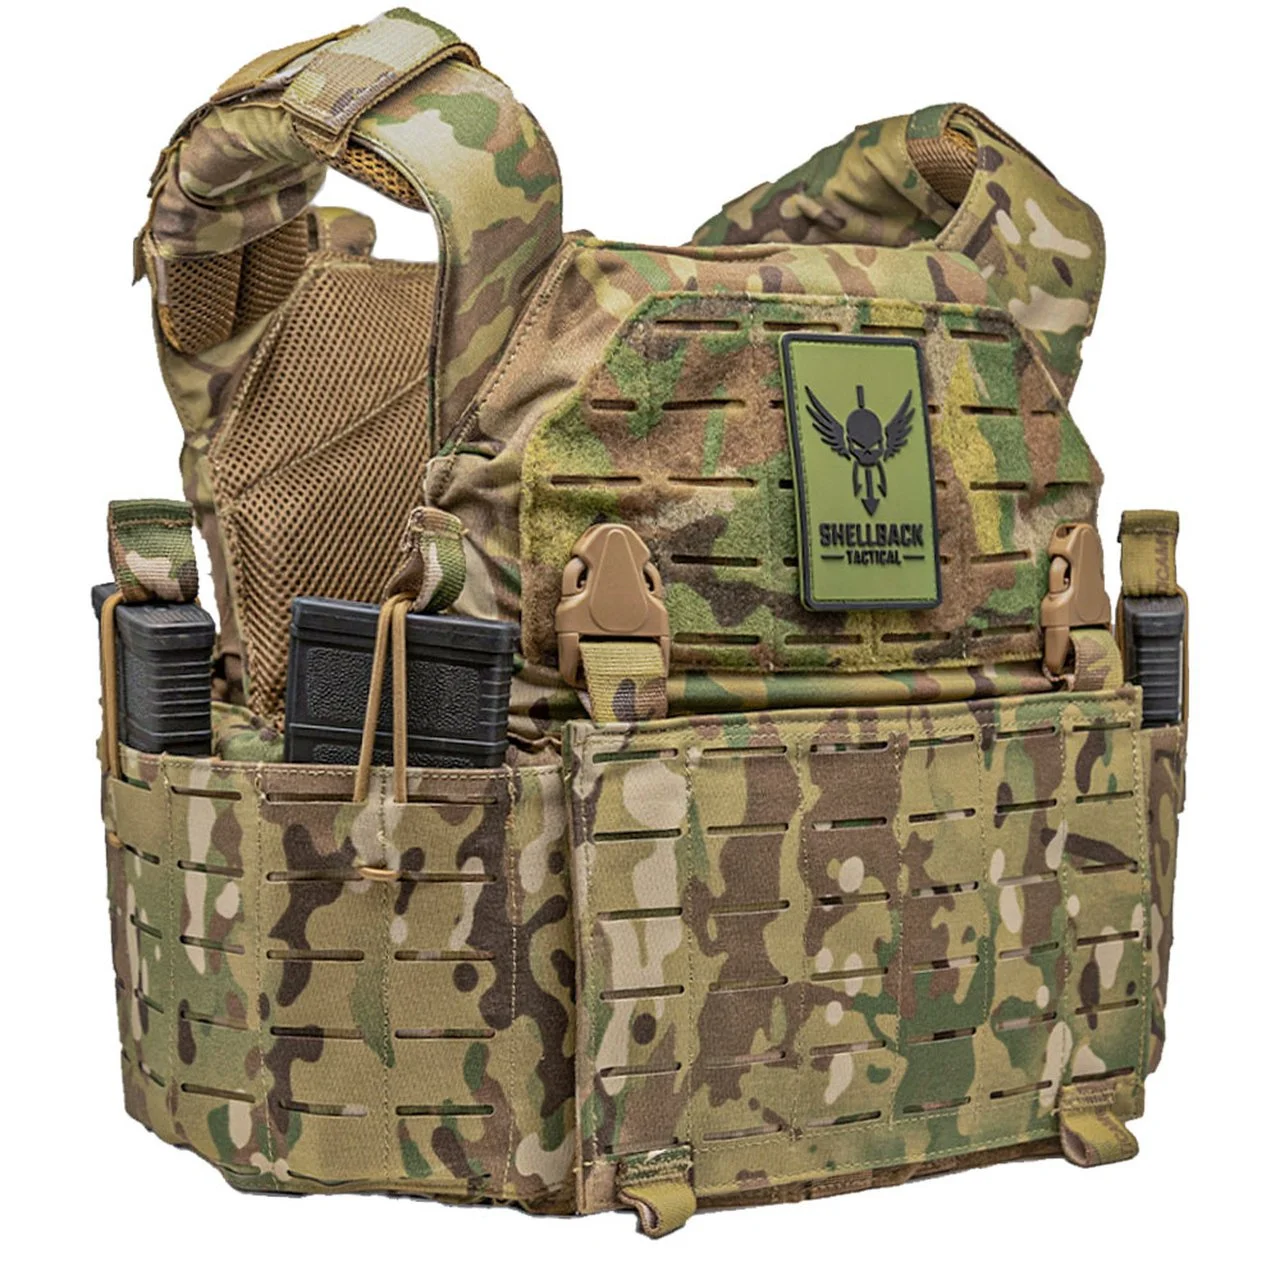
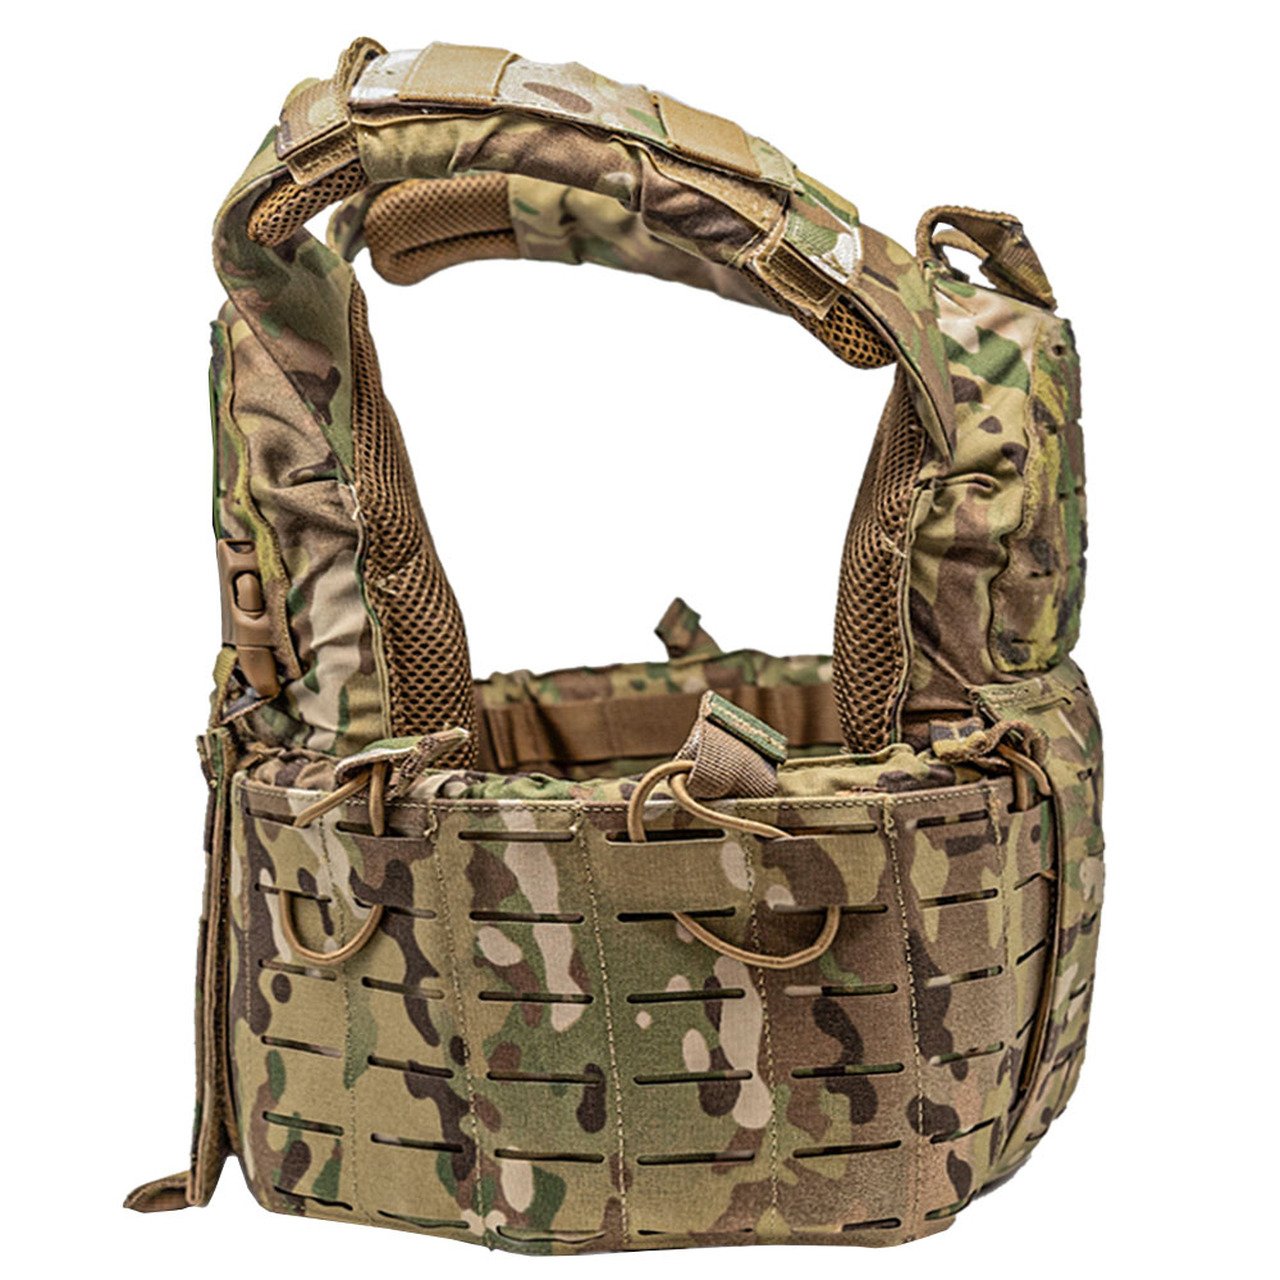
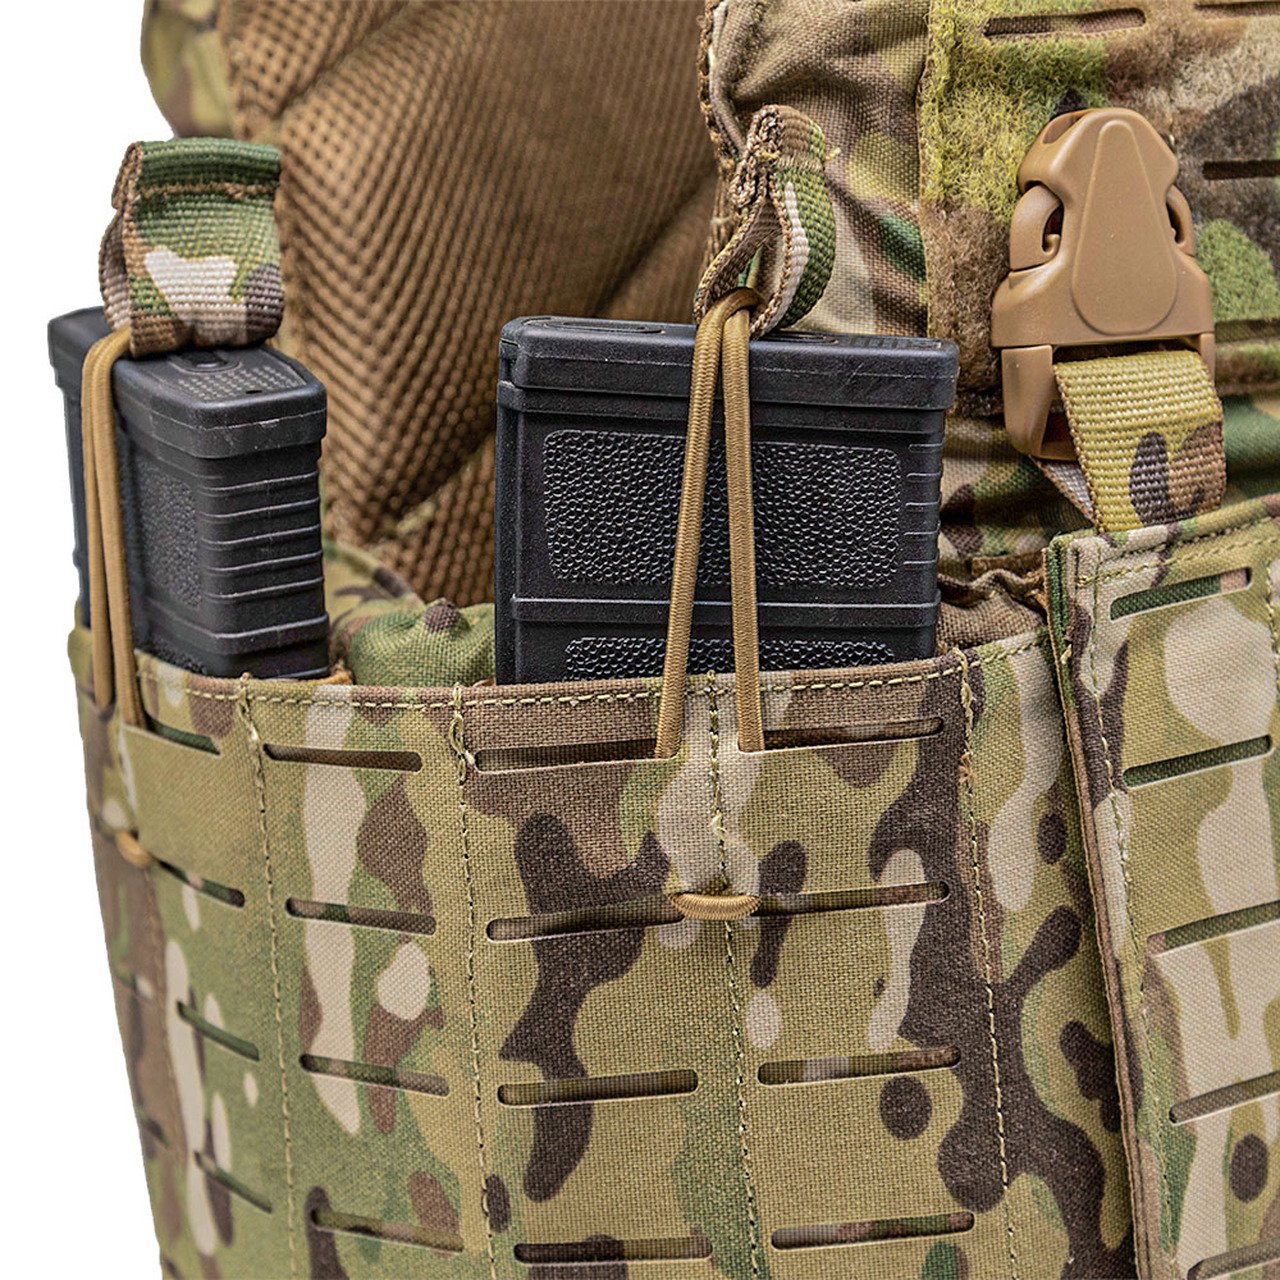
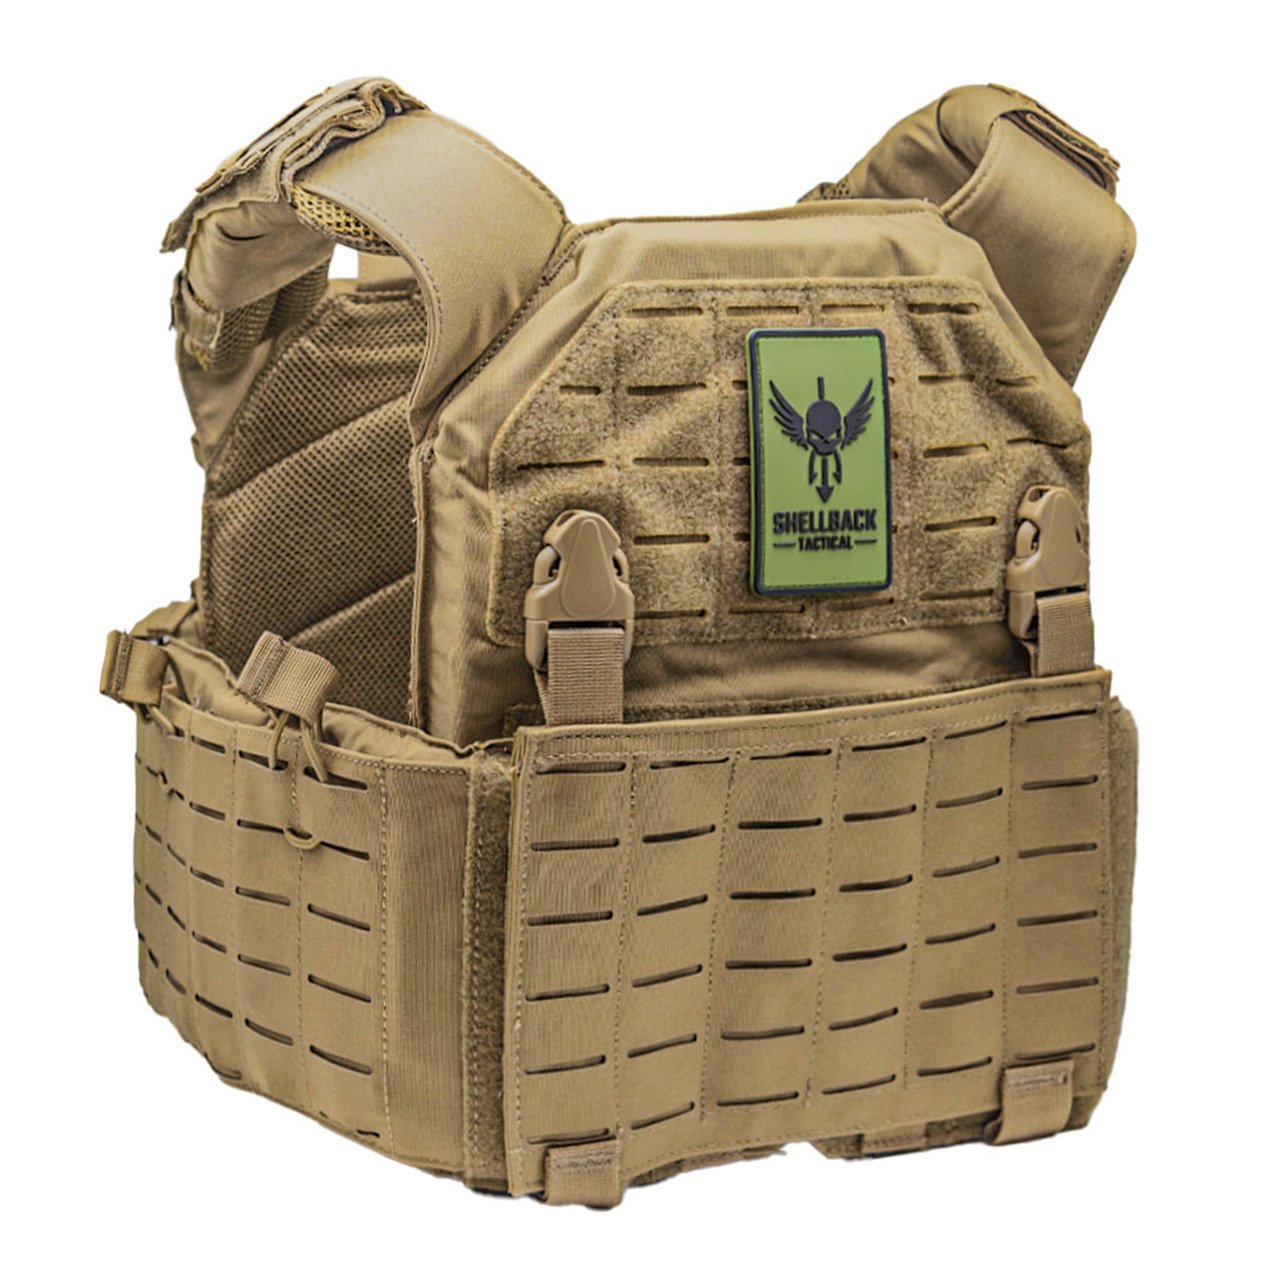
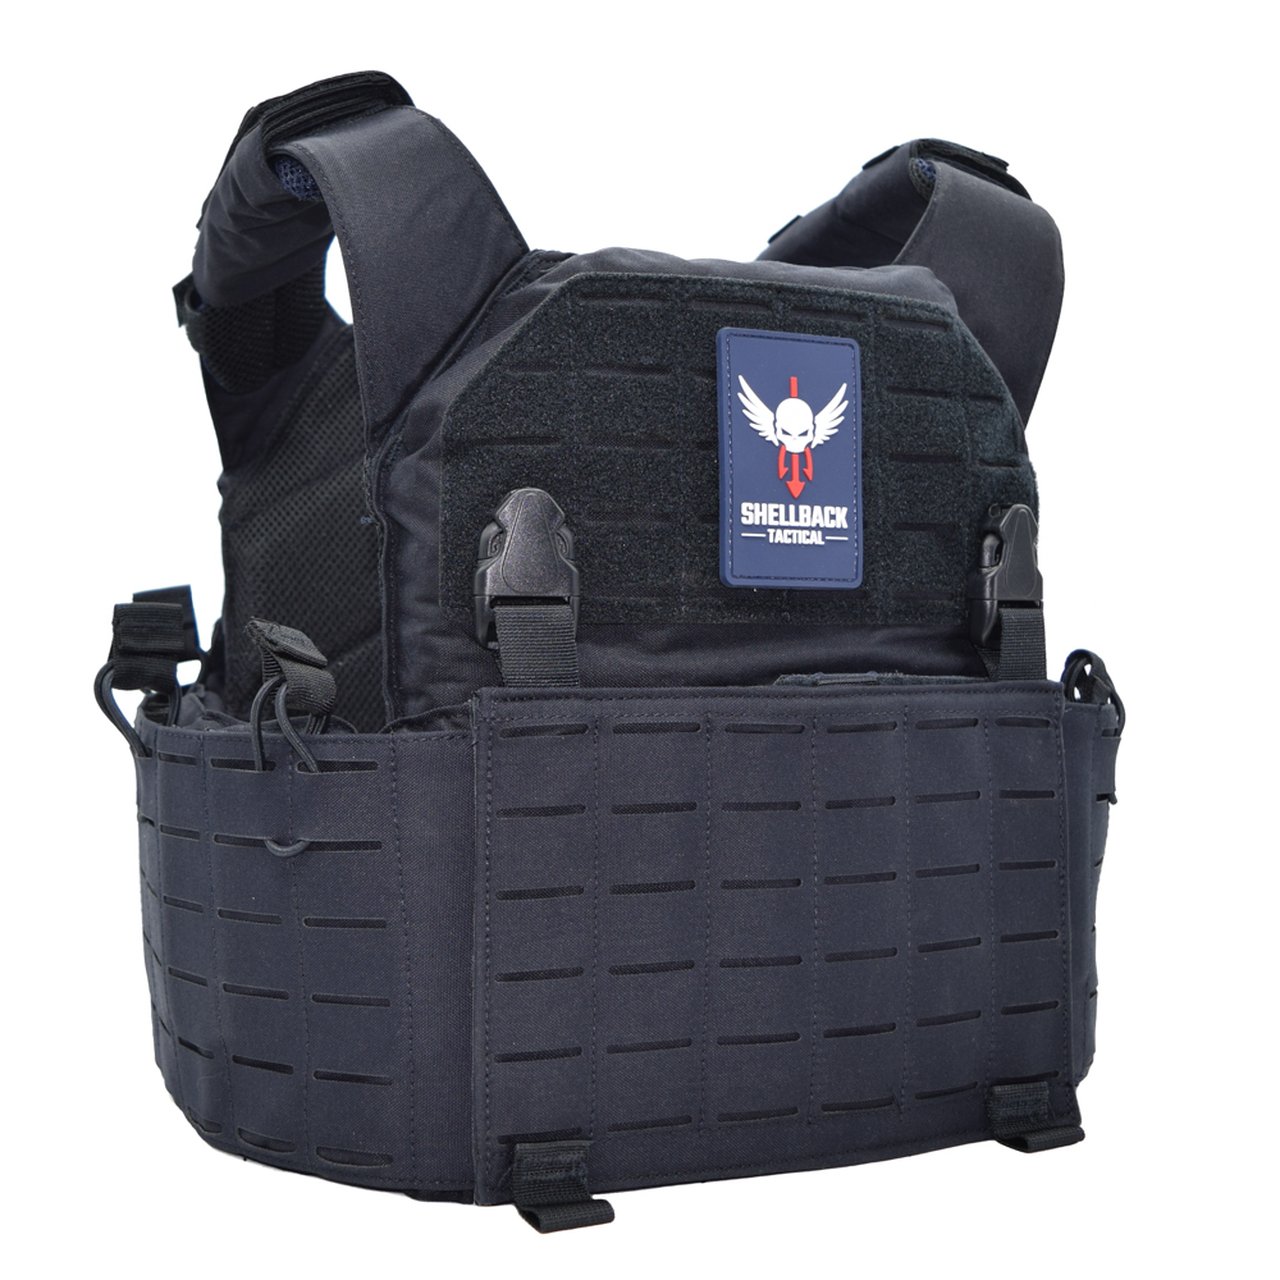
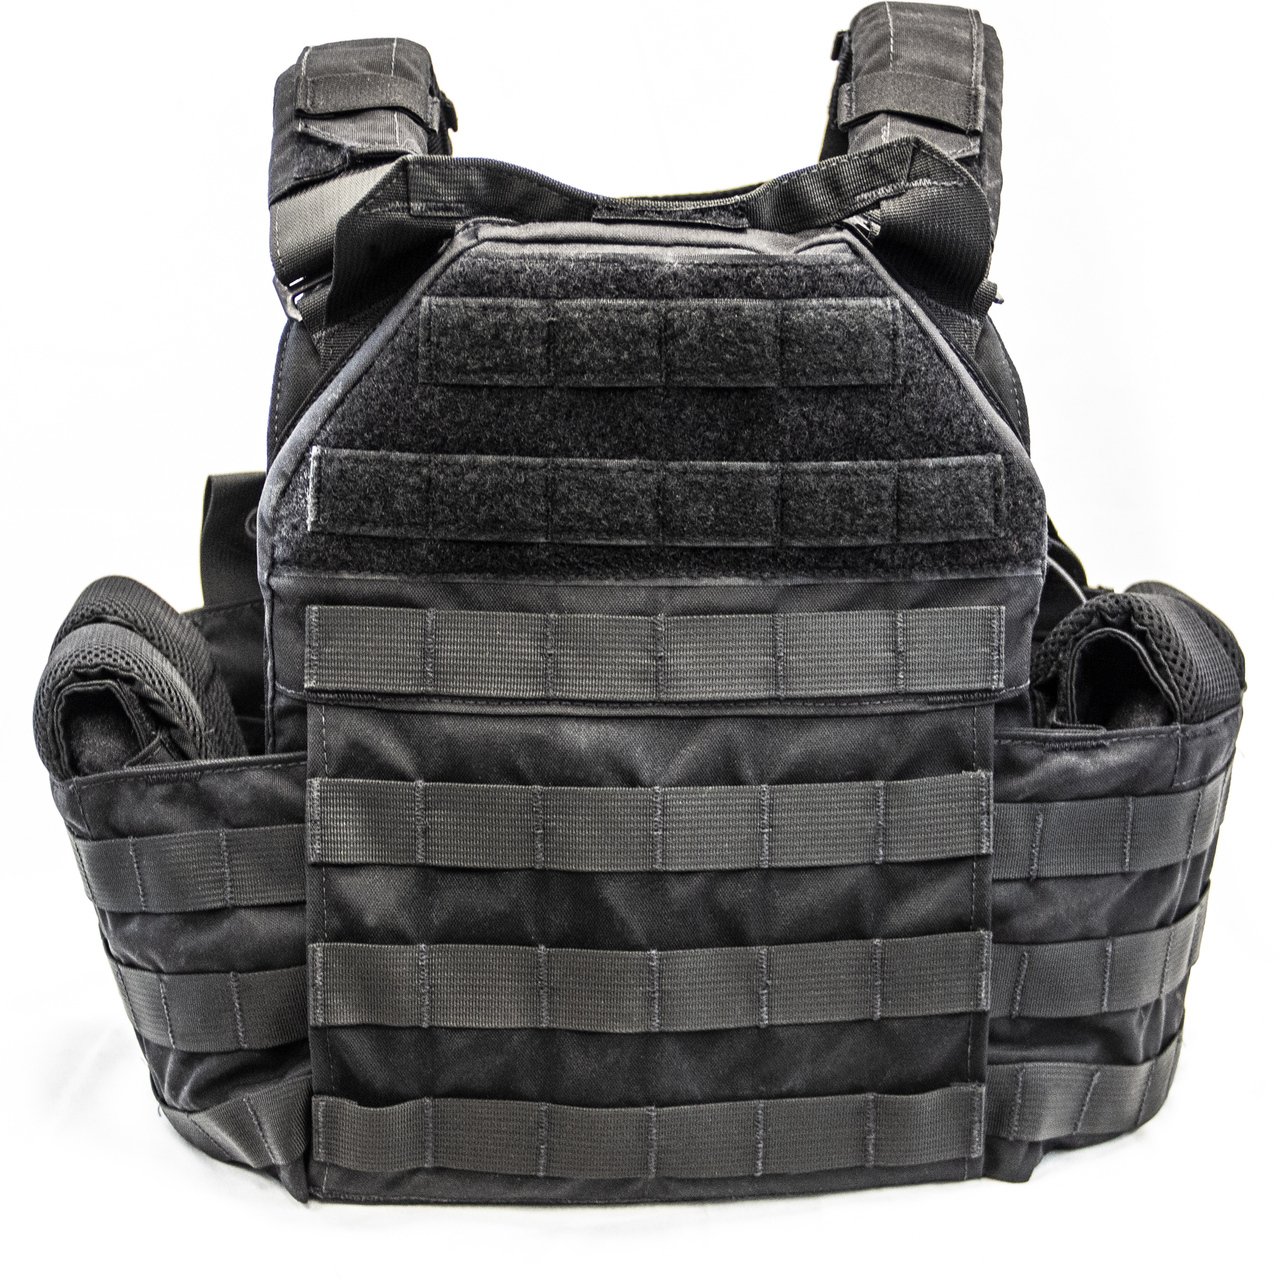
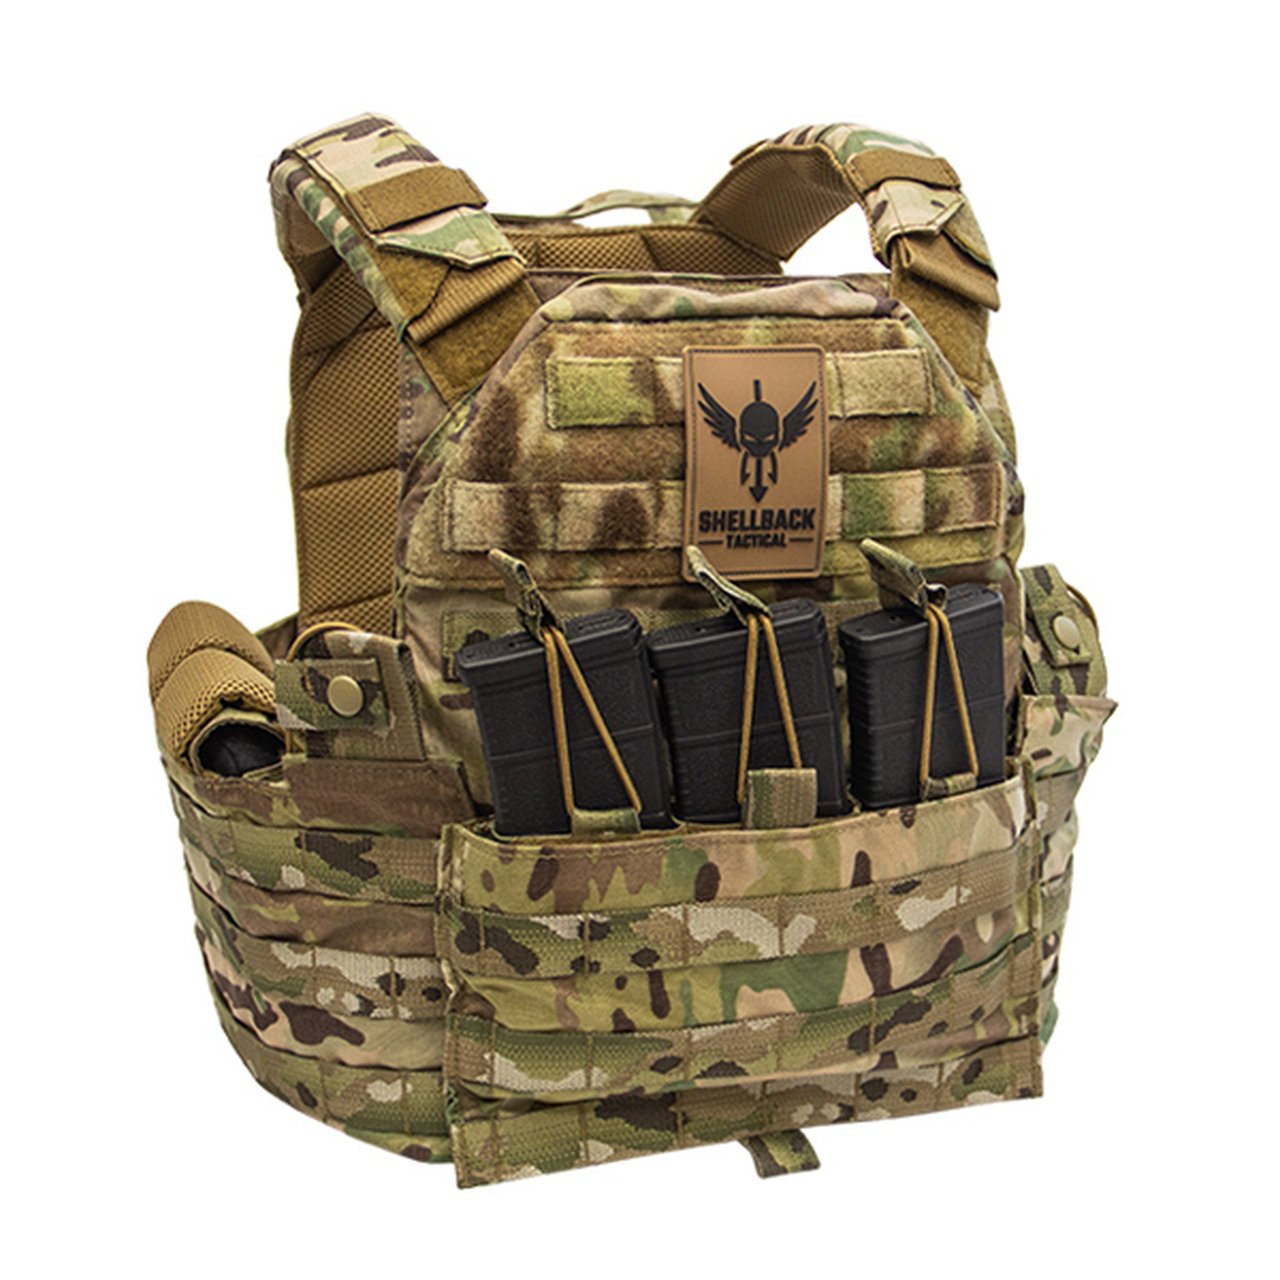
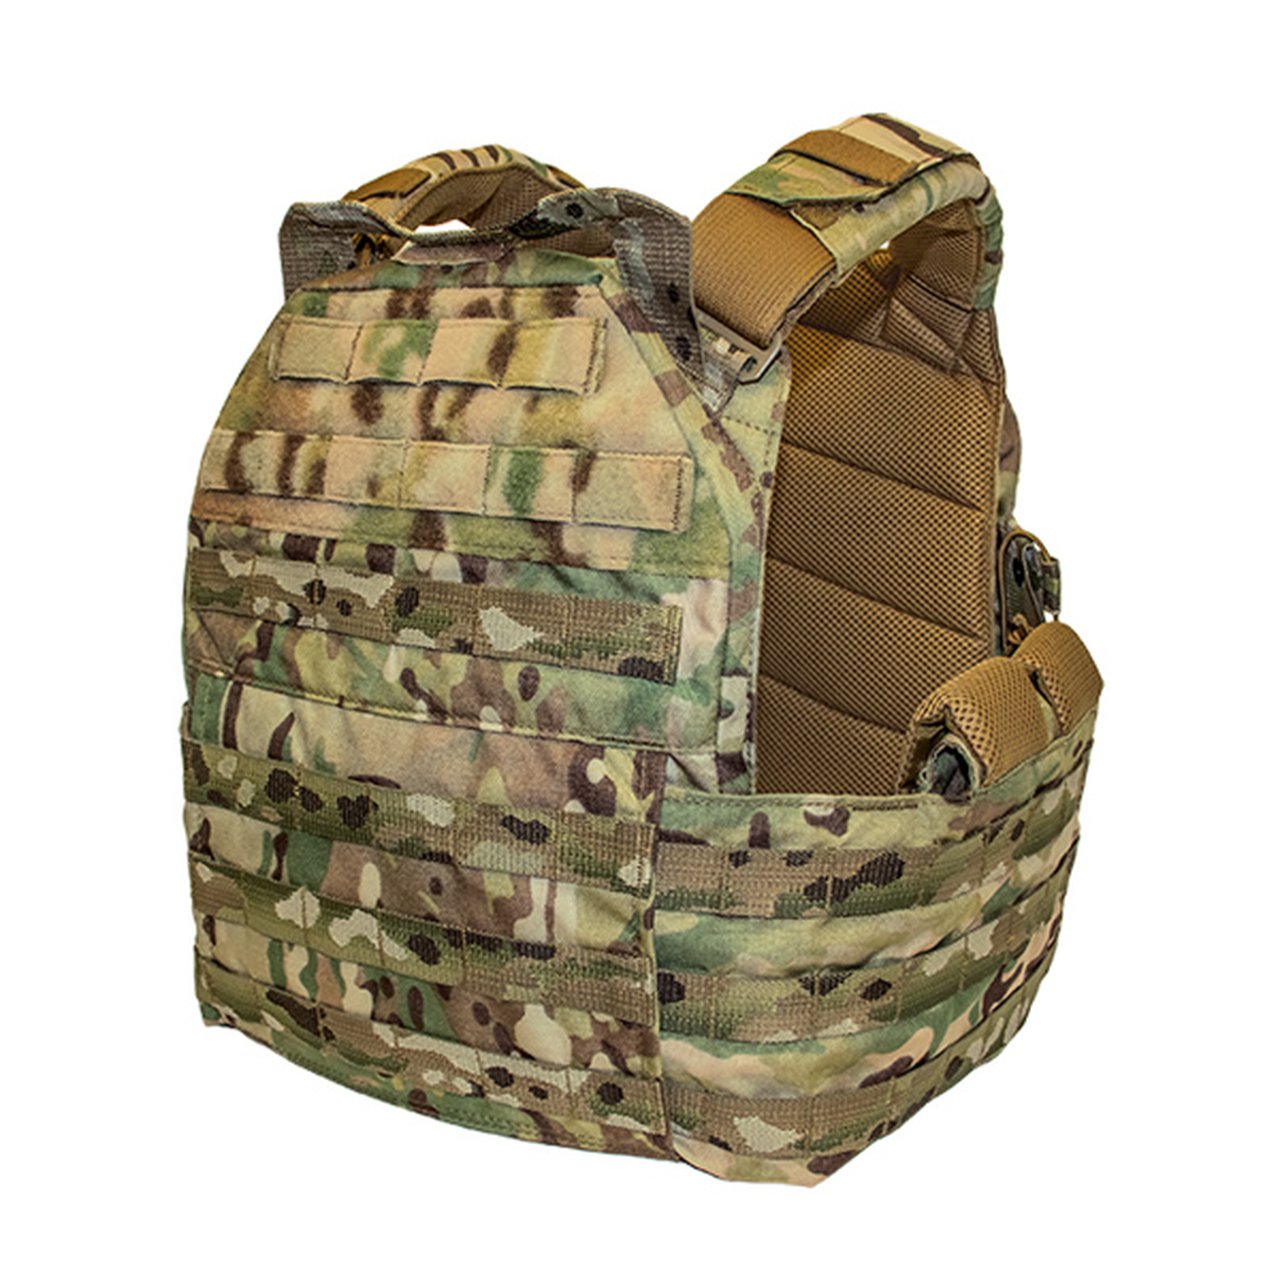
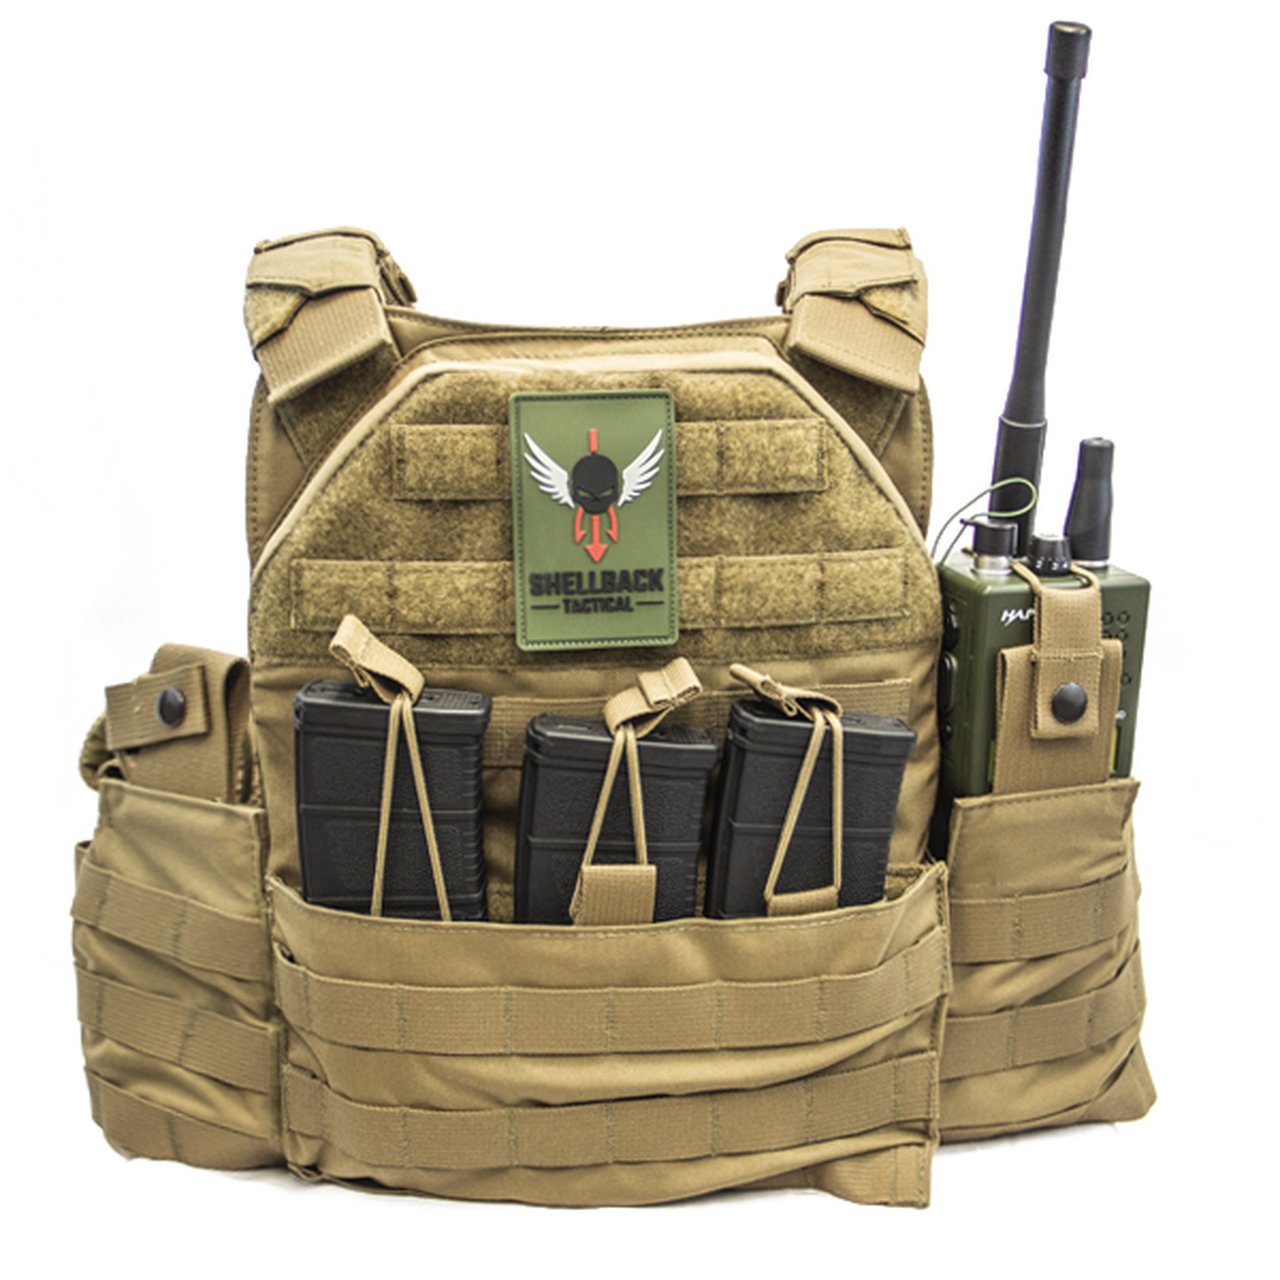
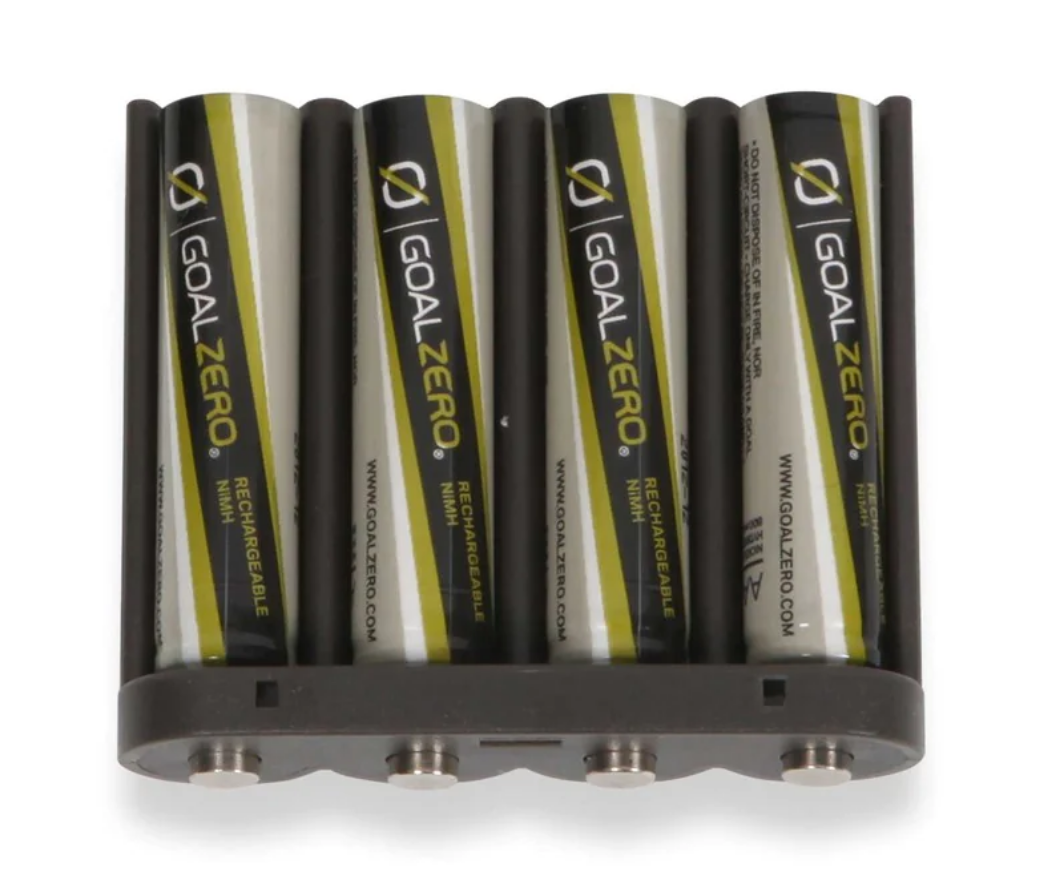
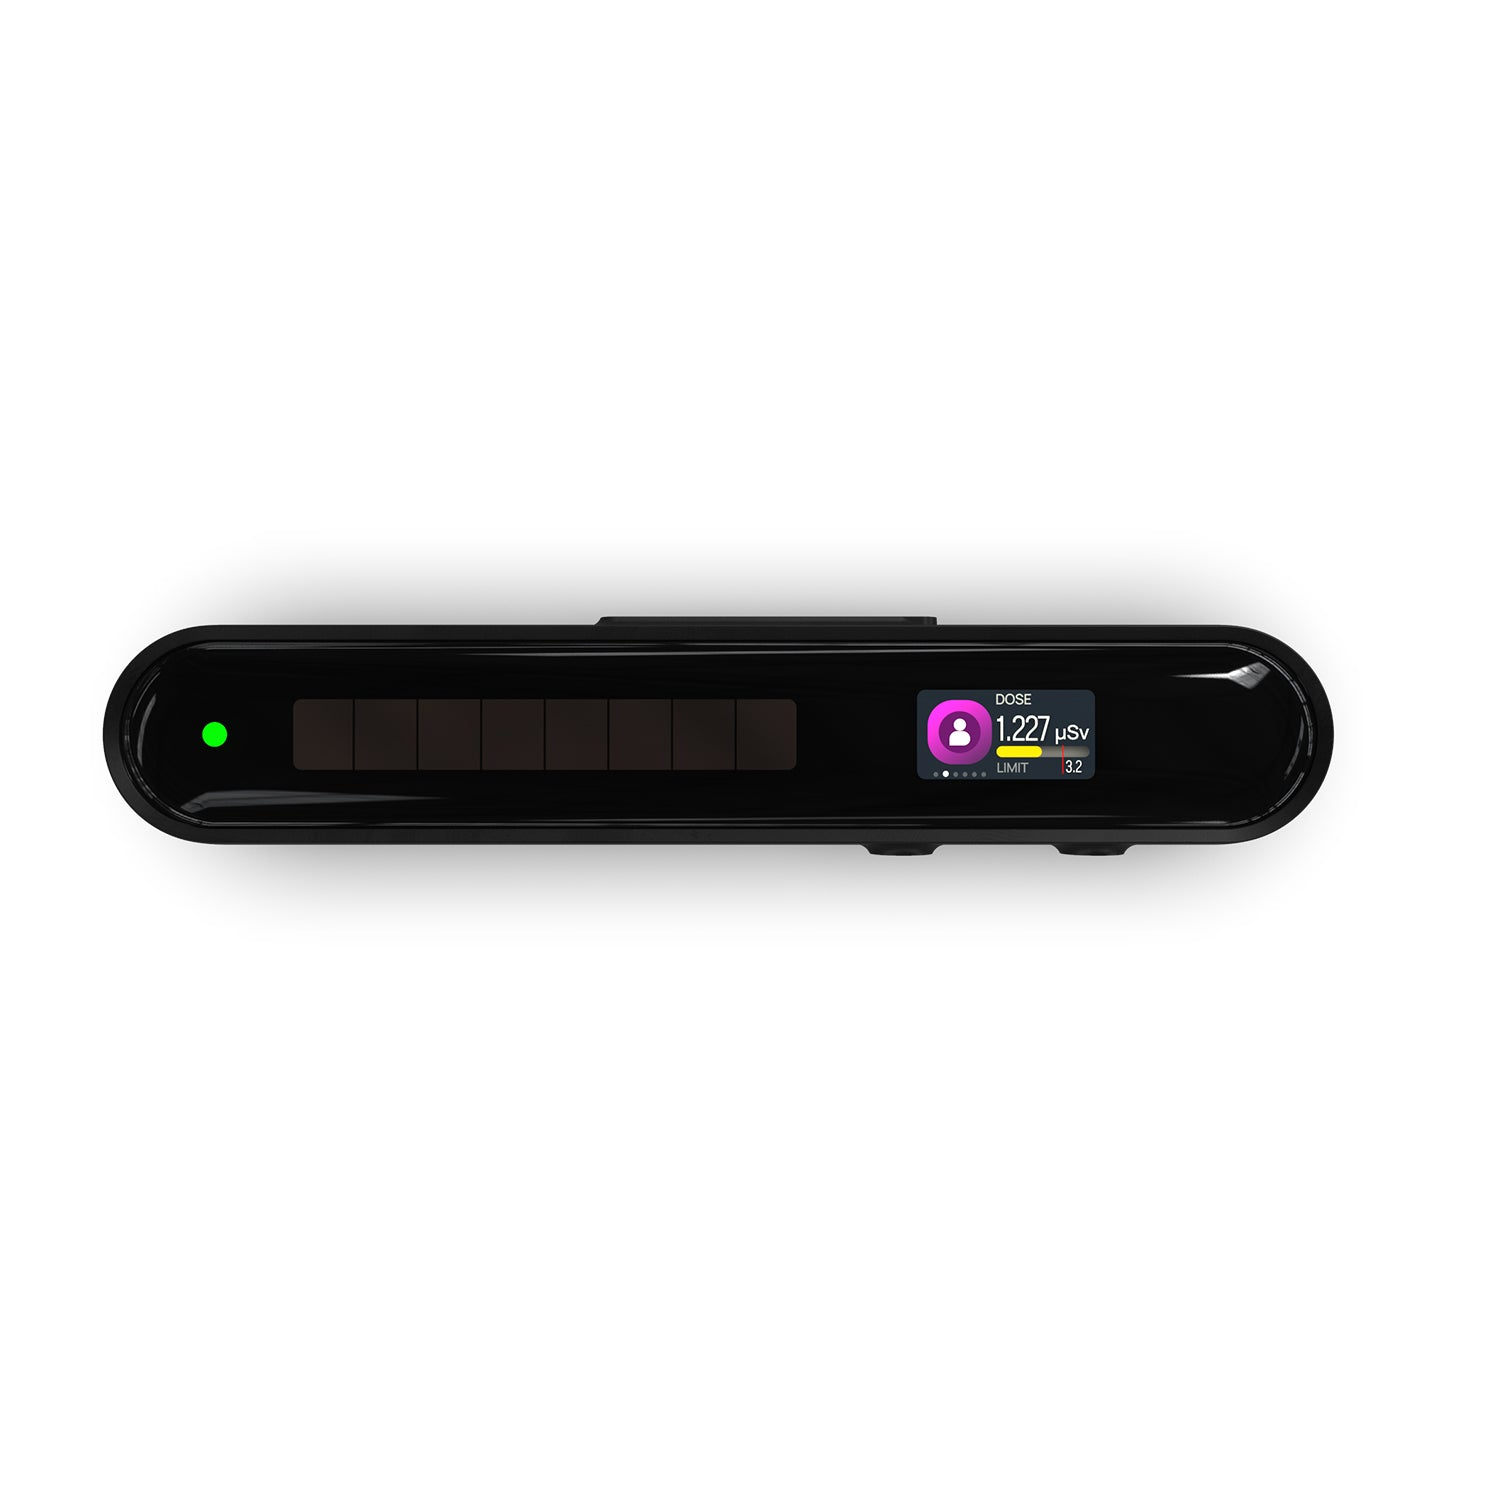
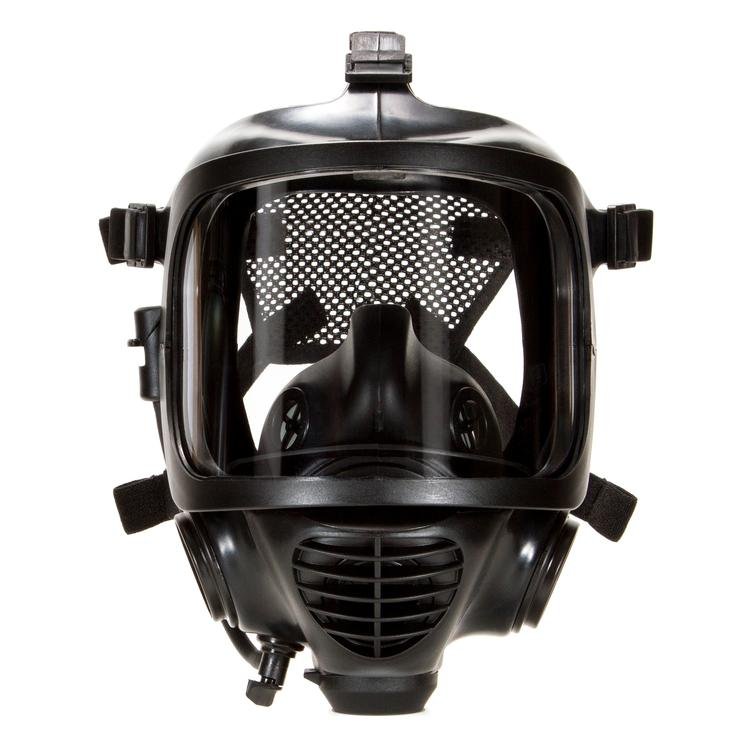
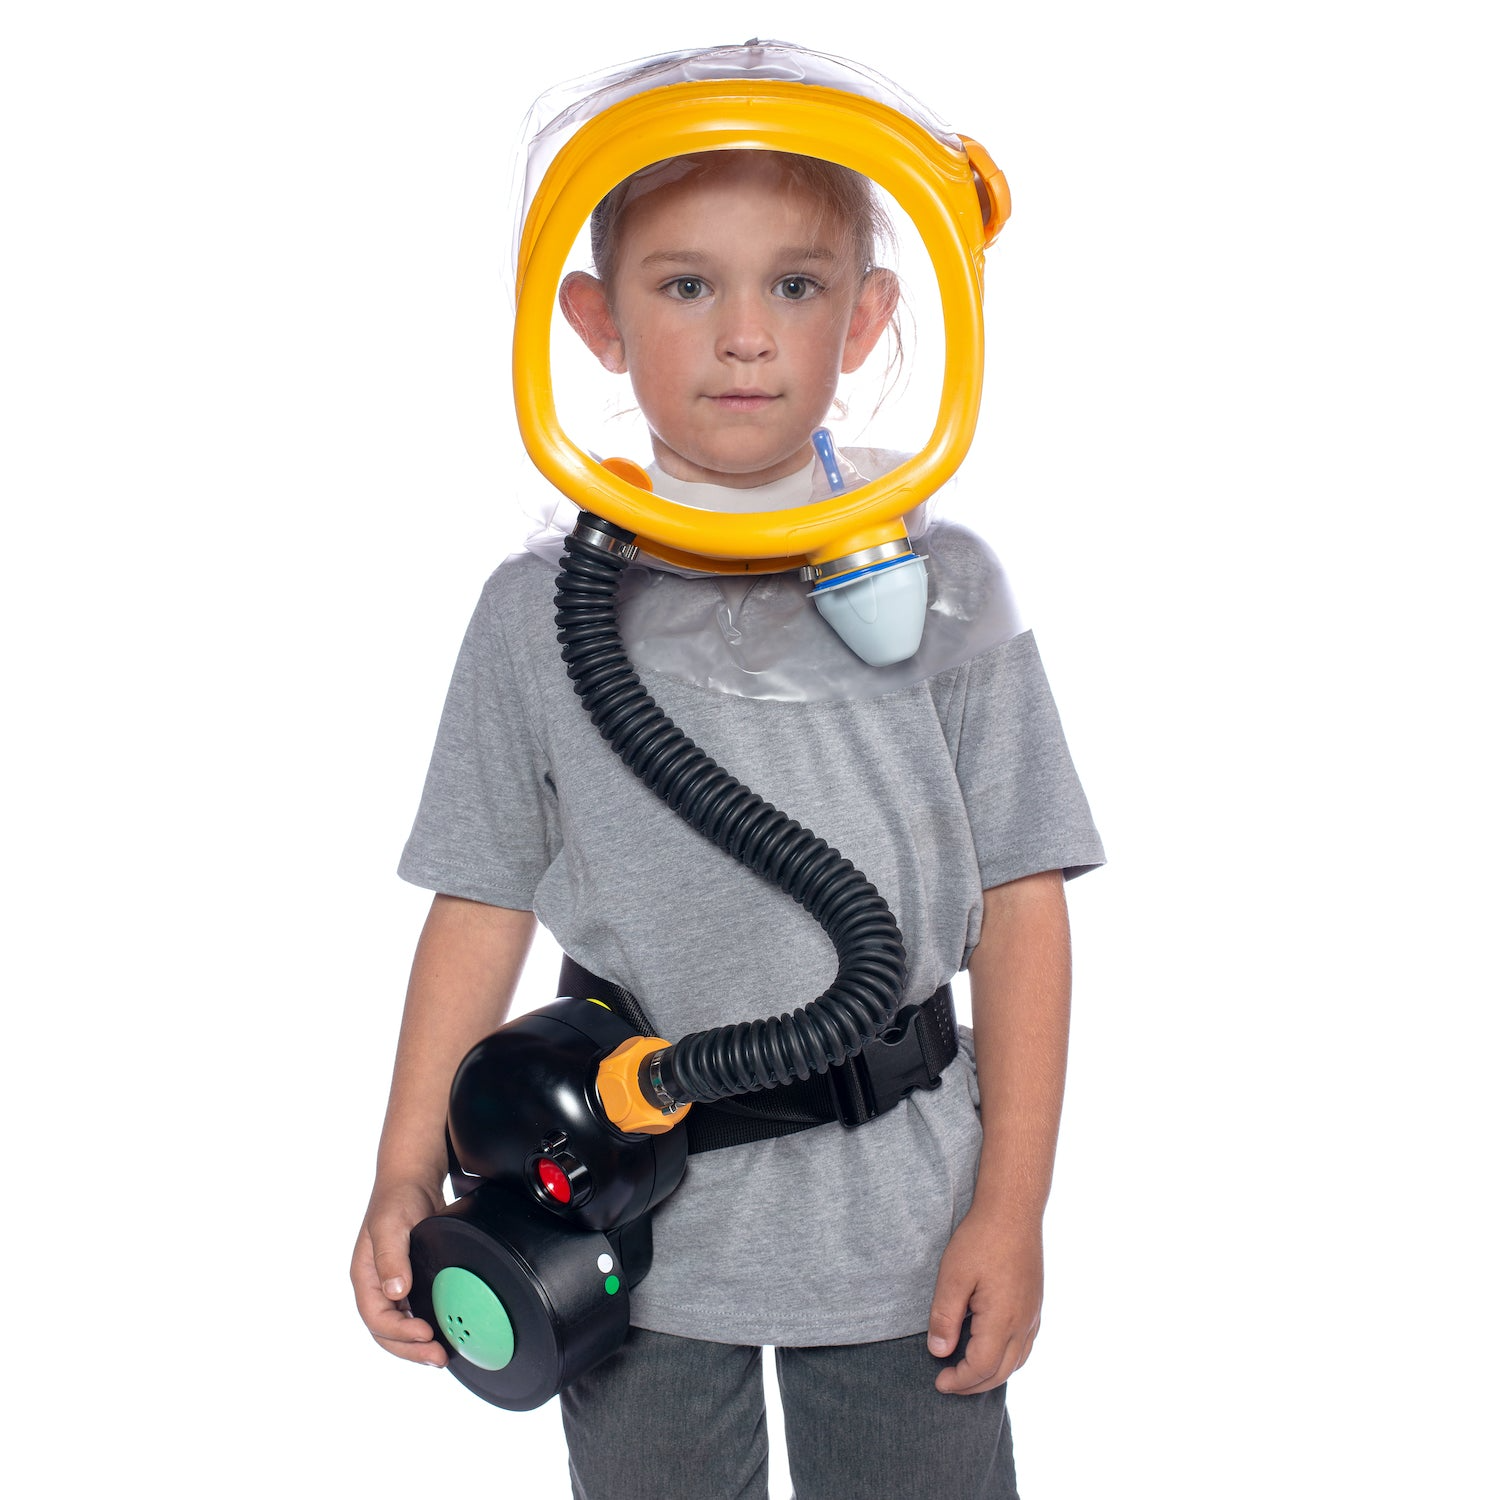
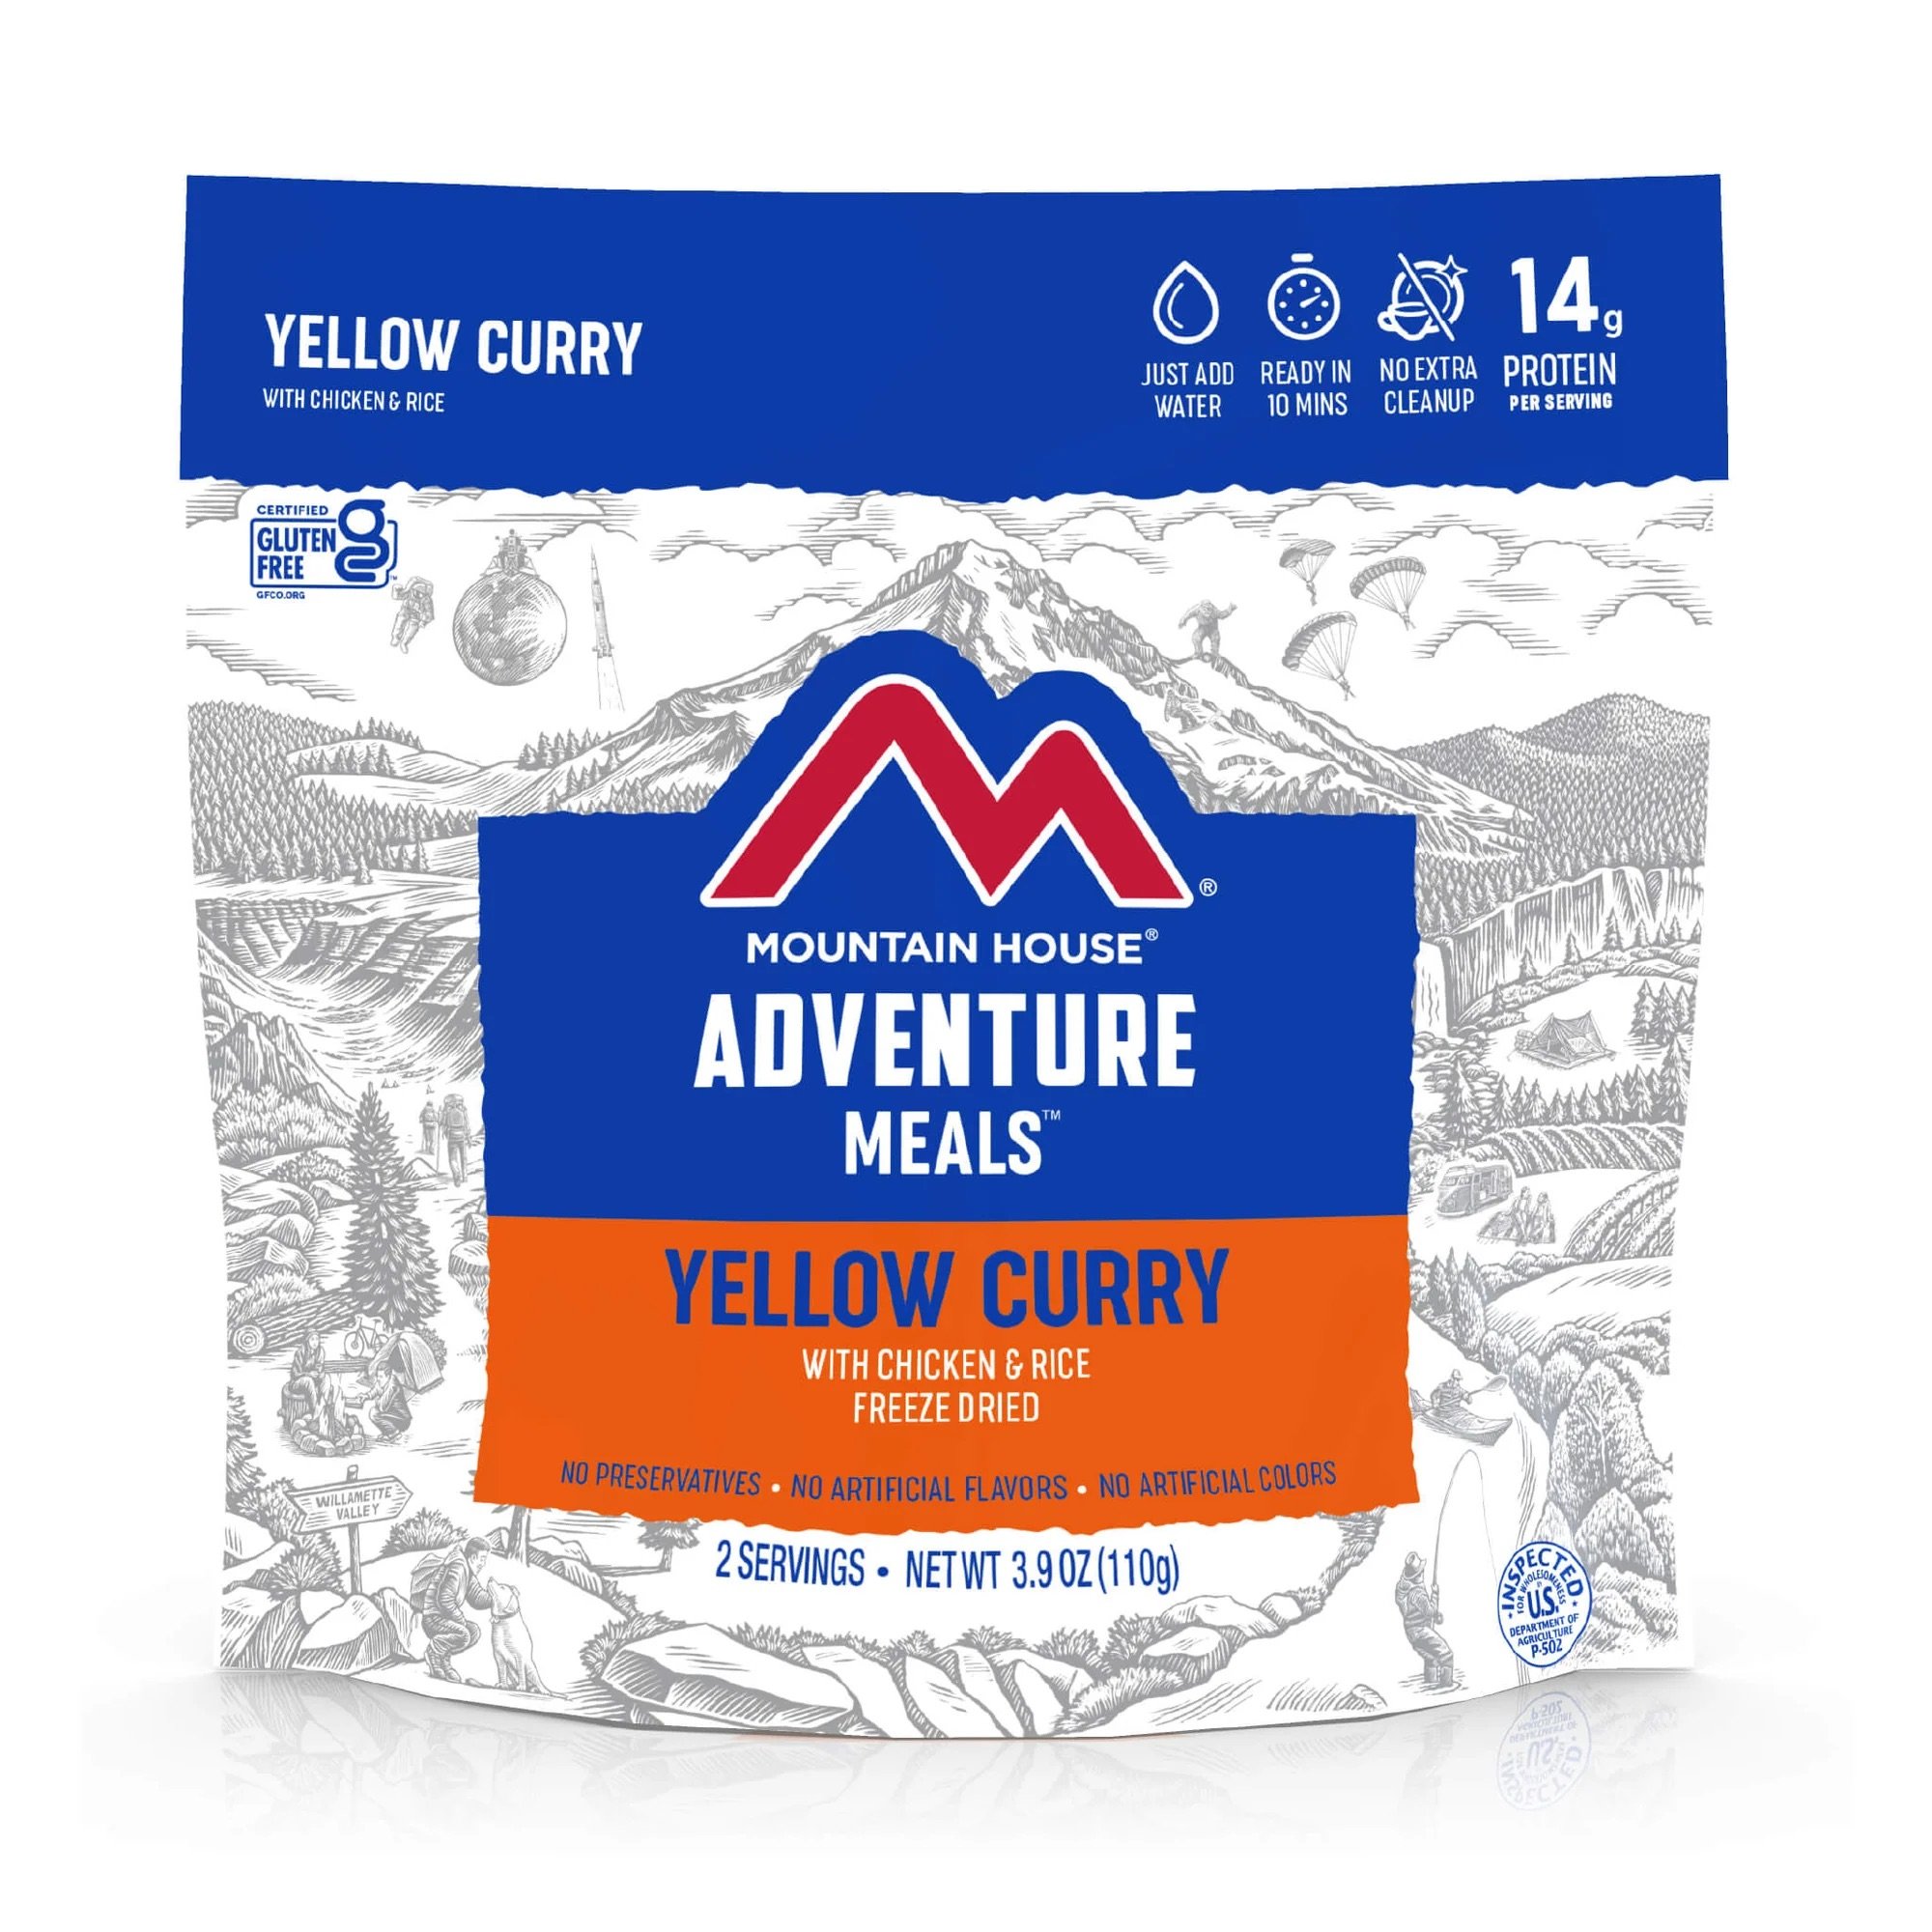
Gear Store Water | Food | Power & Light | Medical | Safety | Packs & Bags | Water Food Power & Light Medical Safety Packs & Bags Mountain House - Classic Kit $55.99 Add To Cart Mountain House - Pork Sausage #10 Can from $79.00 Select Order Size Single #10 Can Full Case (6 Cans) Add To Cart Mountain House - Grilled Sliced Chicken #10 Can from $89.00 Select Order Size Single #10 Can Full Case (6 Cans) Add To Cart Mountain House - Biscuits & Gravy #10 Can from $57.00 Select Order Size Single #10 Can Full Case (6 Cans) Add To Cart Mountain House - Breakfast Skillet #10 Can from $71.60 Select Order Size Single #10 Can Full Case (6 Cans) Add To Cart Mountain House - Classic Biscuits & Gravy Pouch from $14.99 Select Order Size Single Pouch Full Case (4 Pouches) Add To Cart Mountain House - Classic Breakfast Skillet Pouch from $14.99 Select Order Size Single Pouch Full Case (4 Pouches) Add To Cart Mountain House - Classic Chili Mac with Beef Pouch from $14.99 Select Order Size Single Pouch Full Case (4 Pouches) Add To Cart Mountain House - Classic Beef Stroganoff with Noodles Pouch from $14.99 Select Order Size Single Pouch Full Case (4 Pouches) Add To Cart Mountain House - Veggie Chorizo Breakfast Scramble Pouch from $11.50 Select Order Size Single Pouch Full Case (6 Pouches) Add To Cart Mountain House - Kung Pao Chicken Pouch from $11.50 Select Order Size Single Pouch Full Case (6 Pouches) Add To Cart Mountain House - Chicken Tikka Masala Pouch from $11.50 Select Order Size Single Pouch Full Case (6 Pouches) Add To Cart Mountain House - Mexican-Style Adobo Rice & Chicken Pouch from $11.25 Select Order Size Single Pouch Full Case (6 Pouches) Add To Cart Mountain House - Chicken Fried Rice Pouch from $11.25 Select Order Size Single Pouch Full Case (6 Pouches) Add To Cart Mountain House - Mexican-Style Adobo Rice & Chicken Pro-Pak from $11.99 Select Order Size Single Pouch Full Case (6 Pouches) Add To Cart Mountain House - Homemade Chicken Noodle Casserole Pro-Pak from $11.99 Select Order Size Single Pouch Full Case (6 Pouches) Add To Cart Mountain House - Buffalo Style Chicken Mac & Cheese Pouch from $11.50 Select Order Size Single Pouch Full Case (6 Pouches) Add To Cart Mountain House - Buffalo Style Chicken Mac & Cheese #10 Can from $71.75 Select Order Size Single #10 Can Full Case (6 Cans) Add To Cart Mountain House - Fettuccine Alfredo with Chicken #10 Can from $63.20 Sold Out Select Order Size Single #10 Can Full Case (6 Cans) Add To Cart Shellback Tactical - Stealth 2.0 Level III Body Armor Kit with Model P5mmSAO Steel Plates from $579.99 Select Color Black Ranger Green Multicam Black Add To Cart Shellback Tactical - Banshee Rifle Level III Body Armor Kit with Model P5mmSAO Steel Plates from $619.99 Select Color Black Coyote Multicam Navy Blue Ranger Green Add To Cart Shellback Tactical - Banshee Elite 2.0 Level III Body Armor Kit with Model P5mmSAO Steel Plates from $709.99 Select Color Black Coyote Multicam Navy Blue Range Red Ranger Green Wolf Grey Add To Cart Shellback Tactical - Banshee Elite 3.0 Level III Body Armor Kit with Model P5mmSAO Steel Plates from $859.99 View Options Shellback Tactical - Defender 2.0 Level III Active Shooter Kit with Model P5mmSAO Steel Plates $469.99 Select Color Black Coyote Navy Blue Range Red Ranger Green Wolf Grey Add To Cart Shellback Tactical - Rampage 2.0 Level III Body Armor Kit with Model P5mmSAO Steel Plates from $479.99 Select Color Black Coyote Multicam Navy Blue Ranger Green Wolf Grey Add To Cart Shellback Tactical - Skirmish Level III Body Armor Kit with Model P5mmSAO Steel Plates from $459.99 Select Color Black Coyote Multicam Ranger Green Add To Cart Shellback Tactical - Patriot Level III Body Armor Kit with Model P5mmSAO Steel Plates from $549.99 Select Color Black Coyote Multicam Range Red Ranger Green Add To Cart Shellback Tactical - Patriot Lightweight Armor System with Level III LON-III-P Plates from $1,089.99 Select Color Black Coyote Multicam Range Red Ranger Green Add To Cart Shellback Tactical - Banshee Rifle Level III Armor Kit with AR1000 Steel Plates from $689.99 Select Color Black Coyote Multicam Navy Blue Ranger Green Add To Cart Shellback Tactical - Banshee Elite 3.0 Level III Armor Kit with AR1000 Steel Plates from $929.99 View Options Shellback Tactical - Stealth 2.0 Level IV Body Armor Kit with Model L410 Ceramic Plates from $729.99 Select Color Black Multicam Black Ranger Green Add To Cart Shellback Tactical - Banshee Rifle Level IV Body Armor Kit with Model L410 Ceramic Plates from $759.99 Select Color Black Coyote Multicam Navy Blue Ranger Green Add To Cart Shellback Tactical - Ultimate Shoulder Pads 3.0 - Set of 2 from $29.99 Select Color Black Coyote Multicam Ranger Green Add To Cart Shellback Tactical - Banshee Elite 2.0 Level IV Body Armor Kit with Model L410 Ceramic Plates from $849.99 Select Color Black Coyote Multicam Navy Blue Range Red Ranger Green Wolf Grey Add To Cart Shellback Tactical - Banshee Elite 3.0 Level IV Body Armor Kit with Model L410 Ceramic Plates from $999.99 View Options Shellback Tactical - Defender 2.0 Level IV Active Shooter Armor Kit with Model L410 Ceramic Plates $619.99 Select Color Black Coyote Navy Blue Range Red Ranger Green Wolf Grey Add To Cart Shellback Tactical - Rampage 2.0 Level IV Body Armor Kit with Model L410 Ceramic Plates from $629.99 Select Color Black Coyote Multicam Navy Blue Ranger Green Wolf Grey Add To Cart Shellback Tactical - Skirmish Level IV Body Armor Kit with Model L410 Ceramic Plates from $599.99 Select Color Black Coyote Multicam Ranger Green Add To Cart Shellback Tactical - Patriot Level IV Body Armor Kit with Model L410 Ceramic Plates from $689.99 Select Color Black Coyote Multicam Range Red Ranger Green Add To Cart Shellback Tactical - Banshee Rifle Active Shooter Kit with Level IV 4S17 Plates from $799.99 Select Color Black Coyote Multicam Navy Blue Ranger Green Add To Cart Shellback Tactical - Banshee Elite 2.0 Active Shooter Kit with Level IV 4S17 Plates from $899.99 Select Color Black Coyote Multicam Navy Blue Range Red Ranger Green Wolf Grey Add To Cart Shellback Tactical - Banshee Elite 3.0 Active Shooter Kit with Level IV 4S17 Plates from $1,039.99 View Options Shellback Tactical - Prevail Series Level III Steel Armor Plate Model P5MMSAO $174.99 Add To Cart Shellback Tactical - Prevail Series Level IV 10 x 12 Swimmers Cut Hard Armor Plate - Model L410 $249.99 Add To Cart Goal Zero Alta Portable Refrigerators from $799.95 Select Size Alta 50 Alta 80 Add To Cart Goal Zero Skylight 12’ Area Light $299.00 Add To Cart Goal Zero Flex 100i Solar Panel $149.95 Sold Out Add To Cart Goal Zero Nomad 400 PRO Solar Bundles from $1,499.95 Select Type (8) Nomad 400 PRO Solar Bundle (4) Nomad 400 PRO Solar Bundle (2) Nomad 400 PRO Solar Bundle Add To Cart Goal Zero Nomad 400 Solar Panel $899.95 Add To Cart Goal Zero Yeti 300 6G 120V $299.95 Add To Cart Goal Zero Yeti 4000 6G 120V $3,399.95 Add To Cart LifeStraw SIP Straw Filter with Carry Case from $34.95 Select Colors (1) Storm Blue (1) Laguna Teal (1) Midnight Blue (1) Apricot (1) Thistle Purple (3 Pack) Stormy-Laguna-Midnight (3 Pack) Laguna-Apricot-Thistle Add To Cart LifeStraw Peak Series SOLO Water Filter $29.95 Select Color Mountain Blue Blue Raspberry Limeade Pink Lemonade Add To Cart LifeStraw Go Series Stainless Steel 24oz $59.95 Select Color Nordic Noir Icelandic Blue Kyoto Orange Laguna Teal Polar White Orchid Pink Cactus Green Thistle Purple Add To Cart LifeStraw Go Series Stainless Steel 18oz $49.95 Select Color Aegan Sea Icelandic Blue Provence Purple Seafoam Laguna Teal Orchid Pink Kyoto Orange Add To Cart MIRA Safety PROFILM Visor Protectors for Gas Masks from $34.95 Select Type CM-6M | (3X) Four Layer Transparent PROFILM CM-6M | (3X) Four Layer Tinted PROFILM CM-6M | (3X) Four Layer Tear-off PROFILM Add To Cart MIRA Safety Gas Mask Microphone $149.95 Select Connector Type 3.5mm Headphone Jack 2-pin NEXUS U-173/U Add To Cart MIRA Safety MB-90 Powered Air Purifying Respirator (PAPR) - No Filters $399.95 Add To Cart MIRA Safety Drop-Leg Military Pouch / Gas Mask Bag v2 $47.95 Select Color Black Desert Tan MIRACAM Tactical Green Add To Cart MIRA Safety TAPR Standard Kit $199.95 Add To Cart MIRA Safety M4 CBRN Military Poncho $249.95 View Options MIRA Safety P-CAN Police Gas Mask Filter $39.95 Add To Cart Shellback Tactical - Flashbang Pouch from $21.99 Select Color Black Coyote Multicam Ranger Green Add To Cart Shellback Tactical - Single Handcuff Pouch from $19.99 Select Color Black Coyote Multicam Ranger Green Add To Cart Shellback Tactical - Hand Warmer Sac from $44.99 Select Color Black Coyote Multicam Ranger Green Add To Cart Shellback Tactical - Tourniquet Pouch from $23.99 Select Color Black Coyote Multicam Ranger Green Add To Cart Shellback Tactical - Radio Pouch from $35.99 Select Color Black Coyote Multicam Ranger Green Add To Cart MIRA Safety - First Breed Collapsible CBRN Animal ARK Dog Gas Mask $399.95 Add To Cart MIRA Safety Protective Mask (2 Pack) $29.95 Select Size Medium Large Add To Cart MIRA Safety Gas Mask Replacement Parts Kit from $39.95 Select Parts Kit Options Essentials Kit Deluxe Kit (With CM-6M Head Harness) Deluxe Kit (With CM-7M Head Harness) Add To Cart MIRA Safety DTX-1 Ultrasonic Fruits and Vegetable Cleaner $395.00 Add To Cart MIRA Safety VPU-1 Respirator Voice Protection Unit $245.95 Add To Cart MIRA Safety MB-90 PAPR Battery Pack $39.95 Add To Cart MIRA Safety MB-90 PAPR MOLLE Pouch from $44.95 Select Color Black MIRACAM Add To Cart MIRA Safety MOPP-1 CBRN Protective Suit $899.95 View Options MIRA Safety Combat CBRN Overboots Model S $97.75 Select Size X-Small Small Medium Large X-Large Add To Cart MIRA Safety NC-11 Protective CBRN Gloves $85.95 Sold Out Select Size X-Small Small Medium Large X-Large XX Large Add To Cart MIRA Safety - MD-1 Child Gas Mask $199.97 Select Size Medium Large Add To Cart MIRA Safety - CM-8M Gas Mask $325.00 Sold Out Add To Cart Drink Safe Alcohol Breathalyzer - Single Use from $11.99 View Options Drink Safe Adhesive Stickers from $8.99 View Options Drink Safe Reusable Silicone Drink Cover from $7.89 View Options Drink Safe Wristbands - 4 Tests from $11.89 View Options Drink Safe Wristband - 2 Tests from $7.89 View Options 3M™ 8210 N95 Particulate Respirator & Surgical Mask $22.99 Add To Cart 3M™ 1860 N95 Particulate Respirator and Surgical Mask $28.99 Add To Cart SAM Medical Bleeding Control Kit $52.99 Add To Cart Shellback Tactical - Stealth 2.0 Plate Carrier from $259.99 Select Color Black Multicam Black Ranger Green Add To Cart Shellback Tactical - Banshee Ultimate Shoulder Pad - Set of 2 from $27.99 Select Color Black Coyote Multicam Navy Blue Ranger Green Wolf Grey Add To Cart Shellback Tactical - Banshee Rifle Plate Carrier from $299.99 Select Color Black Coyote Multicam Navy Blue Ranger Green Add To Cart Shellback Tactical - Banshee Elite 3.0 Plate Carrier from $549.99 View Options Shellback Tactical - Rampage 2.0 XLarge Cummerbund from $59.99 Select Color Black Coyote Multicam Navy Blue Ranger Green Wolf Grey Add To Cart Shellback Tactical - Pen Holder Patch - Set of 2 $17.99 Add To Cart Shellback Tactical - Defender 2.0 Active Shooter Kit $144.99 Select Color Black Coyote Navy Blue Ranger Red Ranger Green Wolf Grey Add To Cart Shellback Tactical - Rampage 2.0 Plate Carrier from $159.99 Select Color Black Coyote Multicam Navy Blue Ranger Green Wolf Grey Add To Cart Shellback Tactical - Skirmish Plate Carrier from $129.99 Select Color Black Coyote Multicam Ranger Green Add To Cart Shellback Tactical - Flap Sac 2.0 Pouch from $33.99 Select Color Black Coyote Multicam Navy Blue Ranger Green Wolf Grey Add To Cart Shellback Tactical - Side Armor Plate Pockets - Set of 2 from $31.99 Select Color Black Coyote Multicam Navy Blue Ranger Green Wolf Grey Add To Cart Shellback Tactical - Dump Pouch from $19.99 Select Color Black Coyote Multicam Navy Blue Ranger Green Wolf Grey Add To Cart Shellback Tactical - Triple Pistol Mag Pouch from $23.99 Select Color Black Coyote Multicam Navy Blue Ranger Green Wolf Grey Add To Cart Shellback Tactical - Double Pistol Mag Pouch from $19.99 Select Color Black Coyote Multicam Navy Blue Ranger Green Wolf Grey Add To Cart Shellback Tactical - Single Pistol Mag Pouch from $16.99 Select Color Black Coyote Multicam Navy Blue Ranger Green Wolf Grey Add To Cart Shellback Tactical - Triple Stacker Open Top M4 Mag Pouch from $35.99 Select Color Black Coyote Multicam Navy Blue Ranger Green Wolf Grey Add To Cart Shellback Tactical - Double Stacker Open Top M4 Mag Pouch from $26.99 Select Color Black Coyote Multicam Navy Blue Ranger Green Wolf Grey Add To Cart Shellback Tactical - Banshee Elite 2L Hydration Bladder $44.99 Select Color Black Coyote Add To Cart Shellback Tactical - Single Stacker Open Top M4 Mag Pouch from $17.99 Select Color Black Coyote Multicam Navy Blue Ranger Green Wolf Grey Add To Cart Shellback Tactical - SF Plate Carrier from $369.99 View Options Shellback Tactical - Patriot Plate Carrier from $224.99 Select Color Black Coyote Multicam Range Red Ranger Green Add To Cart Shellback Tactical - Banshee 2 Mag Kangaroo Pouch $37.99 Select Color Black Coyote Add To Cart Shellback Tactical - Banshee Elite 2.0 Cummerbund from $104.99 Select Color Black Coyote Multicam Ranger Green Add To Cart Shellback Tactical - Banshee XL Cummerbund from $79.99 Select Color Black Coyote Multicam Navy Blue Ranger Green Add To Cart Shellback Tactical - Side Armor Plate Kit with Level IV Model 4S17 Armor Plates from $429.99 Sold Out Select Color Black Coyote Multicam Navy Blue Ranger Green Wolf Grey Add To Cart Shellback Tactical - Side Armor Plate Kit with Level IV Model 1155SP Armor Plates from $389.99 Select Color Black Coyote Multicam Navy Blue Ranger Green Wolf Grey Add To Cart Shellback Tactical - Stealth 2.0 Lightweight Level IV Armor Kit with Model 4SICMH Ceramic Plates from $1,109.99 Select Color Black Ranger Green Multicam Black Add To Cart Shellback Tactical - Banshee Rifle Lightweight Level IV Armor Kit with Model 4SICMH Ceramic Plates from $1,149.99 Select Color Black Coyote Multicam Navy Blue Ranger Green Add To Cart Shellback Tactical - Banshee Elite 2.0 Lightweight Level IV Armor Kit with Model 4SICMH Ceramic Plates from $1,249.99 Select Color Black Coyote Multicam Ranger Green Wolf Grey Navy Blue Range Red Add To Cart Shellback Tactical - Banshee Elite 3.0 Lightweight Level IV Armor Kit with Model 4SICMH Ceramic Plates from $1,389.99 View Options Shellback Tactical - Defender 2.0 Lightweight Level IV Armor Kit with Model 4SICMH Ceramic Plates $999.99 Select Color Black Coyote Navy Blue Range Red Ranger Green Wolf Grey Add To Cart Shellback Tactical - Rampage 2.0 Lightweight Level IV Armor Kit with Model 4SICMH Ceramic Plates from $1,009.99 Select Color Black Coyote Multicam Navy Blue Ranger Green Wolf Grey Add To Cart Shellback Tactical - Skirmish Lightweight Level IV Armor Kit with Model 4SICMH Ceramic Plates from $979.99 Select Color Black Coyote Multicam Ranger Green Add To Cart Shellback Tactical - Patriot Lightweight Level IV Armor Kit with Model 4SICMH Ceramic Plates from $1,034.99 Select Color Coyote Multicam Range Red Ranger Green Black Add To Cart Shellback Tactical - Stealth 2.0 Level III Active Shooter Kit with AR1000 Steel Plates from $649.99 Select Color Black Multicam Black Ranger Green Add To Cart Shellback Tactical - Banshee Elite 2.0 Level III Armor Kit with AR1000 Steel Plates from $779.99 Select Color Black Coyote Multicam Navy Blue Ranger Green Wolf Grey Range Red Add To Cart Shellback Tactical - Defender 2.0 Level III Active Shooter Armor Kit with AR1000 Steel Plates $539.99 Select Color Black Coyote Navy Blue Range Red Ranger Green Wolf Grey Add To Cart Shellback Tactical - Rampage 2.0 Level III Active Shooter Kit with AR1000 Steel Plates from $559.99 Select Color Black Coyote Multicam Navy Blue Ranger Green Wolf Grey Add To Cart Shellback Tactical - Skirmish Level III Active Shooter Kit with AR1000 Steel Plates from $529.99 Select Color Black Coyote Multicam Ranger Green Add To Cart Shellback Tactical - Patriot Level III Active Shooter Kit with AR1000 Steel Plates from $609.99 Select Color Range Red Black Coyote Multicam Ranger Green Add To Cart Shellback Tactical - Stealth 2.0 Lightweight Armor System with Level III LON-III-P Plates from $1,129.99 Select Color Black Ranger Green Multicam Black Add To Cart Shellback Tactical - Banshee Rifle Lightweight Armor System with Level III LON-III-P Plates from $1,169.99 Select Color Black Coyote Multicam Navy Blue Ranger Green Add To Cart Shellback Tactical - Banshee Elite 2.0 Lightweight Armor System with Level III LON-III-P Plates from $1,259.99 Select Color Black Coyote Multicam Navy Blue Range Red Ranger Green Wolf Grey Add To Cart Shellback Tactical - Banshee Elite 3.0 Lightweight Armor System with Level III LON-III-P Plates from $1,399.99 View Options Shellback Tactical - Rampage 2.0 Lightweight Armor System with Level III LON-III-P Plates from $1,059.99 Select Color Black Coyote Multicam Navy Blue Ranger Green Wolf Grey Add To Cart Shellback Tactical - Skirmish Lightweight Armor System with Level III Model LON-III-P Plates from $1,029.99 Select Color Black Coyote Multicam Ranger Green Add To Cart Shellback Tactical - Stealth 2.0 Active Shooter Kit with Level IV Model 4S17 Armor Plates from $769.99 Select Color Black Ranger Green Multicam Black Add To Cart Shellback Tactical - Defender 2.0 Active Shooter Armor Kit with Level IV Model 4S17 Armor Plates $659.99 Select Color Black Coyote Navy Blue Ranger Green Wolf Grey Ranger Red Add To Cart Shellback Tactical - Rampage 2.0 Active Shooter Kit with Level IV 4S17 Armor Plates from $669.99 Select Color Black Coyote Multicam Navy Blue Ranger Green Wolf Grey Add To Cart Shellback Tactical - Skirmish Active Shooter Kit with Level IV 4S17 Armor Plates from $639.99 Select Color Black Coyote Multicam Ranger Green Add To Cart Shellback Tactical - Patriot Active Shooter Kit with Level IV Model 4S17 Armor Plates from $729.99 Select Color Black Coyote Multicam Range Red Ranger Green Add To Cart Shellback Tactical - SF Lightweight Armor System with Level III+ H3101 Plates from $1,139.99 View Options Shellback Tactical Level IIIA Ballistic High Cut RRV ACH Helmet $871.99 View Options Shellback Tactical - Level IIIA Ballistic Standard Cut ACH Helmet $649.99 View Options Shellback Tactical - Level IIIA Ballistic High Cut ACH Helmet $679.99 View Options Shellback Tactical - Level IIIA Ballistic High Cut SF ACH Helmet $1,069.99 View Options Shellback Tactical - Level IIIA Model CLCIIIA Soft Armor Plate Backers from $319.99 Select Size Small - 8.75" x 11.75" - Set of 2 Medium - 9.5" x 12.5" - Set of 2 Large - 10.25" x 13.25" - Set of 2 XLarge - 11" x 14" - Set of 2 Add To Cart Shellback Tactical - Level IIIA Model CLCIIIA Soft Armor Flap Sac Insert $129.99 Add To Cart Shellback Tactical - Banshee 3.0 Level IIIA Model CLCIIIA Soft Armor Cummerbund Insert - Set of 2 from $279.99 Select Size 2X/3XLarge Large/XLarge Small/Medium Add To Cart Shellback Tactical - Level IIIA Model CLCIIIA Soft Armor Cummerbund Inserts $279.99 Add To Cart Shellback Tactical - Trauma Pad $49.99 Add To Cart Shellback Tactical - Prevail Series Level III 6 x 6 Side Plate Model LON-III-P $199.99 Add To Cart Shellback Tactical - Prevail Series Level III+ Single Curve 6 x 8 Hard Armor Plates - Model AR1000RP $159.99 Add To Cart Shellback Tactical - Prevail Series Level IV Single Curve 6 x 6 Hard Armor Plate - Model 4S17 $209.99 Sold Out Add To Cart Shellback Tactical - Prevail Series Level IV Single Curve 6 x 6 Hard Armor Plate - Model 1155SP $189.99 Add To Cart Shellback Tactical - Prevail Series Level III Single Curve 10 x 12 Hard Armor Plate - Model LON-III-P $459.99 Add To Cart Shellback Tactical - Prevail Series SAPI Sized Stand Alone Level III+ Hard Armor Plate Model H3101 from $409.99 Select Size Large - 10.25" x 13.25" Medium - 10" x 12.5" Small - 8.75" x 11.75" XLarge - 11" x 14" Add To Cart Shellback Tactical - Prevail Series Level III+ Single Curve 10 x 12 Hard Armor Plate - Model AR1000RP $209.99 Add To Cart Shellback Tactical - Prevail Series Level IV Multi Curve 10 x 12 Hard Armor Plate - Model 4SICMH $449.99 Add To Cart Shellback Tactical - Prevail Series Level IV Single Curve 10 x 12 Hard Armor Plate - Model 4S17 $269.99 Add To Cart Terminator Pack $529.00 Select Color Coyote Dry Earth Military Green Multicam Add To Cart Yeti 12V Car Charging Cable $39.95 Add To Cart AAA Rechargeable Batteries (4 Pack) & Adapter $9.95 Add To Cart 65-Watt USB-C Charger $39.95 Add To Cart Large Boulder Travel Case $49.95 Add To Cart Small Boulder Travel Case $39.95 Add To Cart Boulder Charge Controller Mounting Brackets $9.95 Add To Cart Boulder Mounting Brackets (4 Pack) $19.95 Add To Cart Yeti 1250 Replacement Battery $249.95 Add To Cart Yeti 400 Replacement Battery $129.95 Add To Cart Yeti 150 Replacement Battery $49.95 Add To Cart Yeti Faraday Case $234.95 Add To Cart Yeti Roll Cart $99.95 Add To Cart YetiX 600W Power Supply $199.95 Add To Cart Goal Zero Yeti X 120W Power Supply 120V $49.95 Add To Cart Light-a-Life Mini 4 Pack with Shades $79.95 Add To Cart Goal Zero Light-A-Life 350 LED Light $39.95 Add To Cart Goal Zero Lighthouse Micro Charge USB Rechargeable Lantern $29.95 Add To Cart Lighthouse Micro Flash USB Rechargeable Lantern $24.95 Add To Cart Lighthouse Mini Core Lantern $39.95 Add To Cart Lighthouse Core Lantern & USB Power Hub $49.95 Add To Cart Lighthouse 600 Lantern & USB Power Hub $69.95 Add To Cart Torch 500 $49.95 Add To Cart Crush Light Chroma $24.95 Add To Cart Crush Light $19.95 Add To Cart Yeti 1500X + Boulder 100 BC Solar Generator $1,499.95 Add To Cart Goal Zero Venture 35 + Nomad 10 Kit $149.95 Add To Cart Flip 36 $39.95 Select Color Black Blue Green Add To Cart Goal Zero Flip 24 $29.95 Select Color Black Blue Green Add To Cart MIRA Safety Level 4 Body Armor Plate $249.97 Add To Cart MIRA Safety HAZ-GLOVES - Butyl Gloves for CBRN Protection $85.95 Sold Out Select Size Small Medium Large Add To Cart MIRA Safety HAZ-SUIT CBRN $139.95 Select Size YS YL XS SM/MD LG/XL 2X/3X Add To Cart MIRA Safety VK-530 Smoke / Carbon Monoxide Filter Cartridge $89.99 Add To Cart MIRA Safety ParticleMax P3 Virus Gas Mask Filter - 6 Pack $160.00 Add To Cart MIRA Safety NBC-77 SOF CBRN Gas Mask Filter $79.99 Add To Cart MIRA Safety - Geiger-2 Portable Dosimeter / Geiger Counter $295.75 Add To Cart MIRA Safety CM-7M Military Gas Mask $275.95 Select Size Small Medium Large Add To Cart MIRA Safety CM-6M Tactical Gas Mask Sale Price:$249.95 Original Price:$263.99 sale Add To Cart MIRA Safety CM-3M CBRN Child Escape Respirator / Infant Gas Mask with PAPR $549.97 Add To Cart Mountain House - Yellow Curry with Chicken & Rice Pouch from $11.50 Select Order Size Single Pouch Full Case (6 Pouches) Add To Cart Mountain House - Vanilla Ice Cream Sandwich from $4.39 Select Order Size Single Pouch Full Case (12 Pouches) Add To Cart Mountain House - Spaghetti Pro-Pak from $11.99 Select Order Size Single Pouch Full Case (6 Pouches) Add To Cart Mountain House - Scrambled Eggs with Bacon Pouch from $9.25 Select Order Size Single Pouch Full Case (6 Pouches) Add To Cart Next